Epsilon F1 Week-by-Week Grow Guide
Are you thinking about growing Epsilon F1? Explore my week-by-week growing guide to find out how I achieved great results! Read on to uncover my lighting, nutrient, and watering strategies for this variety.
Contents:
- Epsilon f1 grow report: equipment list
- Epsilon f1 grow report: seedling stage (week 1)
- Epsilon f1 grow report: vegetative phase (week 2–4)
- Epsilon f1 grow report: flowering stage (week 5–8)
- Epsilon f1 grow journal: harvest
- Genetic attributes of epsilon f1
- Growing characteristics of epsilon f1
- Effects, aroma, and flavour of epsilon f1
Epsilon F1 Grow Report: Equipment List
- Box: Secret Jardin DS120W 120 × 60 × 178
- Lights: MIGRO 200+
- Ventilation: TT Silent-M 100
- Filter: Primaklima Filter PK 100/125
- Fan: Oscillating Koala Fan × 2
- Humidifier: Beurer LB 45
- Soil: BioBizz Light Mix
- Pot: 11l Air-Pot
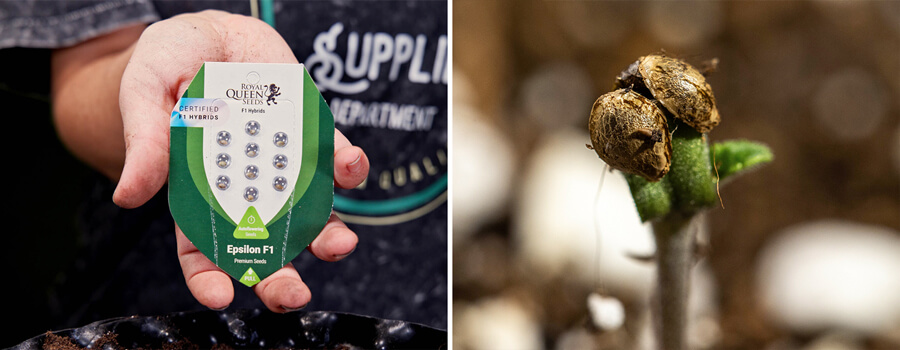
- Seed: Royal Queen Seeds
- Nutrition: RQS Organic Nutrition
Epsilon F1 Grow Report: Seedling Stage (Week 1)
First things first—we need to cover the seedling phase! Although it seems insignificant to some growers, what happens during this time can set the stage for the rest of the growing cycle. With this in mind, I made sure to put together a high-quality potting mix and set up my lighting rig just right. Check out what I did to create an ideal growing environment for my Epsilon F1 plant.
- Growing medium: I set out to create a growing medium that would provide enough nutrients for the first stage of growth, and that contained beneficial microorganisms to spur root growth, assist with nutrient uptake, and defend against diseases. I started out by adding 5l of BioBizz Light Mix to my 11l Air-Pot. Next, I added the following nutrients and inoculants:
- RQS Easy Boost Organic Nutrition: 50g
- RQS Rhizobacter
- RQS Mycorrhiza Mix: 5g
- Seaweed: 10g
- Bat Guano: 70g
I made sure to thoroughly mix all of these ingredients together before adding another 5l of BioBizz Light Mix to the container and mixing again for a final time. I finished the process by watering the growing medium until runoff appeared at the bottom of the pot.
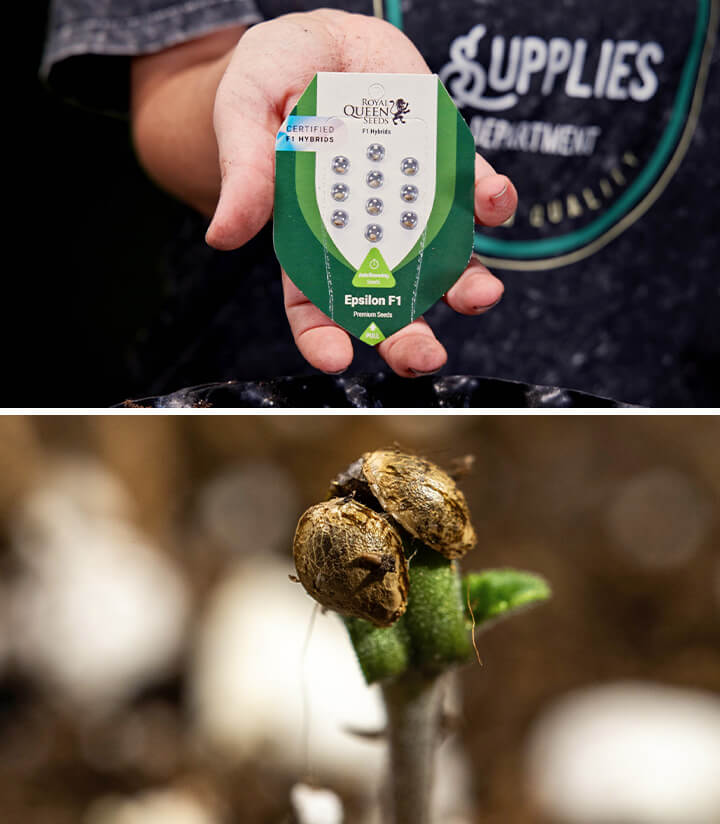
- Germination: With my growing medium prepared, I proceeded to place my seed into its new home. I made a small hole in the centre of the surface of the growing medium at a depth of around 2cm. I inserted my seed into the hole, added another 1g of Mycorrhiza Mix to ensure swift inoculation, and lightly covered the hole with growing medium before misting the spot thoroughly.
- Lighting: I chose to use the MIGRO 200+ rig to fuel the growth of my Epsilon F1 plant. Low-cost, energy-efficient, and easy to set up, it wasn’t a hard choice to settle on this product. To achieve an even distribution of light across my grow box, I started by hanging both lamps 35cm horizontally from the middle of the cultivation space. Then, I used the ratchet straps to hang them 35cm above the rim of my Air-Pot. Using a timer, I started running my lamps for 18 hours each day as soon as the sprout emerged from the soil.
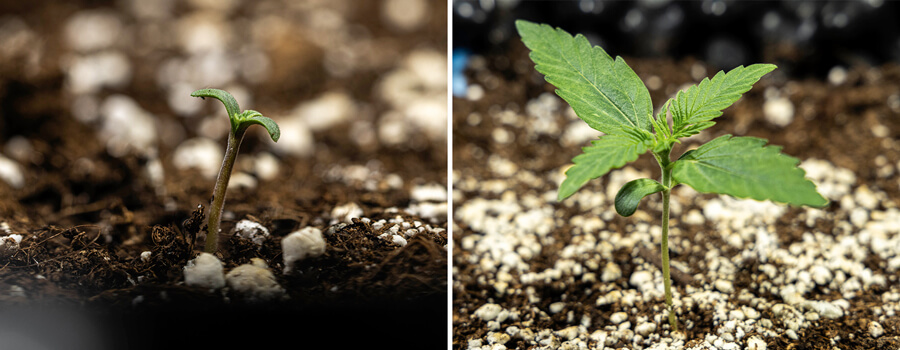
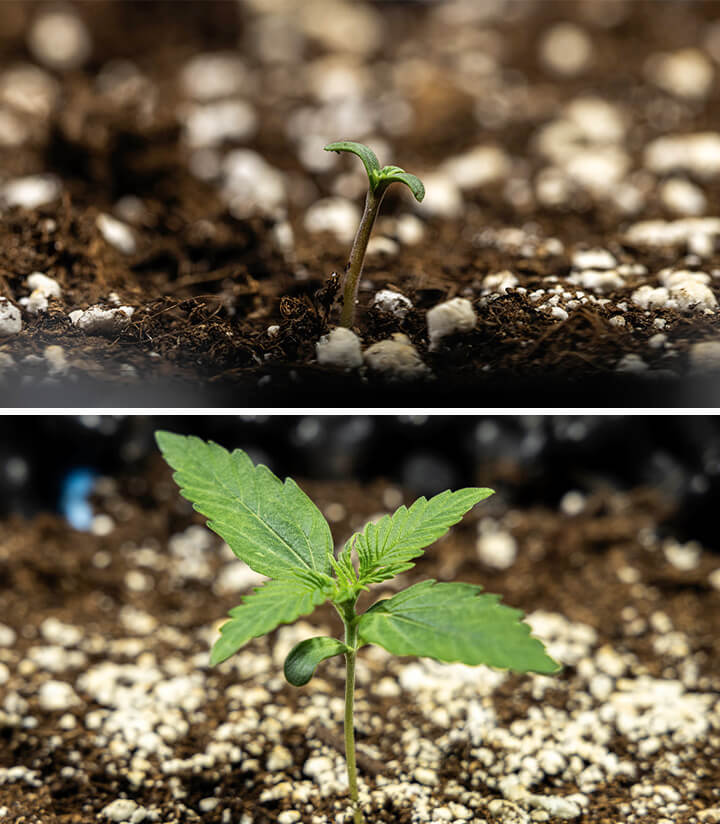
- Plant status: A week after sowing my seed, my seedling stood at a height of around 4cm. It possessed its first small set of true leaves and featured a thick and robust stem with no signs of legginess.
Epsilon F1 Grow Report: Vegetative Phase (Week 2–4)
Welcome to the vegetative phase of my Epsilon F1 week-by-week grow report! With germination and the seedling phase out of the way, my plant started to pack on size quickly during this period. Discover how I kept it in tip-top condition as it grew closer to bloom.
Week 2
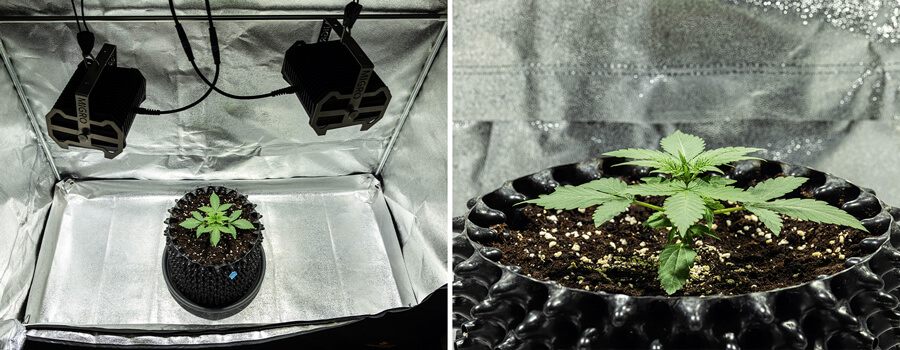
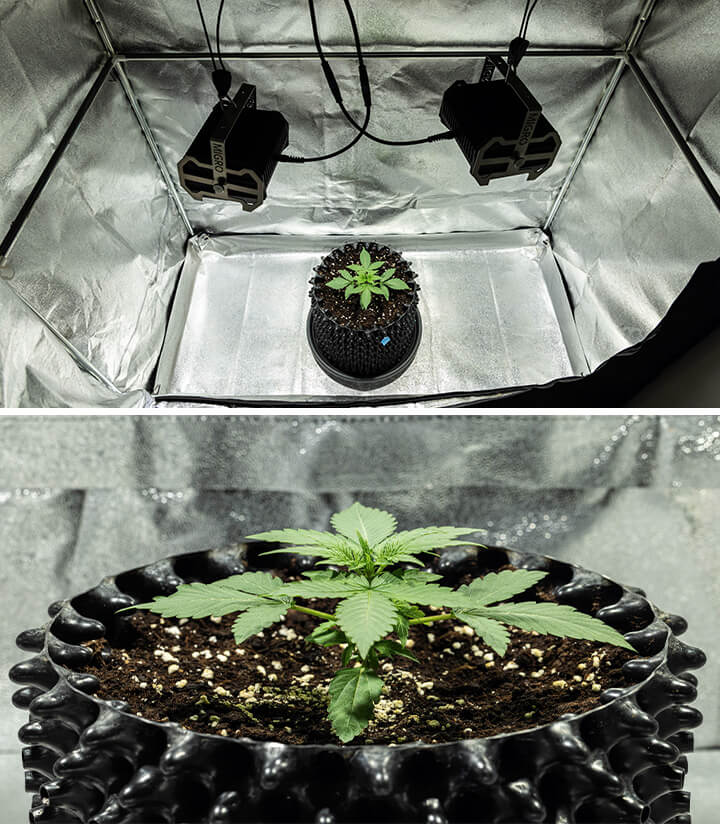
- Lighting: I continued to run my lamps for 18 hours per day, and repositioned them to hang 35cm from the tip of my plant.
- Nutrients: I held back on feeding during this week, as my plant had access to ample nutrients within the potting mix I created. Instead, I applied 1l of water adjusted to a pH of 6.0 on day 2 and day 6 of the week.
- Environment: During this week, I recorded an average temperature of 28°C and humidity of 55%.
- Plant status: My plant looked healthy and strong at the end of the week. It had developed several new sets of true leaves and exhibited no signs of disease or deficiency. It stood at a height of 8cm and featured a luscious dark green colour.
Week 3
- Lighting: I continued to keep the lights on for 18 hours per day, making sure they hung 35cm from the tip of my plant.
- Nutrients: My plant appeared healthy and continued to cruise along bolstered by the nutrients I had provided in the potting mix. To avoid introducing excess nutrients into the growing medium, I decided to withhold from feeding once again. I administered 1.5l of pure water on day 2 and day 6 of the week.
- Environment: I recorded an average temperature of 29°C and humidity of 55%.
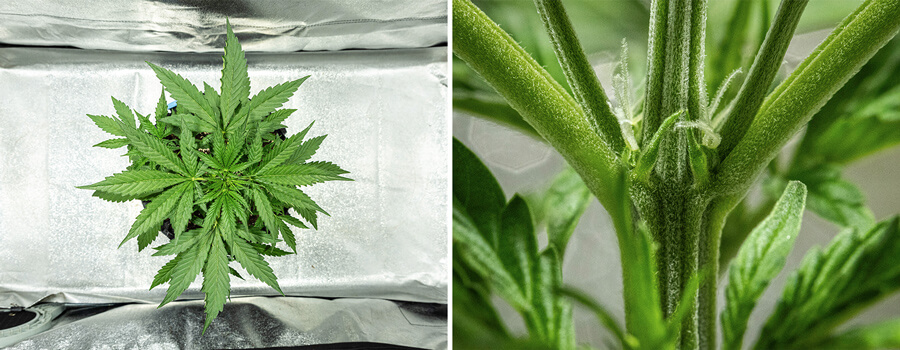
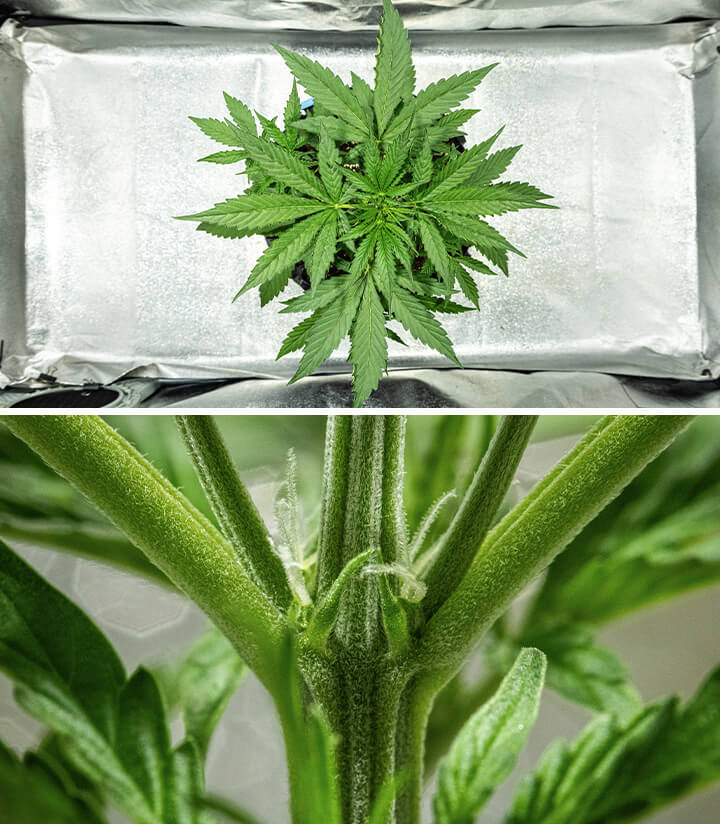
- Plant status: My plant surged to 25cm in height by the end of week 3. Its canopy continued to become bushier by the day and featured many mature and turgid true leaves. No signs of pests, disease, or deficiency assured me of the resilience of F1 hybrid genetics.
Week 4
- Lighting: Continuing as before, I kept my lights on for 18 hours per day. At the start of the week, I readjusted the lights once again to hang 35cm from the top of the canopy.
- Nutrients: My plant continued to thrive on the abundance of nutrients included in the potting mix. However, I decided to implement SuperVit during the final week of veg to provide vital vitamins and amino acids to set the stage for optimal flower production. I added 1 drop of SuperVit to 1.5l of water and applied on day 2 and day 6 of the week.
- Environment: I noted an average temperature of 28°C and humidity of 55% throughout week 4.
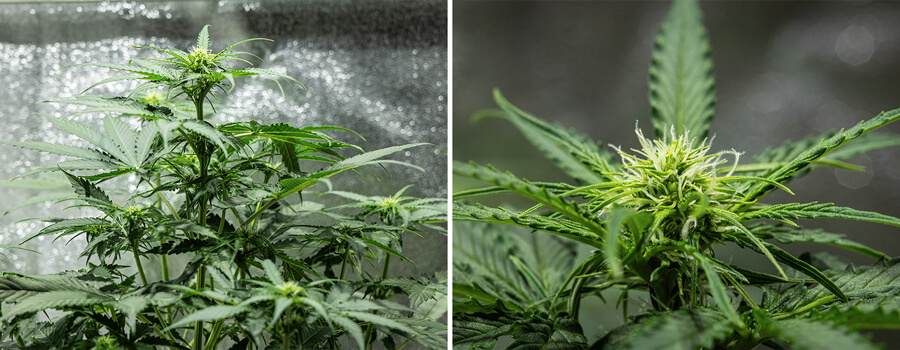
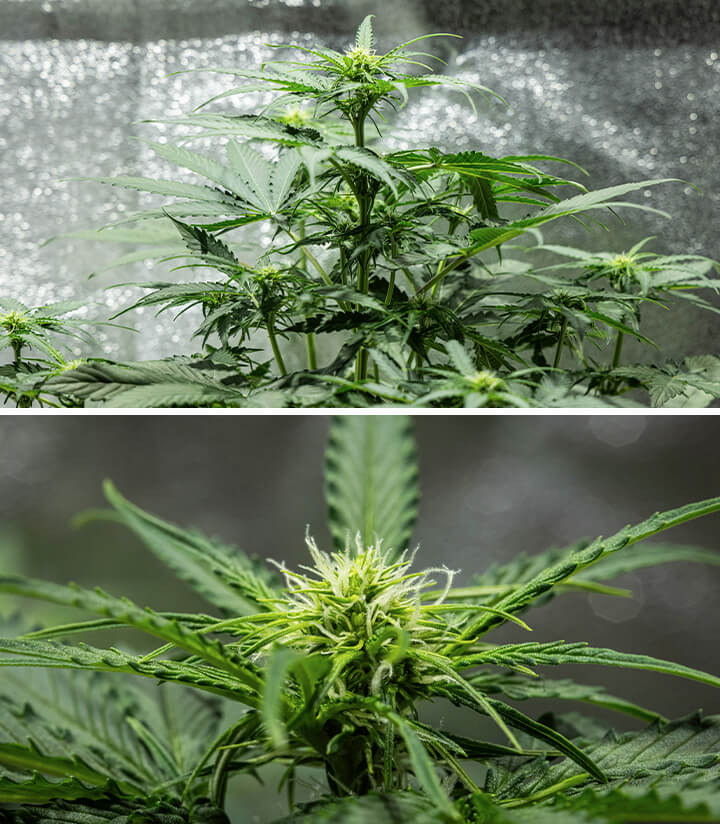
- Plant status: And just like that, my plant had already finished the final week of the vegetative phase, topping out at a height of 53cm! The speed of growth and general vigour of my plant blew me away. By the end of the week, my Epsilon F1 plant was well into bloom. Its pre-flowers had already morphed into young buds adorned with pistils and small sugar leaves.
Epsilon F1 Grow Report: Flowering Stage (Week 5–8)
Welcome to the flowering phase of my Epsilon F1 week-by-week grow journal! My plant zoomed through the vegetative phase with zero issues, and things continued to go perfectly all the way through bloom.
Week 5
- Lighting: Once again, I kept my lamps running for 18 hours each day and repositioned them to hang 35cm above the tip of my plant.
- Nutrients: With buds starting to form across the entire canopy, I decided to start off the flowering nutrient regimen by giving my plant a generous dose of potassium and phosphorus. I dissolved an Easy Bloom Booster Tablet into 5l of water and applied 2l to my plant on day 2 of the week. I applied another 2l of this preparation on day 6.
- Environment: I recorded an average temperature of 28°C. Using my fans, I managed to reduce the average humidity to 45%.
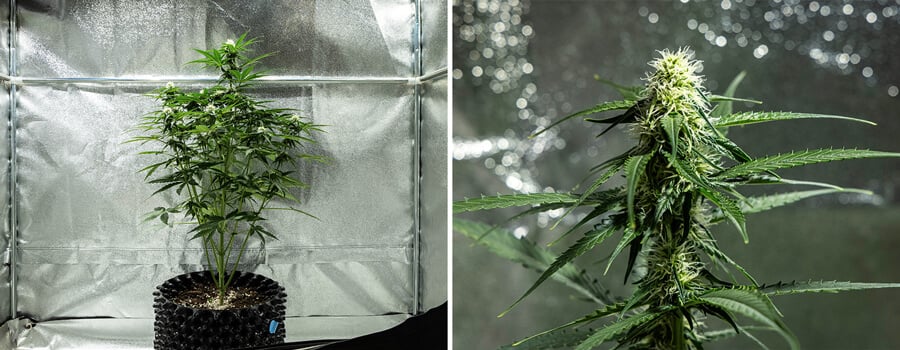
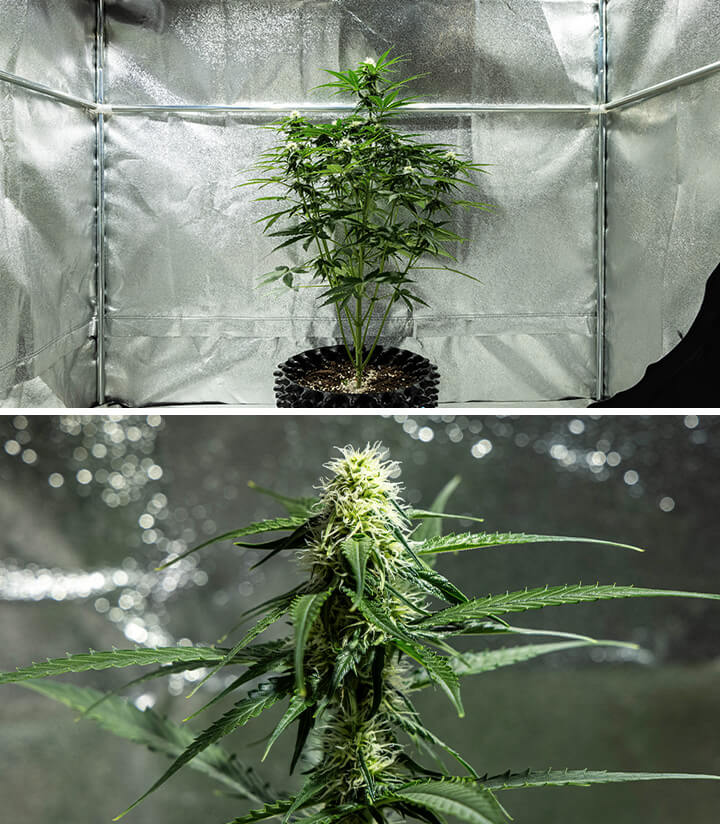
- Plant status: My plant responded well to its first feed of the growing cycle. It stood at 60cm, looked perfectly healthy, and started to emit a weak smell. By the end of week 5, the pistils on the buds were already turning amber!
Week 6
- Lighting: My lights remained running for 18 hours per day at a distance of 35cm from the tip of my plant.
- Nutrients: I started feeding my plant with the three formulas that make up the Bio Flowering Booster Pack. I added the following to 2.5l of water on day 2 and day 6 of the week:
-1 drop SuperVit
-1.2ml Thicker Flowers
-1.6ml Bigger Flowers
-0.8ml Sweet Flowers
- Environment: I recorded an average temperature of 27°C and humidity of 45%.
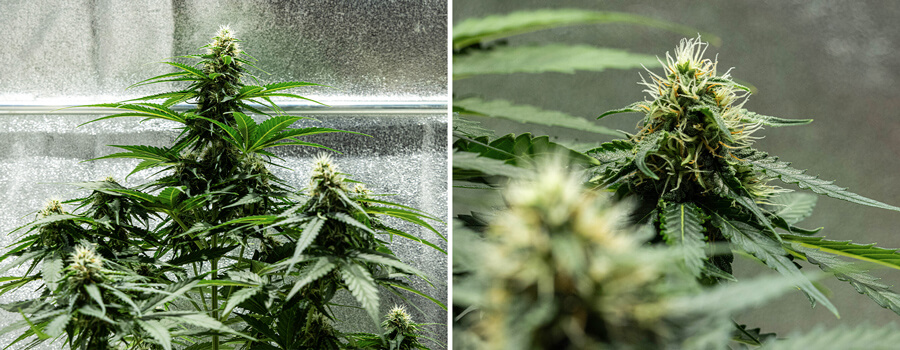
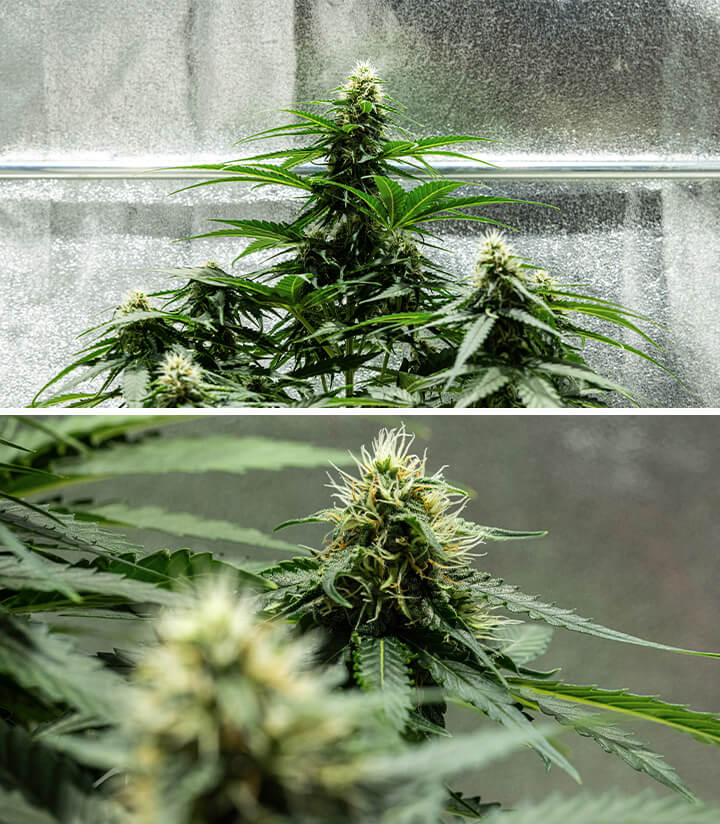
- Plant status: My plant started to put out a strong smell and its buds began to swell, developing a thick layer of trichomes. At the end of week six, my plant stood at its final height of 62cm.
Week 7 & 8
- Lighting: Maintaining the same light cycle as the rest of the grow, I kept my lamps running for 18 hours each day. I didn’t need to readjust the height of the lamps as my plant had stopped stretching.
- Nutrients: I withheld all nutrients to force my Epsilon F1 plant to use up its stored nutrients. I simply applied 2.5l of water on day 2 and day 6 of both weeks.
- Environment: I recorded an average temperature of 27°C and humidity of 40%.
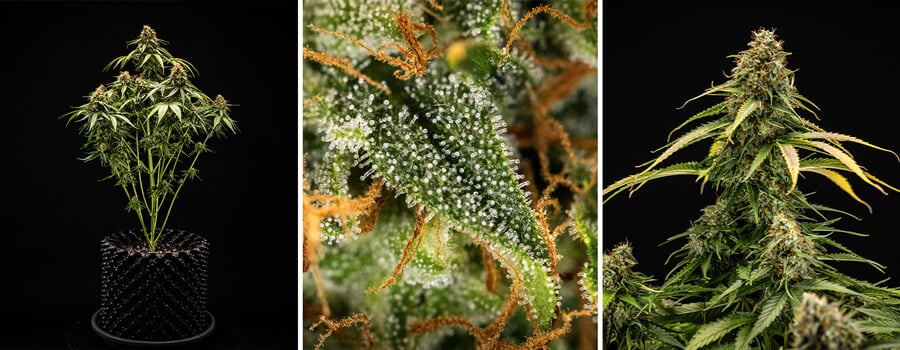
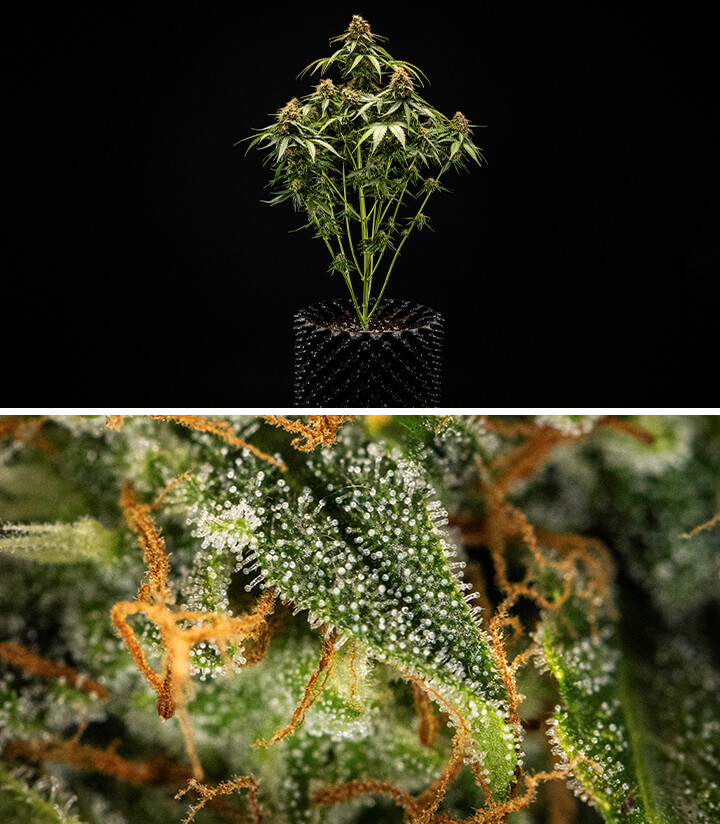
- Plant status: Following the flush, my plant’s canopy was packed with glimmering white buds. Yellow foliage, milky trichomes, and amber pistils made it clear that harvest time had arrived.
Epsilon F1 Grow Journal: Harvest
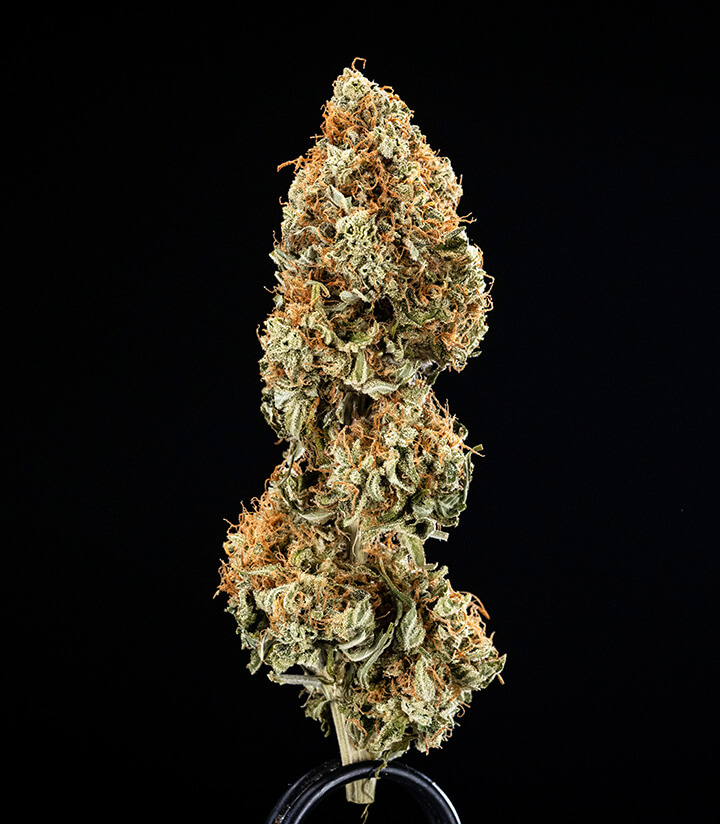
At the end of week 8, I cut my plant at the base and hung it upside down from the top of my grow box. I turned off the lights but kept my fans and ventilation system running. The buds became properly dry after 15 days. I removed the flowers and dry trimmed them before measuring a harvest of 62g. I then placed the buds into curing jars to perfect their flavour.

Genetic Attributes of Epsilon F1
Epsilon F1 belongs to the first wave of true F1 cannabis hybrids. Breeders at Royal Queen Seeds created this beauty by harnessing highly pure inbred lines of Blue Dream, Blueberry, Amnesia Lemon Haze, and Black Domina. After crossing these lines, they created a vigorous hybrid that possessed rapid growing speed, great productivity, and huge levels of THC.
Growing Characteristics of Epsilon F1
Epsilon F1 surges from sprout to harvest in only 60 days, making her a perfect fit for growers seeking a yield as soon as possible. Equipped with durable hybrid genetics, this variety can handle a range of growing conditions and thrives in areas with short outdoor growing seasons. Reaching a height of just 50–70cm, she also provides a good option for cultivators faced with limited space.
Effects, Aroma, and Flavour of Epsilon F1
Epsilon F1 employs a high concentration of THC and stoning terpenes to exert a long-lasting and physically relaxing high that soothes the body while keeping the mind clear. High levels of the terpenes caryophyllene, farnesene, myrcene, and pinene serve up flavours of blueberry, citrus, herbs, lavender, and lime.


