.

Complete Ventilation Guide for Your Cannabis Grow Room
While it is often overlooked, proper ventilation is a key aspect of running an efficient and clean grow room. In fact, most cannabis pests and plagues are caused by ventilation issues. Here's how to properly ventilate your cannabis grow-op for happy plants and hefty harvests!
Read our in-depth guide on cannabis ventilation.
Contents:
- Why is ventilation so important for growing cannabis?
- Understanding grow tent ventilation
- Essential tools for a better ventilated grow room
- Choosing between passive and active intake
- Different extractor and carbon filter configurations
- Should you instal your extractor fan inside or outside your grow tent?
- How to ventilate a grow tent
- How to ventilate a micro grow
- How to ventilate a greenhouse
- How to be discreet when ventilating your grow tent/room
- Final thoughts on managing airflow in your cannabis grow-op
Ventilation is a super important yet often overlooked part of indoor cannabis growing. Without proper ventilation, your plants can suffer from stunted growth, disease, and pest infestations. In this guide, we’ll walk you through everything you need to know about properly ventilating your cannabis grow room/tent.
Why Is Ventilation So Important for Growing Cannabis?
Cannabis plants need fresh air for two main reasons:
- To photosynthesise: Plants need fresh air to fuel the process of photosynthesis, which allows them to turn atmospheric light, water, and carbon dioxide into food.
- To breathe: Plants respire to turn glucose and oxygen from photosynthesis into energy to fuel their growth.
Without fresh air, your cannabis plants will literally starve to death. But, before this happens, a lack of fresh air in your grow room will create a breeding ground for pathogens and pests. Without proper ventilation, stale, warm air builds up around your plants, creating a hot, humid environment that many pests and plagues love.
Understanding Grow Tent Ventilation
Many beginner cannabis growers get confused or overwhelmed when it comes to ventilation. However, the basic principles of ventilating your grow space are simple; get old, humid air out of your room/tent, and replace it with fresh, cool air from outside.
As you’re reading this, you might be wondering what causes the air in your tent/room to grow warm and humid in the first place. Let's break it down:
Transpiration
Cannabis plants naturally transpire (or sweat). In fact, this process is essential for plants to move water and nutrients from the soil up into their branches, foliage, and flowers. Cannabis plants transpire through the stomata and cuticles in their leaves, and lenticels (pores found in outer plant tissue such as stems), which creates a pull that draws water up from the roots to the rest of the plant. The water that your plants transpire naturally evaporates into the air in your grow space, gradually driving up relative humidity.
Warmth From Grow Lights
All grow lights emit some form of heat. And, while modern LEDs tend to run cooler than classic HIDs, many growers still opt for the latter (either metal halide, high-pressure sodium, or both) as they tend to produce bigger yields. Without proper ventilation, your grow lights will naturally drive up the temperature in your tent/room.
The best way to keep your grow space ventilated is by using an exhaust system that draws old, warm air out at the top of the room/tent, and draws cool, fresh air from the bottom of your grow space up through the plant canopy. Depending on the size of your space, you can also use simple fans to move air around. Keep reading for more info on how to use extractors and fans.
Essential Tools for a Better Ventilated Grow Room
Here’s a list of all the essentials you’ll need to properly ventilate your grow space.
-
Extractor Fan
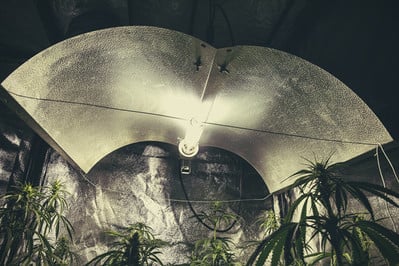
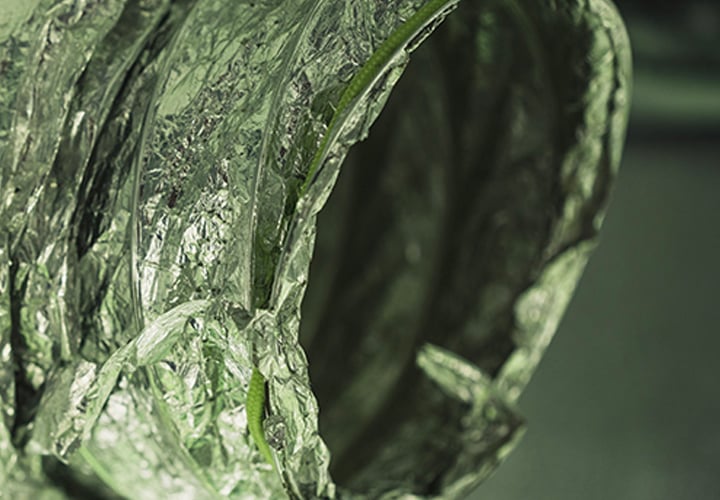
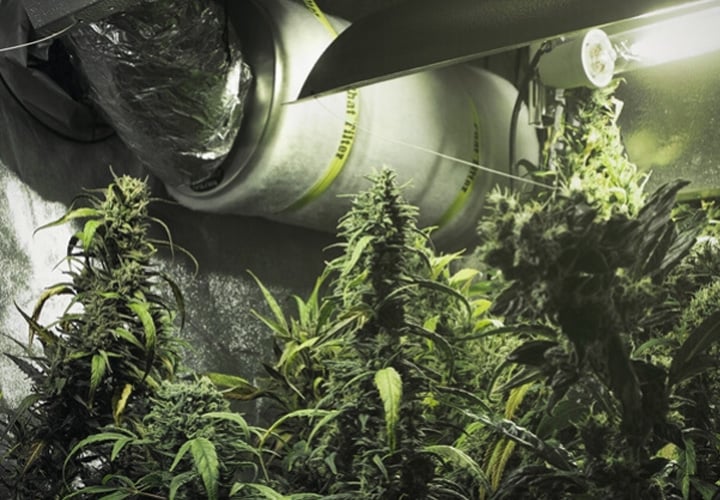
Extractor fans pull old air out of your grow space. Because hot air naturally rises, you should instal your extractor at the top of your room/tent. Some grow lights or reflectors come with an attachment for an exhaust system.
Keep in mind, there are many different extractors on the market, and you’ll need to match the power of your extractor to the size of your grow space. The power of indoor extractors is typically measured in CFM—cubic feet per minute. Here’s how to calculate the CFM you’ll need to properly ventilate your grow room/tent.
Understanding CFM
To calculate the volume of your grow room/tent, multiply its length, width, and height (ideally in feet). For an average 4 × 2ft hobby grow tent, for example, the calculation would look like this:
4ft (length) × 2ft (width) × 5ft (height) = 40ft³
For a grow tent of this size, you’ll want to pick an exhaust fan with at least 40 CFM. As a general room of thumb, we recommend picking a fan with a CFM equal to the volume of your tent/room. This will ensure your fan completely replaces the air in your grow space every minute.
The metric equivalent of this equation is cubic metres per hour, which you can figure out using this handy converter.
-
Carbon Filter
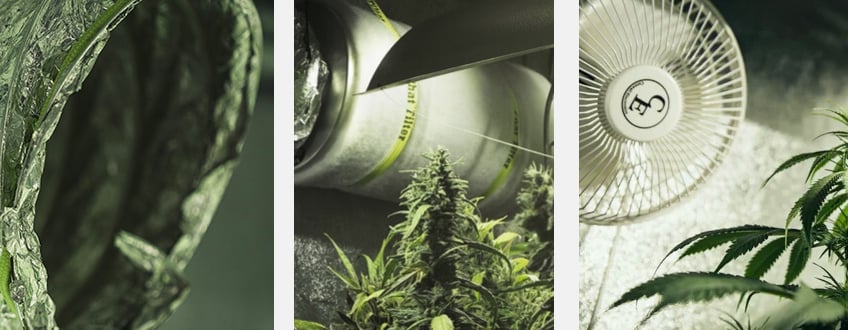
Carbon filters are designed to scrub contaminants from the air. When attached to your exhaust system, they also absorb the terpenes given off by your plants to cleanse the air you extract from your grow room. Because carbon is very dense (a single gram of activated carbon has a surface area of 3,000m²), activated carbon filters are very effective at dealing with the smell of a cannabis grow room.
-
Oscillating Fans
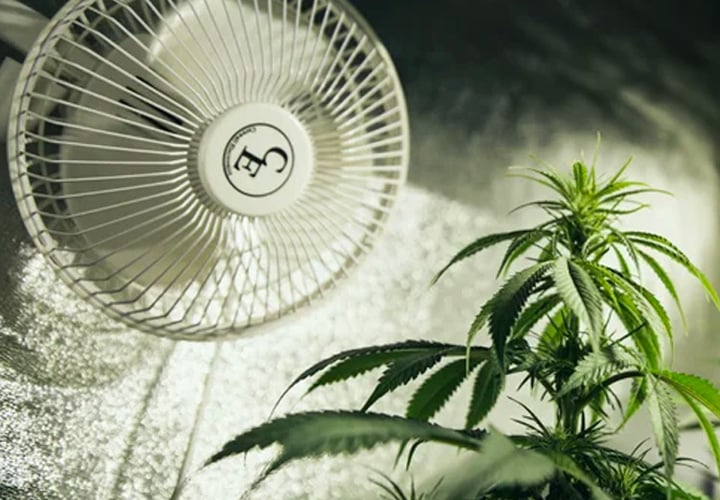
Oscillating fans are the final piece of the ventilation puzzle. While they might seem simplistic and cheap, strategically placed fans can encourage efficient airflow around your grow room. Not only will the breeze strengthen the stems of your plants, but it’ll help prevent the build-up of stagnant air around your space, reducing the risk of pests or plagues ruining your crop.
Choosing Between Passive and Active Intake
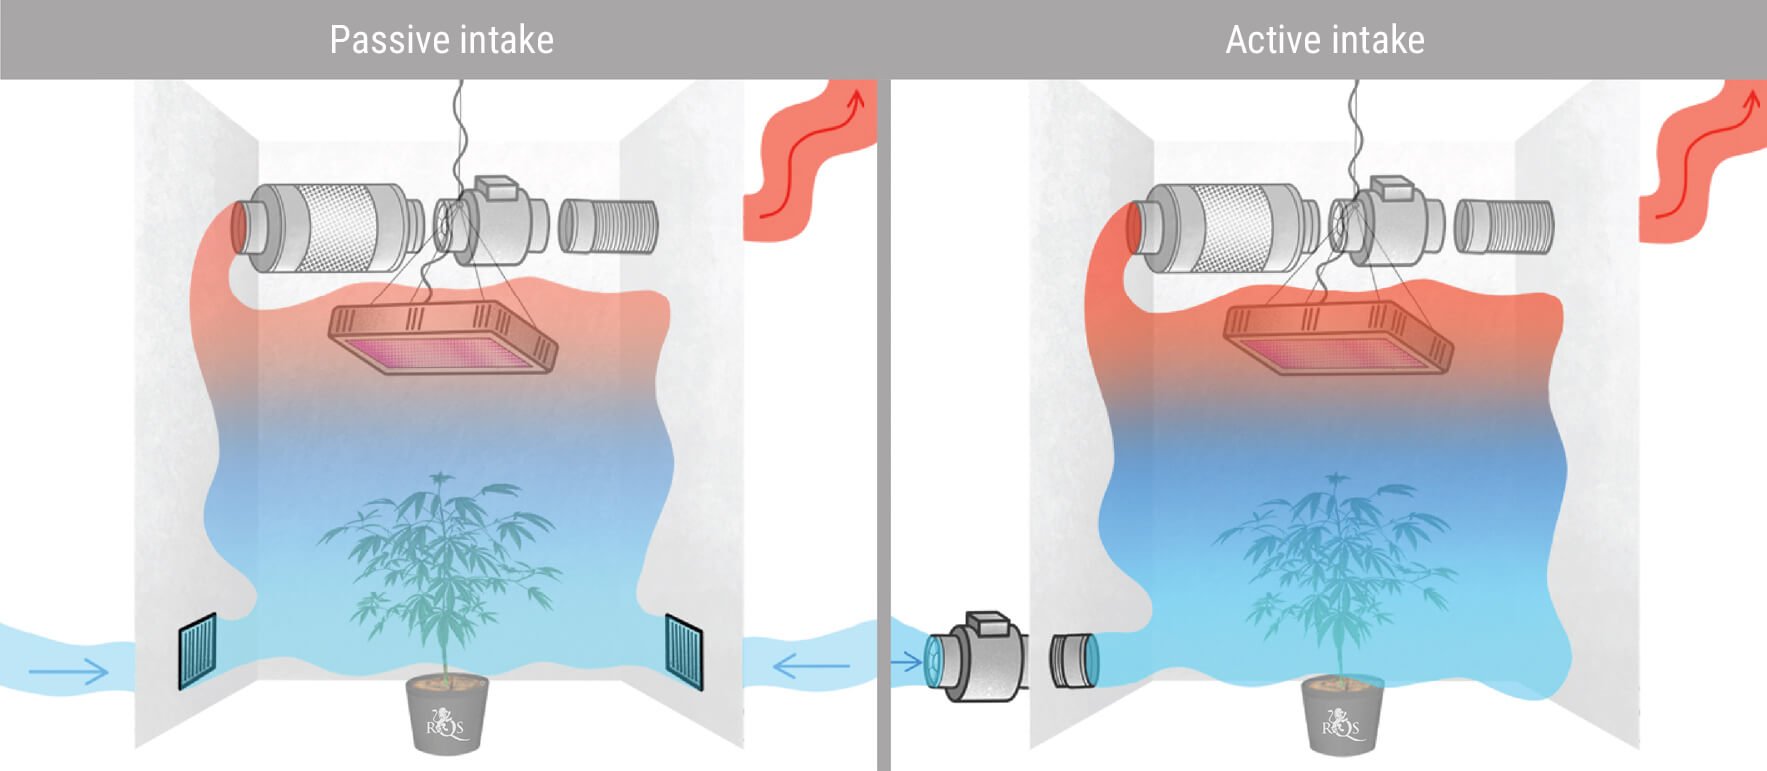
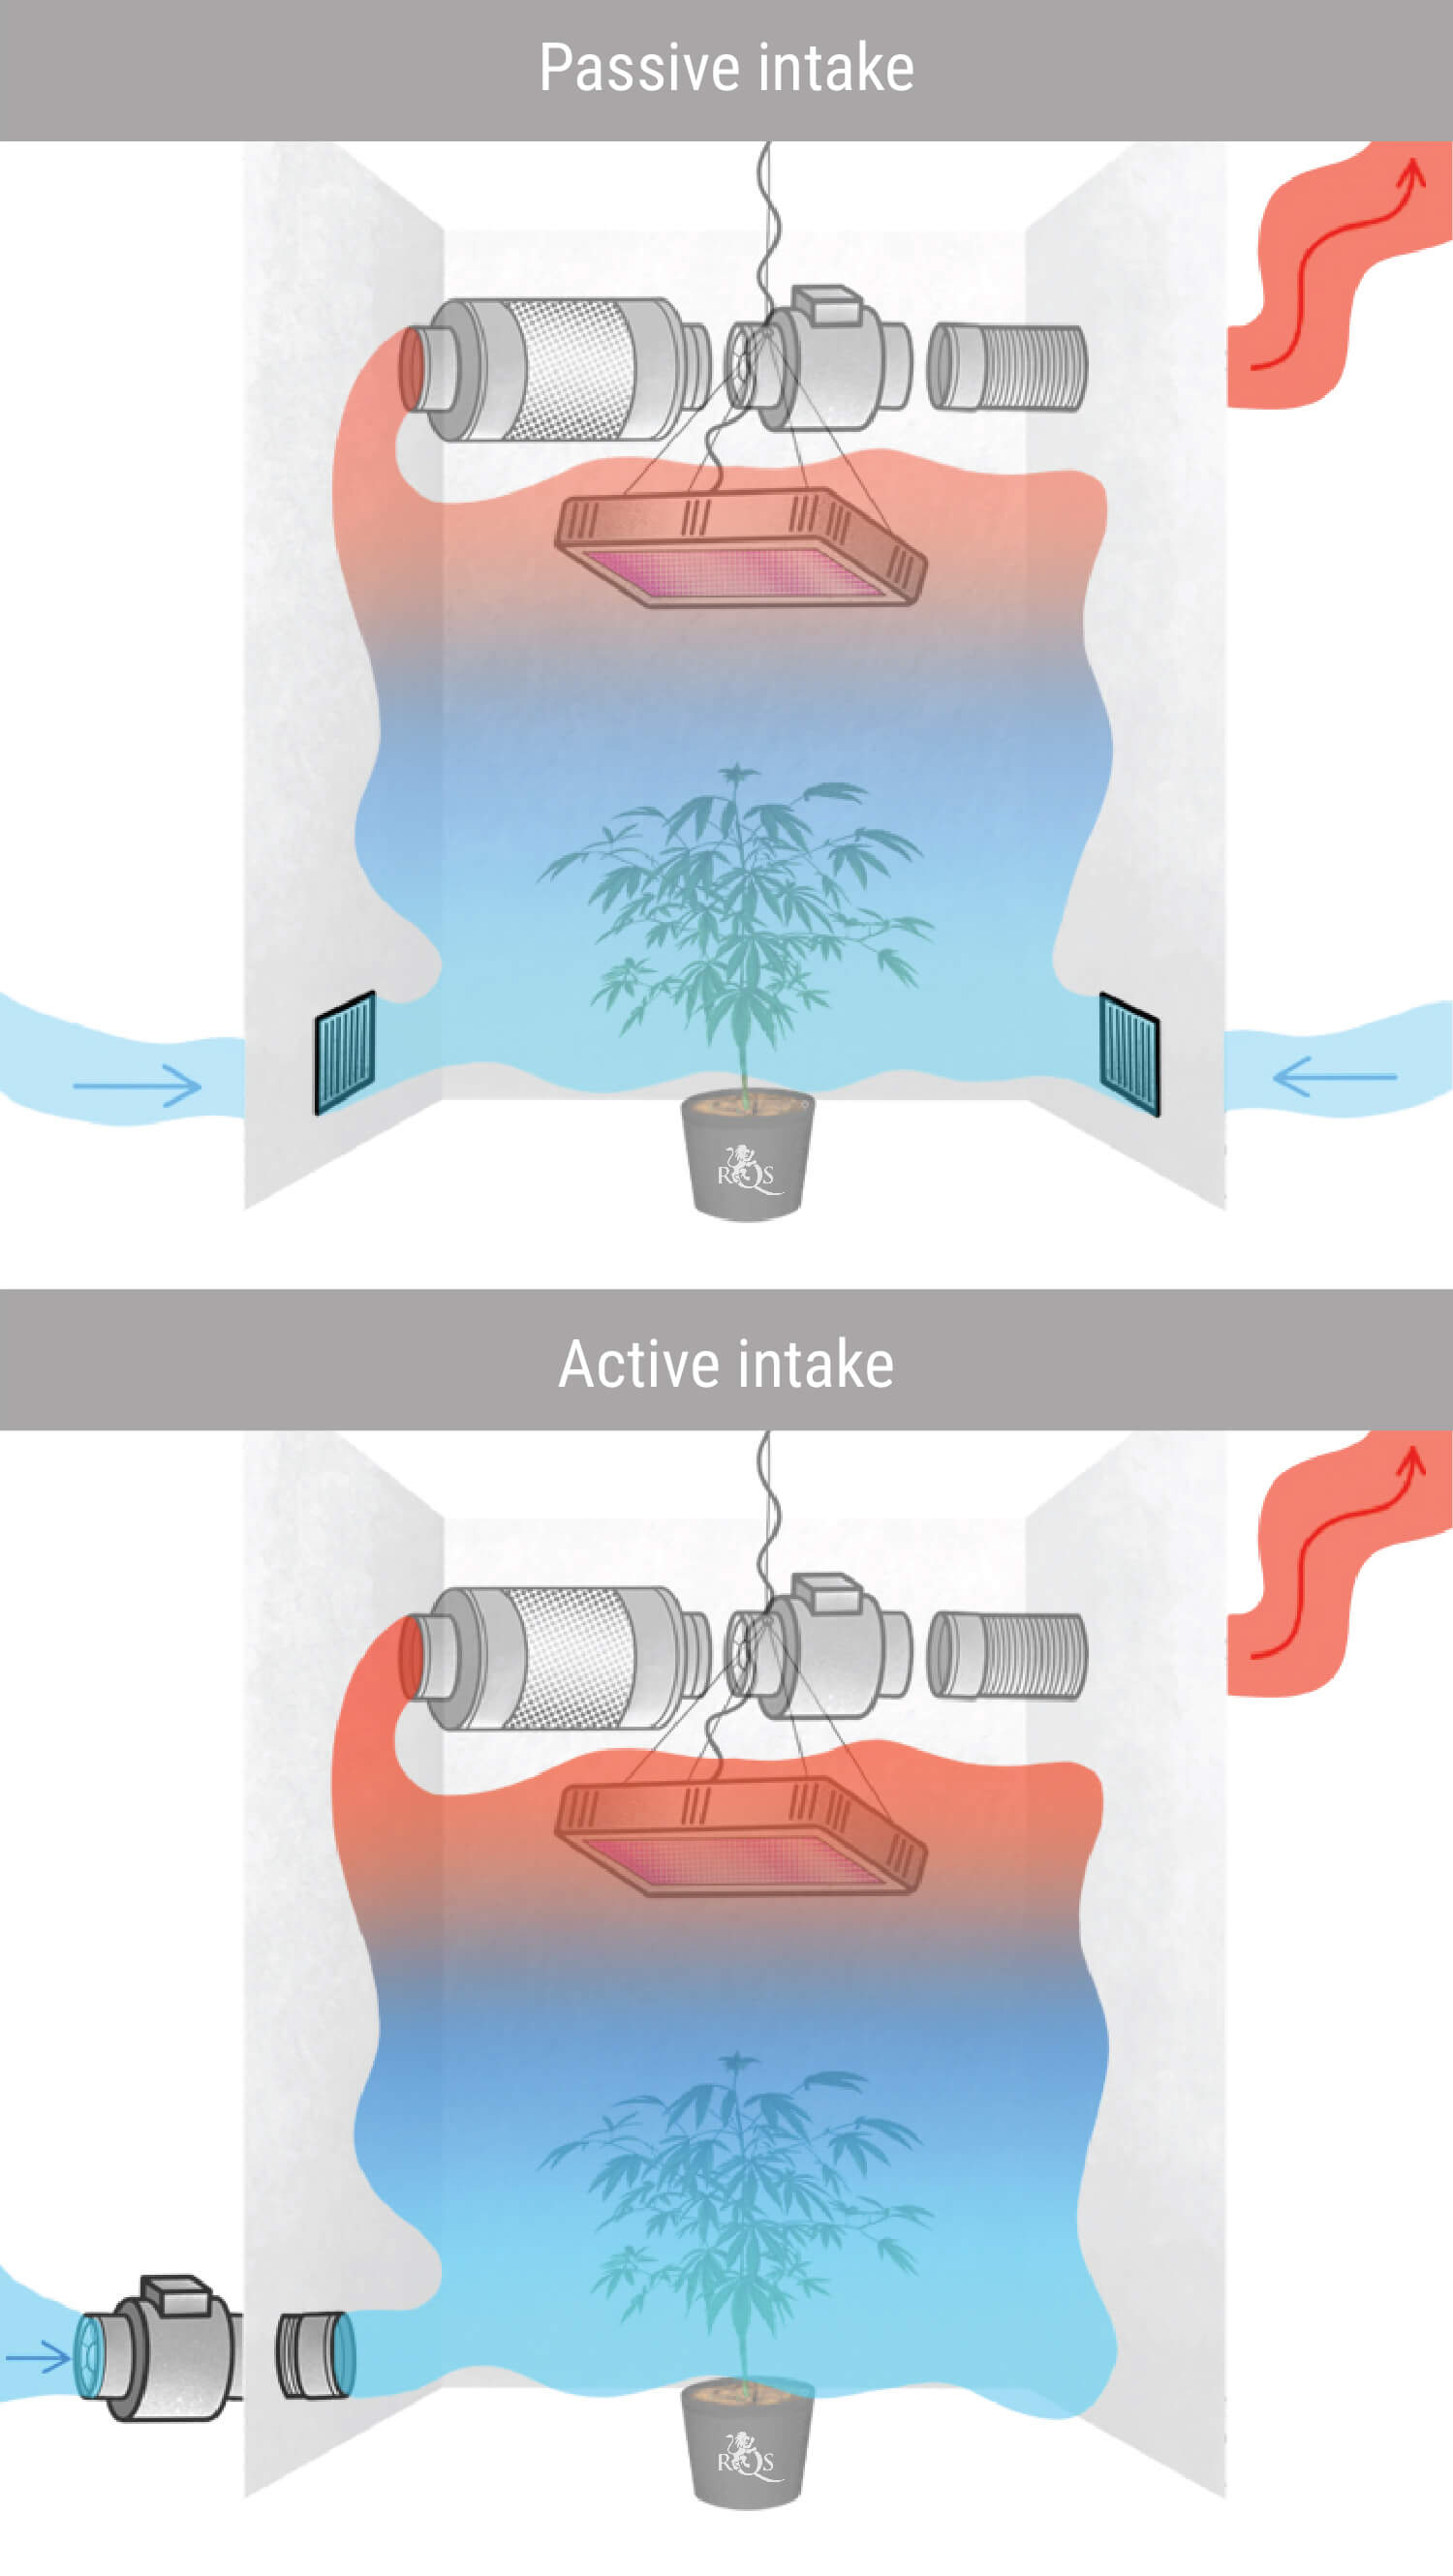
Air intake basically refers to how you bring air into your grow room. Passive intake relies on natural airflow through holes or vents in the walls of your room/tent. Active intake, on the other hand, works by pulling air into your grow room using an intake fan. This ensures much higher air circulation, making it, by far, the best way to ventilate your grow room. The CFM of your intake fan should be slightly lower than that of your exhaust to ensure negative air pressure in your room/tent.
The Importance of Negative Air Pressure
As indoor growers, it’s our job to recreate Mother Nature’s conditions and give our plants the best possible growing environment. Measuring the air pressure in your grow tent gives you extra control over your plants’ environment and, more precisely, helps ensure optimal airflow.
Ideally, you’ll want the air pressure in your grow space to be negative; this indicates that there is more air leaving your room than there is coming in, which will make it easier for you to control the temperature, humidity, and CO₂ in your grow-op, while also minimising the smell of your operation (as old air isn’t building up around your room).
Different Extractor and Carbon Filter Configurations
As you might expect, extractor and carbon filter systems can be configured in different ways, all with the end goals of keeping plants healthy and odour at a minimum. Let’s examine the different options and their pros and cons.
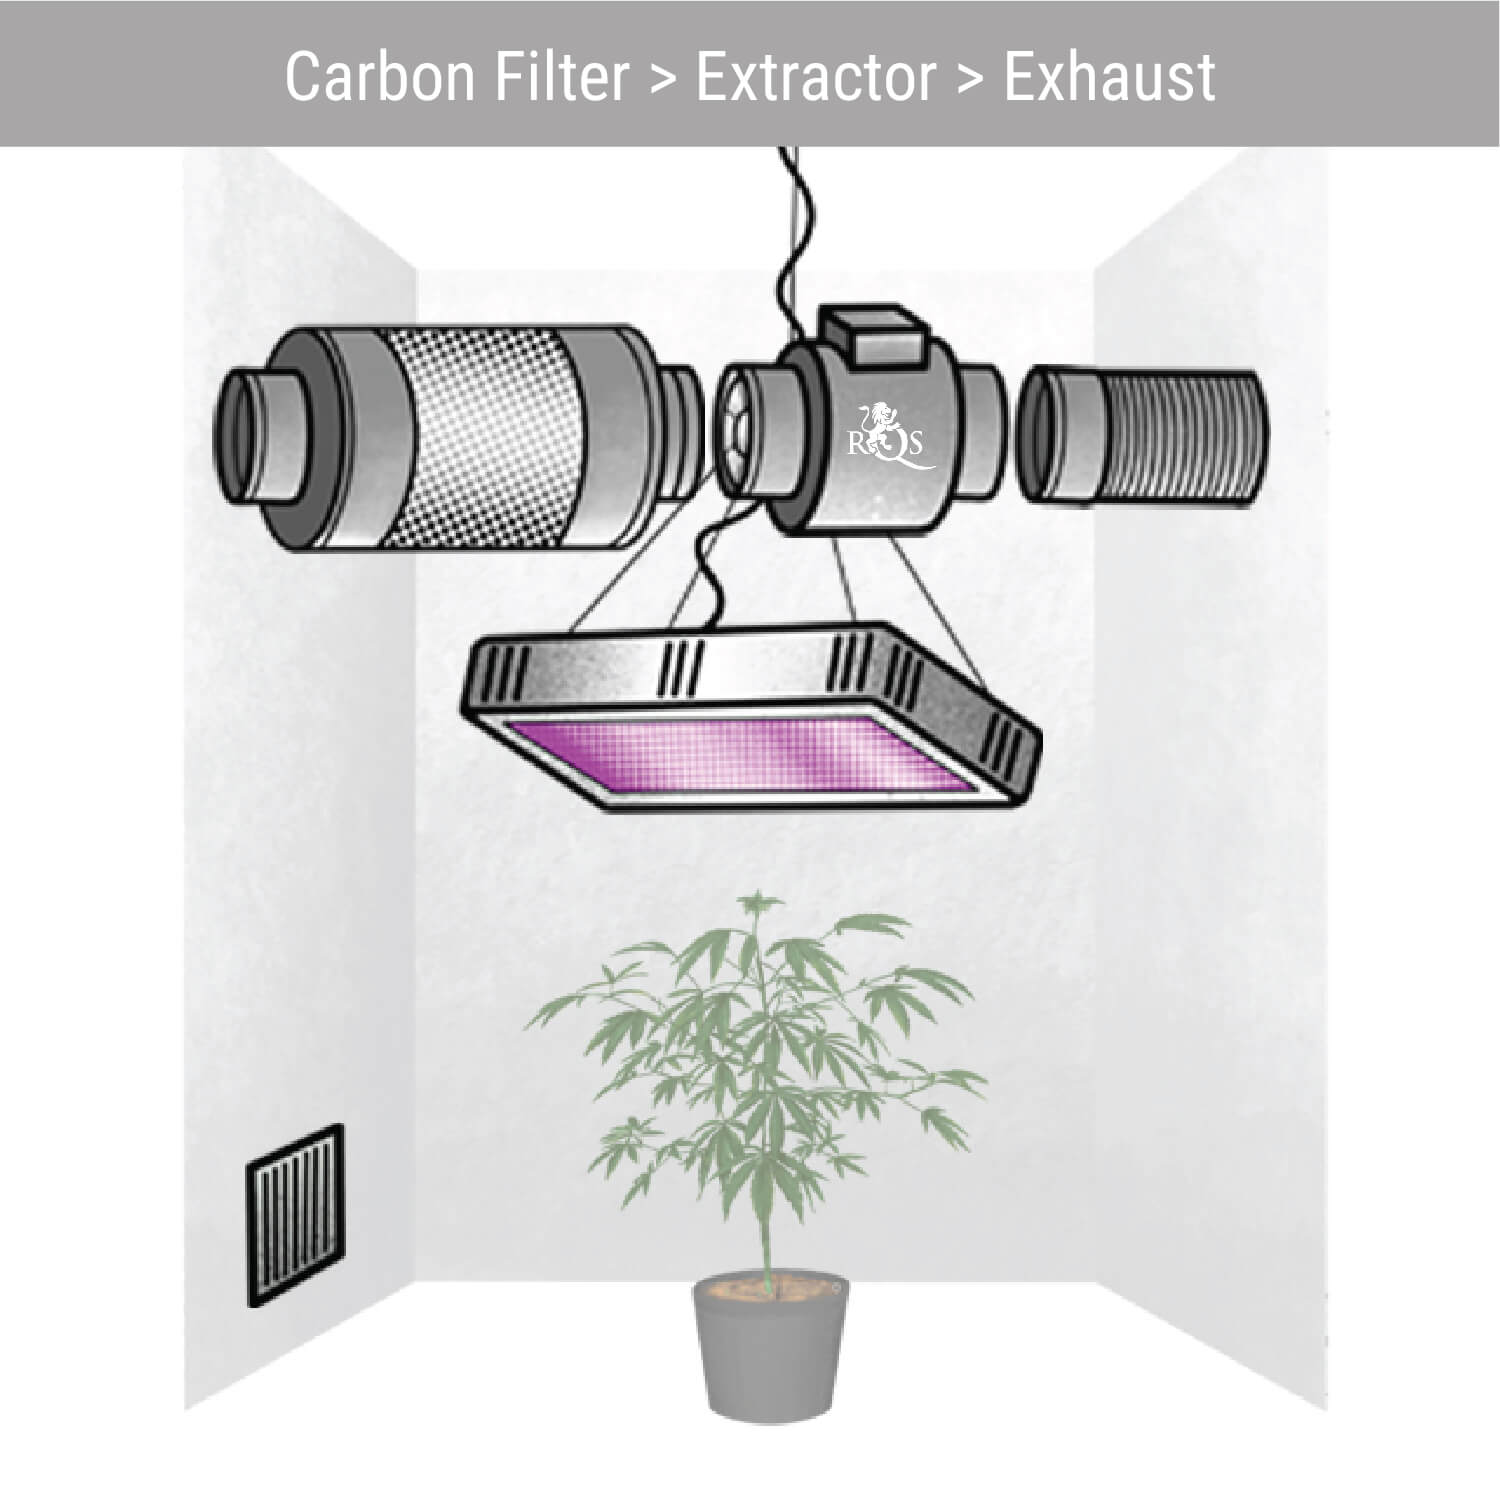
Carbon Filter > Extractor > Exhaust
This is arguably the most common way to instal an exhaust system, fan, and filter inside a grow tent. Installing the carbon filter at the beginning of your exhaust system scrubs the air before it's pushed through your ducts and brought outside.
Pros
- Air is filtered before it reaches your fan, preventing damage from airborne contaminants.
Cons
- Takes up a lot of space and may not be well-suited for small tents/rooms.
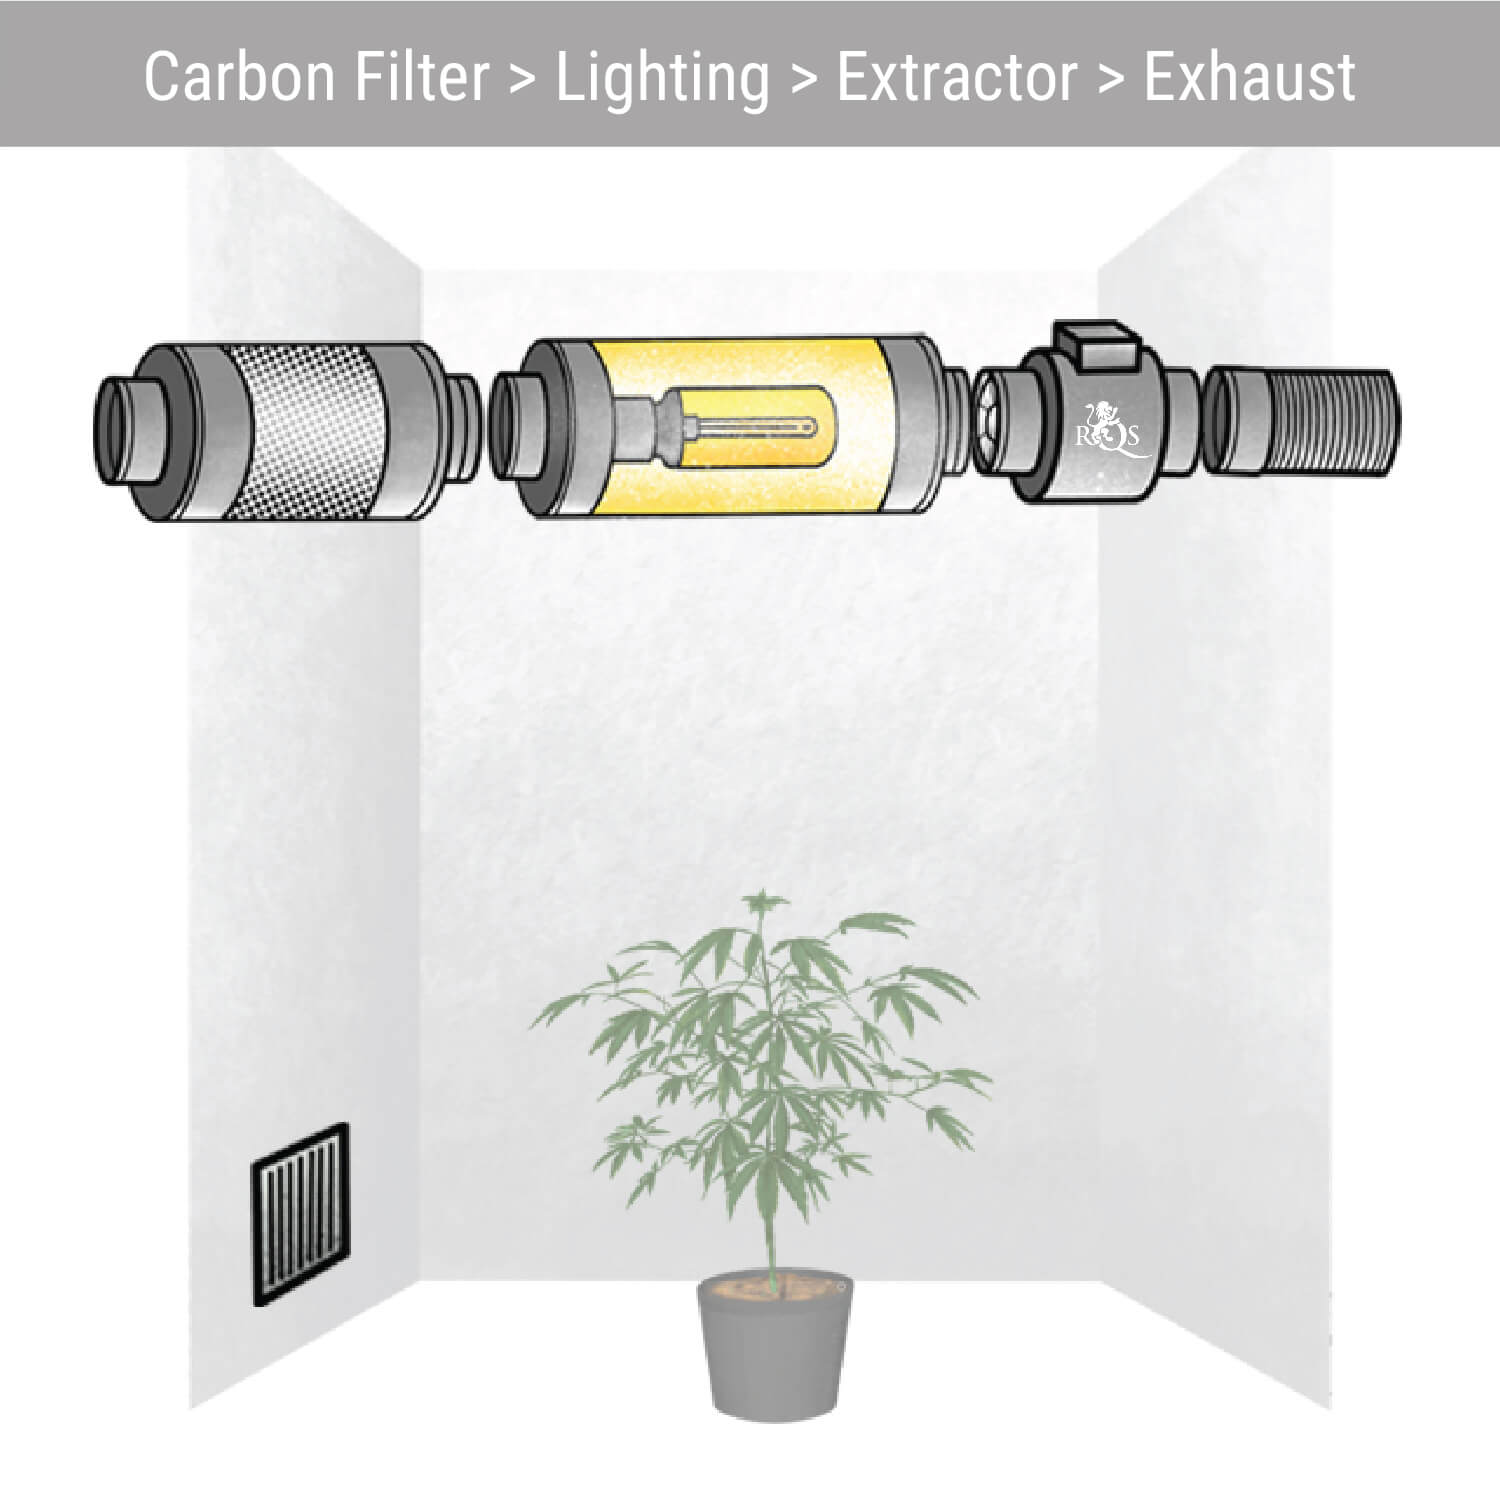
Carbon Filter > Lighting > Extractor > Exhaust
This is for growers with an enclosed venting system on their lights. Instal the filter before your grow lights, and your extractor and exhaust fans after your light fixture.
Pros
- Makes for an easy, compact exhaust setup.
Cons
- Only works with grow lights with enclosed venting.
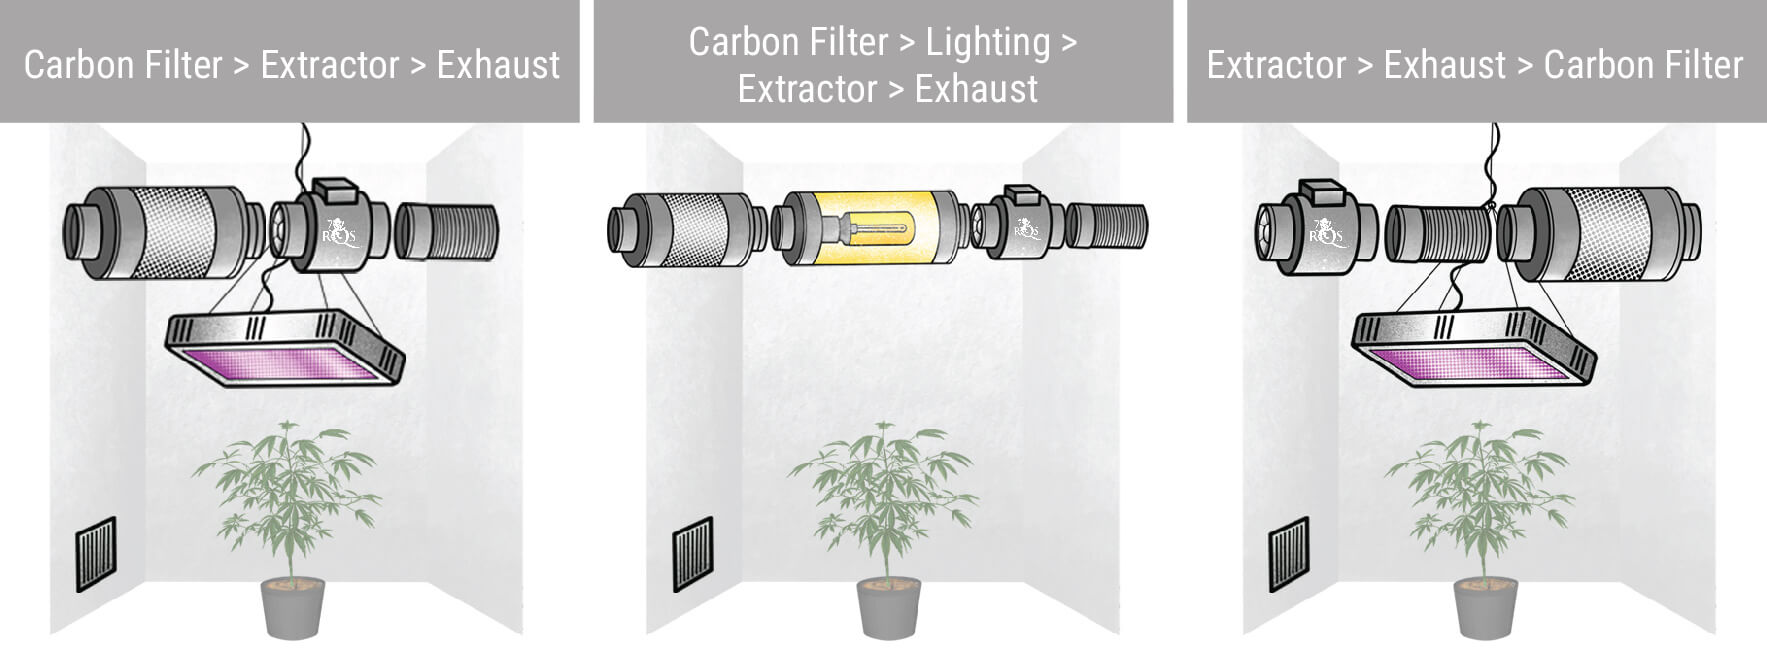
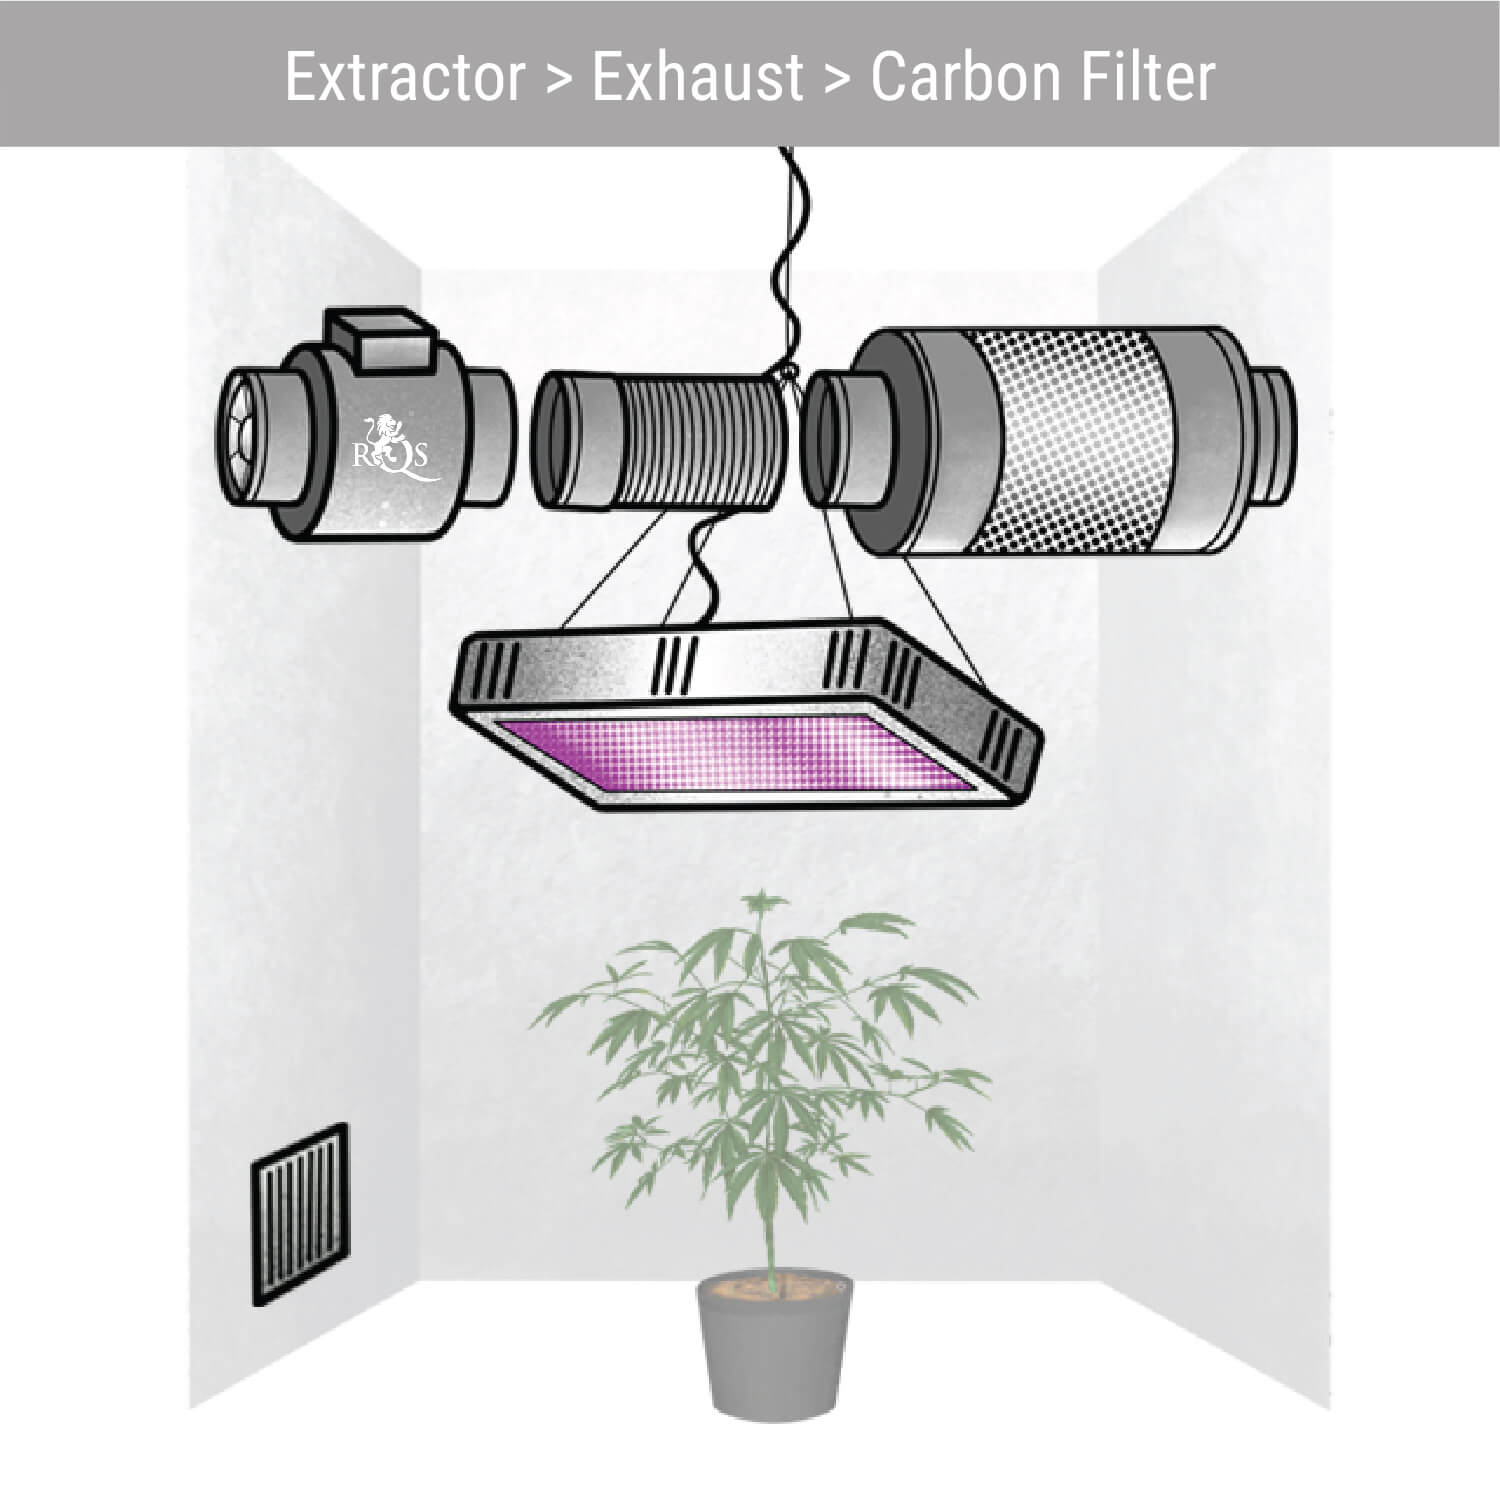
Extractor > Exhaust > Carbon Filter
Some growers opt to instal their filters right at the end of their exhaust system. This way, the air from their room/tent is scrubbed just before it’s blown outside.
Pros
- Good solution for growers working with limited space, as the carbon filter can be installed outside the grow room/tent if necessary.
Cons
- Pulls contaminated air through the fan, which may cause damage.
Should You Instal Your Extractor Fan Inside or Outside Your Grow Tent?
This is a common question amongst rookie growers. In general, we recommend installing your extractor fan and all parts of your exhaust system inside of your grow tent to minimise noise pollution. If you’re low on space or struggling to manage the heat inside your tent, however, feel free to instal your fan outside the tent. Wherever you choose to instal your extractor, it’s crucial your exhaust system is airtight.
How to Ventilate a Grow Tent
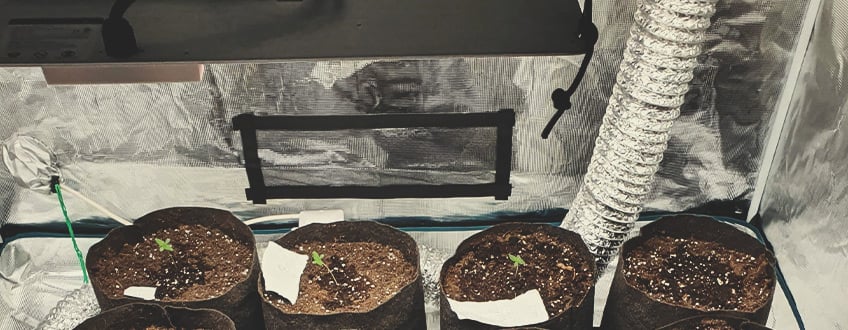
Most indoor home growers opt to grow in tents. There are different types of growing tents designed to enhance airflow and optimize environmental control. Luckily, modern grow tents come equipped with vents or ports, making it easy to set up a proper ventilation system. Below, we’ll cover the basics of installing an exhaust system in your grow tent.
-
Set Up Your Filter and Exhaust Fan
Instal your carbon filter, followed by your exhaust fan. We recommend installing both prior to installing your grow lights, as setting up ventilation around your lights can be tricky.
-
Instal Your Grow Lights
Once you’ve installed your filter and fan, instal your lights using rope ratchets.

-
Connect Everything With Ducting
Once your lights, filter, and fan are installed inside your tent, connect everything with ducting. Remember to use ducting clamps to hold everything in place, and keep some duct tape handy to cover up any tears in your system.
-
Pull More Ducting From Your Tent Outdoors
Outside your tent, use ducting to bring air from your fan to a window (or wherever you’re going to exhaust the hot air). Keep the ducting path as straight and short as possible to maximise efficiency.
-
Use Active or Passive Intake to Draw New Air Into Your Tent
If you’re relying on passive intake, remember to ensure that the intake vents in your tent are open. Also, keep a window open near your grow room to help replace the hot air being vented out of your tent.
If you’re using active intake, instal your intake fan at your tent’s intake vent.
How to Ventilate a Micro Grow
Micro-growers cultivating a plant or two in a cabinet or wardrobe can keep ventilation very simple. In fact, ventilating a micro-grow can be done for next to no money. Opening a window near your tent/cabinet/wardrobe a few times per day, and using oscillating fans as necessary, can be enough to properly ventilate your grow. Growers using LED, CFL, or low-power HID systems (250W or less) shouldn’t have issues with heat. Meanwhile, dealing with humidity in a micro-grow can be as simple as using a dehumidifier.
How to Ventilate a Greenhouse
Greenhouse growers should make sure they have multiple vents that can be opened and closed as required. Most basic, plastic-covered greenhouses have ventilation flaps that can be opened and closed manually. Worst case, you can open up the doors a little or remove a windowpane from glass greenhouses.
Letting the breeze in makes all the difference. A greenhouse can get really humid, especially when it’s packed with lots of leafy cannabis plants transpiring. Indoors or outdoors, as plants mature, they will expel more water vapour and increase the relative humidity in the space. Good airflow is essential in every growing area. During late bloom, most greenhouse growers with fat flowers will open up all vents, and maybe even DIY a few extra to avoid bud rot.
How to Be Discreet When Ventilating Your Grow Tent/Room
It’s advisable to invest in some wicker blinds and secure them in front of the window you plan to use for ventilation. It will cover up what’s going on in the grow room and still let air in. Then, you can start connecting up your ducting. Many will just board up the window by drilling some plasterboard or plywood onto the window frame with a cut-out hole for the ducting to pass through. A quick tip is to cut out the hole first!
Odour Control
The tried and trusted trio when it comes to eliminating cannabis odours are hands down the intake fan, exhaust fan, and carbon filter combination. If you are already investing in fans and ducting, it just makes sense. For the grower that wants to be certain odour is under control, this system is the best.
However, there are some promising odour-eliminating devices that dispense neutralising agents round the clock. That being said, these products are currently unproven technologies.
Final Thoughts on Managing Airflow in Your Cannabis Grow-Op
While managing airflow in your cannabis grow room might seem tricky, it doesn’t have to be. As long as you follow the tips in this guide, and focus on constantly replacing the air inside your tent or room, your plants will have the perfect conditions to flourish in.


