 Weed Grow Guide by Royal Queen Seeds
- Growing weed step by step
- Cannabis growing basics
- Choosing your seeds
- How to germinate seeds
- The cannabis vegetative stage
- The cannabis flowering stage
- Harvesting cannabis
- Trimming, drying, and curing
- Choosing pots and soil
-
Growing indoors
- A Complete Overview Of Growing Cannabis Indoors
- Cannabis Cultivation Tips: How To Set Up Indoor Grow Lights
- How Many Cannabis Plants Can You Grow Per Square Metre?
- Indoor Cannabis Growing: Relative Humidity and Temperatures
- Hydroponics Cannabis Growing Guide (with diagrams)
- Cannabis Micro Growing: Growing Great Weed in Tiny Spaces
- Growing outdoors
- How to grow autoflowering cannabis
- Cannabis nutrients and pH
- Cannabis troubleshooting: Nutrients
-
Cannabis troubleshooting: Growing
- Cannabis Seed Germination — Troubleshooting Guide
- How to Deal With Pythium (Root Rot) in Cannabis Plants
- Slow Cannabis Plant Growth And What You Can Do About It
- How to Prevent and Fix Stretching in Cannabis Seedlings
- Watering Your Cannabis: How to Fix Overwatering and Underwatering
- Understanding Male, Female, And Hermaphrodite Cannabis
- Identifying and Treating Common Cannabis Ailments
- How To Revive a Sick Cannabis Plant
- How to Avoid Mouldy Weed During Drying and Curing
- How to Prevent and Treat Dry and Crispy Cannabis Leaves
- What Cannabis Leaves Can Tell You
- Causes and Solutions for Yellow Cannabis Leaves
-
Cannabis Strains Grow Report
- HulkBerry Automatic Grow Report
- Blue Cheese Auto Grow Report
- Purple Punch Automatic Grow Report
- Triple G Automatic Grow Report
- Do-Si-Dos Automatic Grow Report
- Green Gelato Automatic Grow Report
- Haze Berry Automatic Grow Report
- Purple Queen Automatic Grow Report
- Cookies Gelato Automatic Grow Report
- Sherbet Queen Automatic Grow Report
- Sweet Skunk Automatic Grow Report
- Medusa F1 Grow Report
- Cannabis plant training
-
Weed growing tips
- The Cannabis Plant Anatomy
- How to preserve seeds
- How Much Sunlight Do Outdoor Cannabis Plants Need To Grow?
- How to Control and Prevent Stretching in Cannabis Plants
- My Cannabis Plants Are Growing Too Tall: What Should I Do?
- Should You Worry About Purple Or Red Cannabis Stems?
- What To Do When Your Indoor Cannabis Won’t Flower
- How To Protect Your Cannabis Plants From Heat Stress
- How To Tell If Your Female Cannabis Plant Has Been Pollinated
- Growing Medical Marijuana
- Bud Washing: How to Clean Your Weed
- Understanding Cannabis Yield per Plant
Apollo F1 Grow Report
Are you looking to grow Apollo F1? Well, you’re in the right place for some inspiration! Check out my week-by-week grow report to find out how I fed, watered, and harvested this F1 hybrid!
Contents:
- Apollo f1 grow report: equipment list
- Apollo f1 grow report: seedling stage (week 1)
- Apollo f1 grow report: vegetative phase (week 2–4)
- Apollo f1 grow report: flowering stage (week 5–11)
- Apollo f1 grow journal: harvest
- Genetic attributes of apollo f1
- Growing characteristics of apollo f1
- Effects, aroma, and flavour of apollo f1
Apollo F1 Grow Report: Equipment List
- Box: Secret Jardin DS120W 120 × 60 × 178
- Lights: MIGRO 200+
- Ventilation: TT Silent-M 100
- Filter: Prima Klima filter PK 100/125
- Fan: Oscillating Koala Fan × 2
- Humidifier: Beurer LB 45
- Soil: BioBizz Light Mix
- Pot: 11l Air-Pot
- Seed: Royal Queen Seeds
- Nutrition: RQS Organic Nutrition
Apollo F1 Grow Report: Seedling Stage (Week 1)
Welcome to my Apollo F1 growing journal! Below, you’re going to discover every single step I took to transform my small seed into a mature and productive plant. I was excited to give another of the first true F1 hybrids a whirl. Having grown a couple in the past, I was already impressed with their potency, resilience, and productivity. So, follow along and let’s get started!
- Growing medium: Before popping my seed, I had to create a growing medium for it to thrive in. I took my 11l Air-Pot and filled it with 5l of BioBizz Light Mix. Next up, I decided to add a mix of nutrients and biologicals that would help my plant to get a good foothold. I threw in the following:
RQS Easy Boost Organic Nutrition: 50g
RQS Rhizobacter: 10g
I mixed everything together thoroughly. I then added another 5l of BioBizz Light Mix and mixed again.
- Germination: After putting together a high-quality growing medium, I was ready to sow my seed. I saturated the growing medium with water before making a small 2cm-deep hole in the centre of the surface. I inserted my seed, sprinkled in another pinch of RQS Mycorrhiza Mix, covered lightly with soil, and misted.
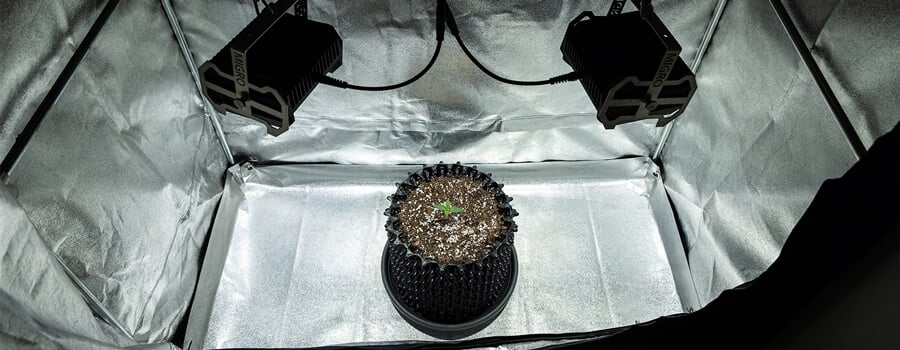
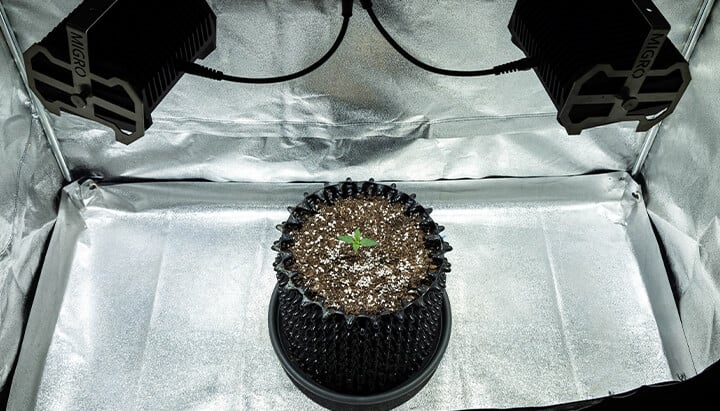
- Lighting: The MIGRO 200+ rig consists of two separate lamps. I had to configure them correctly to ensure an even spread of light in my grow box. Using ratchet straps, I hung each lamp 35cm horizontally from the midline of the grow box. Next, I positioned them vertically to hang 35cm above the rim of my Air-Pot. I started to run both lamps for 18 hours each day as soon as the shoot from my seed began to rise from the soil.
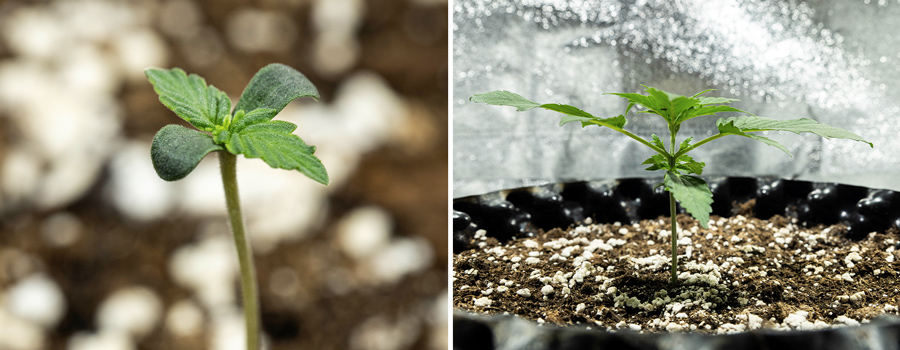
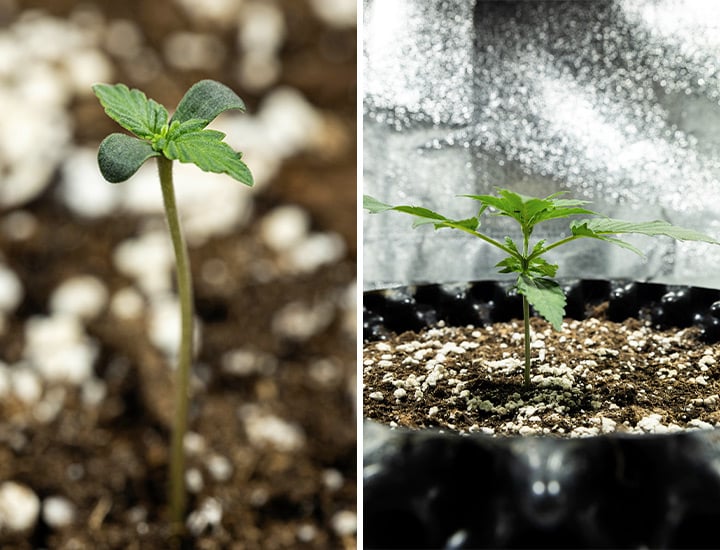
- Plant status: My Apollo F1 seed germinated with no issues (as expected from an F1 variety). By the end of the week, my seedling stood at around 4cm tall. It featured a sturdy stem, two healthy-looking cotyledons, and two emerging true leaves.
Apollo F1 Grow Report: Vegetative Phase (Week 2–4)
Welcome to the vegetative phase! After a successful seedling period, I was excited to see how my Apollo F1 plant would perform during the next few weeks. Discover what I did to facilitate the growth of a healthy and luscious plant!
Week 2
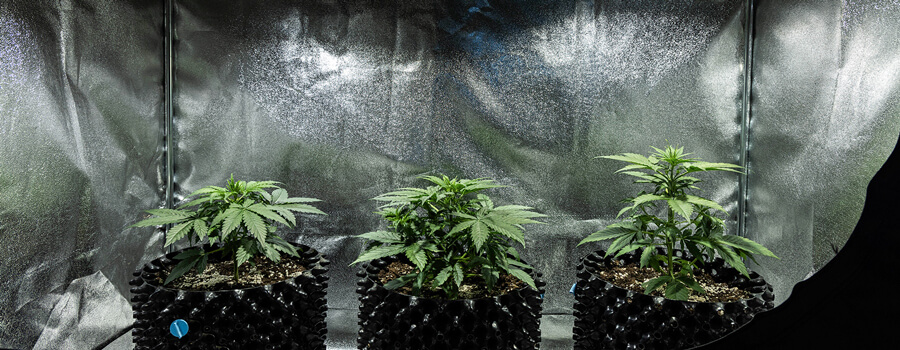
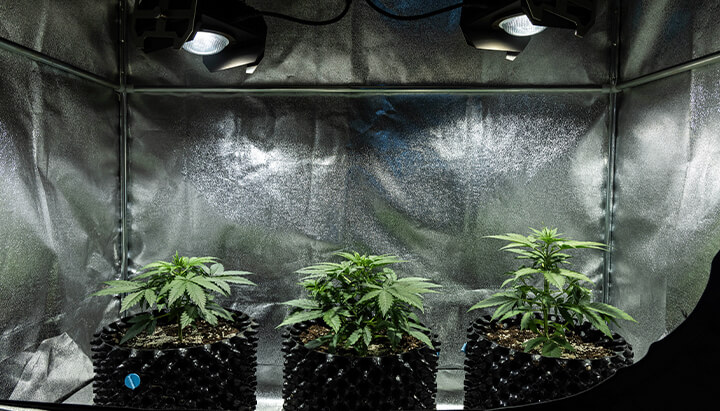
My plant packed on some serious size during this time, putting the hybrid vigour of Apollo F1 on full display.
- Lighting: I repositioned my lamps to hang 35cm vertically from the tip of my young plant. I kept them running for 18 hours per day.
- Nutrients: My plant currently had all the nutrients it needed from the growing medium I prepared a week earlier. All I needed to do was water. I applied 1.5l of water adjusted to a pH of 6.0 on day 1 of the week, and again on day 6.
- Environment: I took temperature and humidity readings from a digital hygrometer I had placed in my grow box. I recorded an average temperature of 25°C and a relative humidity of 50%.
- Plant status: By the end of week 2, my plant stood at 8.5cm. While doubling in height in the space of a week, it also put out several new sets of luscious green fan leaves.
Week 3
My young plant continued to surge in size. I decided to start feeding to facilitate this speedy growth and avoid any potential deficiencies.
- Lighting: I kept both lamps running for 18 hours each day.
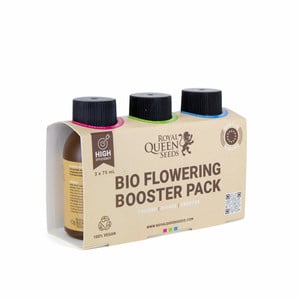
- Nutrients: I fed my plant on day 2 of the week. I added 1ml of Bigger Flowers from the Bio Flowering Booster pack to 2l of pH-adjusted water and poured away. On day 6 of the week, I watered with another 2l and withheld any nutrients.
- Environment: I recorded an average temperature of 25°C and a relative humidity of 50%.
- Plant status: My plant had doubled in size again and clocked in at a height of 17cm. So far, so good! My Apollo F1 specimen looked super healthy and vibrant and showed no signs of deficiencies or diseases.
Week 4
Welcome to the final week of the vegetative phase—thanks for sticking around! Things started to get very exciting at this point, mainly because some gorgeous preflowers started to show up.
- Lighting: No surprises here! I continued to run my lamps for 18 hours each day.
- Nutrients: On day 2 of the week, I added one Easy Grow Booster Tablet to 2l of pH-adjusted water. I applied 2l to my Apollo F1 plant and treated my garden plants to the rest. On day 5 of the week, I administered nothing but 2l of pH-adjusted water.
- Environment: I recorded an average temperature of 26°C and an average humidity of 50%.
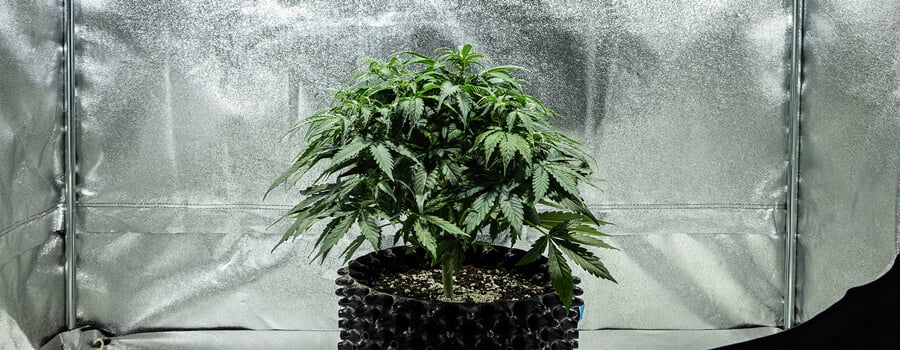
- Plant status: As my plant transitioned from the vegetative to the flowering phase, it stood at a height of 35cm. I conducted some light defoliation during the middle of the week by removing several of the lower leaves. This would open up access for easier watering and help to keep the canopy aerated. Still, my luscious specimen showed zero signs of struggle; no deficiencies, diseases, or pests. It looked strong and vigorous and I noticed small preflowers starting to form at the nodes.
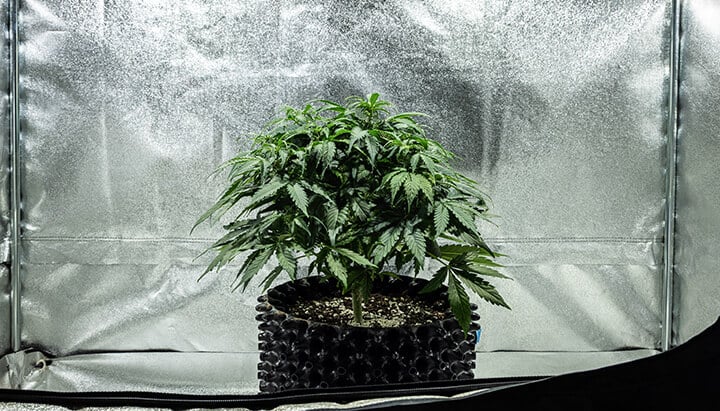
Apollo F1 Grow Report: Flowering Stage (Week 5–11)
Apollo F1 arrived at the flowering stage with almost zero effort at all. Her powerful hybrid genetics practically took care of themselves, outside of the occasional feed and water. Luckily for me, she also stayed this way throughout the flowering phase!
Week 5
To kick-start the flowering phase, I started off with a little more defoliation to open up the canopy to air and light. I also switched up my nutrient regimen slightly to promote healthy bud development.
- Lighting: I continued to run both lamps for 18 hours per day.
- Nutrients: On day 2 of the week, I added the following nutrients into 2l of pH-adjusted water:
0.8ml Thicker Flowers
1ml Bigger Flowers
On day 6, I watered with another 2l of pH-adjusted water.
- Environment: I recorded an average temperature of 28°C and a relative humidity of 50%.
- Plant status: My plant stood at the stealthy height of 35cm at the end of the first week of flowering. The small preflowers started to develop fully formed pistillate flowers and began to emit a subtle smell.
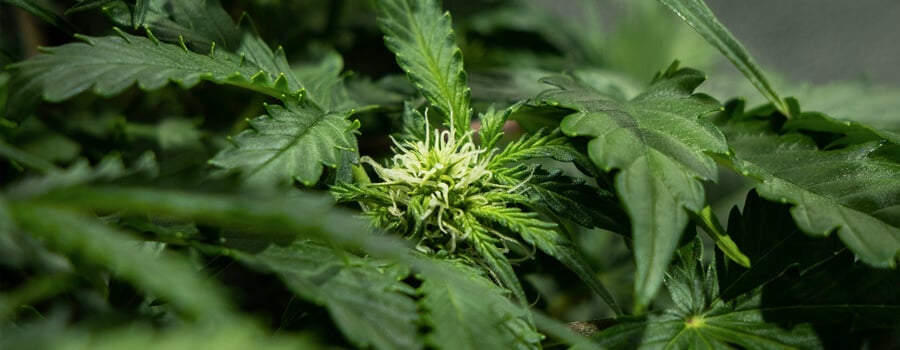
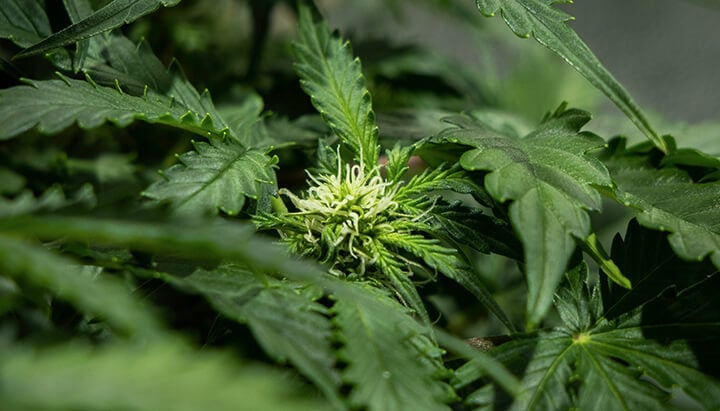
Week 6
Apollo F1 continued to impress me as the weeks went by. With zero training and only light defoliation, she naturally formed a compact and laterally oriented canopy perfect for smaller growing spaces.
- Lighting: I maintained a light cycle of 18 hours on and 6 hours off.
- Nutrients: On day 2 of the week, I added half of an Easy Bloom Booster Tablet to 2.5l of water and fed my plant. On day 6, I added the following into 2l of water and applied:
1.2ml Thicker Flowers
1.6ml Bigger Flowers
0.8ml Sweet Flowers
- Environment: I recorded an average temperature of 28°C and humidity of 45%.
- Plant status: My plant had reached a height of 39cm. Its canopy was now starting to fill up with small but aromatic colas.
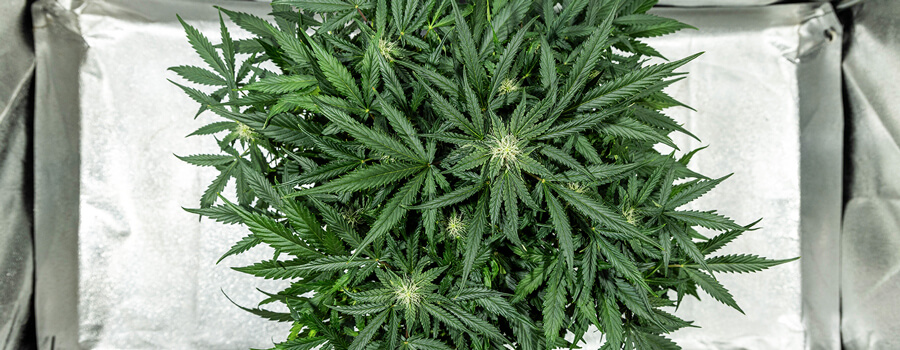
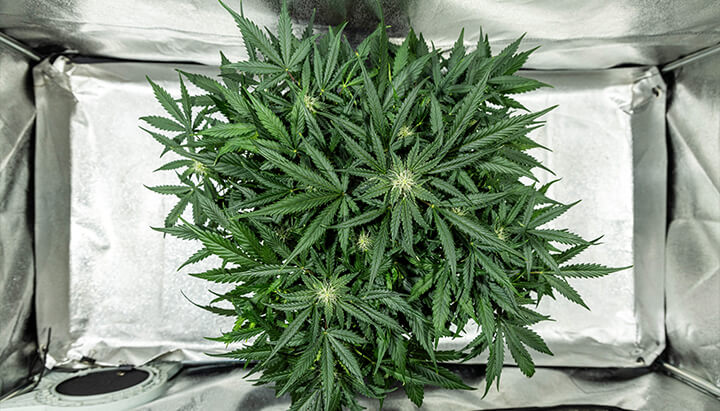
Week 7
My Apollo F1 plant continued to cruise along during week 7 of the growing cycle. Her flowers started to fill up the branches, and many more trichomes started to appear.
- Lighting: You guessed it! I kept my lamps in for 18 hours each day.
- Nutrients: I added the following to 2.5l of water and applied on day 2 of the week:
2ml Thicker Flowers
2.5ml Bigger Flowers
1ml Sweet Flowers
On day 5 of the week, I watered my plant with half of an Easy Bloom Booster tablet dissolved into 2.5l of water.
- Environment: I recorded an average temperature of 28°C and a relative humidity of 45%.
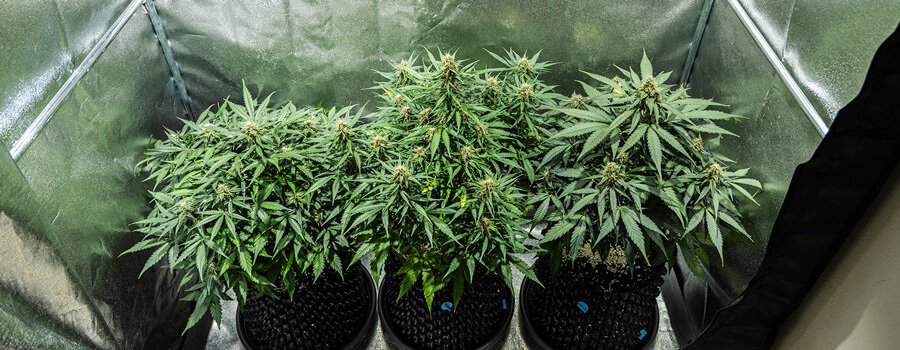
- Plant status: Apollo F1 looked stunning at this point. Her buds were becoming shinier by the day. I noticed some yellow leaves towards the bottom of the plant and put this down to maturity. I defoliated them and threw them in the compost.
.jpg)
Week 8
Week 8 of the growing cycle marked the end of feeding. After two more applications of nutrients, I would initiate flushing.
- Lighting: I continued to keep the lamps running for 18 hours each day.
- Nutrients: I added the following into 2.5l of water and applied on day two of the week:
2ml Thicker Flowers
2.5ml Bigger Flowers
1ml Sweet Flowers
I also applied the same Easy Bloom Booster feed as the previous week.
- Environment: I recorded an average temperature of 28°C and humidity of 45%.
- Plant status: After the last week of feeding, my plant looked healthy overall. She boasted a dense and dark green canopy. Her buds were becoming larger and more mature, with some stigmas starting to shift from white to orange.
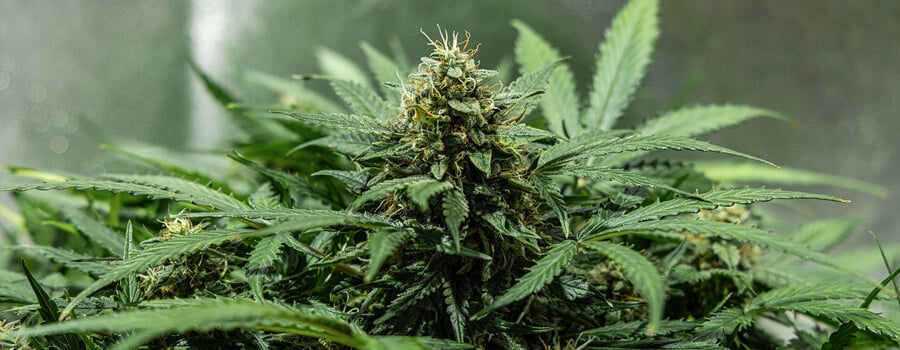
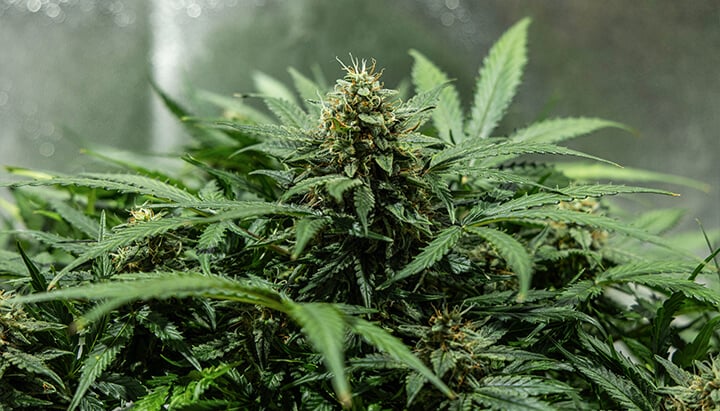
Weeks 9, 10, and 11
The final three weeks were a lot more hands-off. I restricted all nutrients to flush my plants in an attempt to improve the flavour and smoothness of the buds.
- Lighting: I kept my lights running for 18 hours per day for the last 3 weeks.
- Nutrients: I withheld all nutrients, and I watered with 2.5l of pH-adjusted water on days 2 and 5 of the remaining weeks.
- Environment: I recorded an average temperature of 28°C and a relative humidity of 45%.
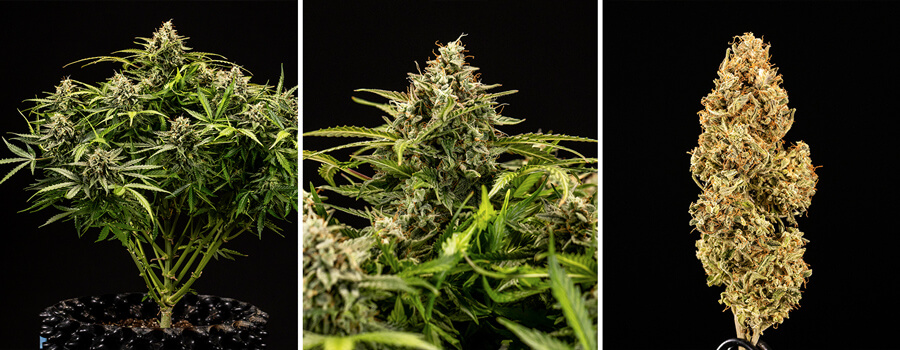
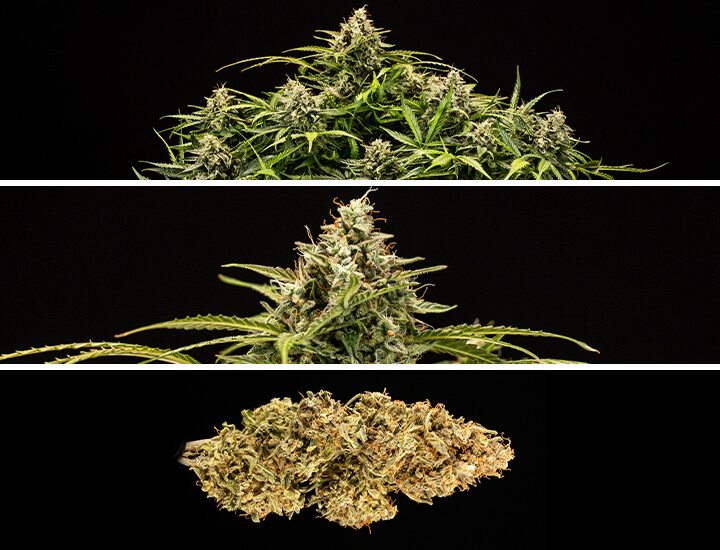
- Plant status: My plant had yellowed significantly following the flush. However, the buds were packed with trichomes, coated in resin, and covered with dark orange pistils; they were mature and ready to harvest!
Apollo F1 Grow Journal: Harvest
I cut my plant at the base and hung it upside down in my grow box. I kept the lamps off and fans running for several days until the branches became cracker-dry and snapped when bent. I dry-trimmed my buds and cured them for 6 weeks before blazing them up. Overall, I harvested 49g of beautiful and potent, manicured flowers.
Genetic Attributes of Apollo F1
Apollo F1 stands among the first wave of true F1 cannabis hybrids. These varieties are created over a long and complex process that involves crossing two highly pure parent lines. This results in offspring with hybrid vigour. Simply put, this means plants are more potent, productive, resistant to diseases, and much easier to grow. RQS breeders created Apollo F1 by starting out with Lemon, Black Domina, and Sugar Magnolia parent lines.
Growing Characteristics of Apollo F1
As you saw in the growing report above, Apollo F1 maintains a small and compact structure and doesn’t exceed a height of 75cm. Use an 11l pot, and you’ll keep her lower than 40cm. Light defoliation and LST will help to keep her canopy more illuminated and aerated. Apart from this, she needs minimal management. Her speedy autoflowering nature means she charges from sprout to harvest in as little as 75 days.
Effects, Aroma, and Flavour of Apollo F1
Apollo F1 packs a massive THC content and delivers a fast-acting cognitive high. Blaze up these buds whenever you’re in need of some creative inspiration. High levels of the terpenes caryophyllene, farnesene, and terpinolene deliver flavours of vanilla, pine, and citrus with every hit.
 Grow Guide Topic Finder
- Growing weed step by step
- Cannabis growing basics
- Choosing your seeds
- How to germinate seeds
- The cannabis vegetative stage
- The cannabis flowering stage
- Harvesting cannabis
- Trimming, drying, and curing
- Choosing pots and soil
-
Growing indoors
- A Complete Overview Of Growing Cannabis Indoors
- Cannabis Cultivation Tips: How To Set Up Indoor Grow Lights
- How Many Cannabis Plants Can You Grow Per Square Metre?
- Indoor Cannabis Growing: Relative Humidity and Temperatures
- Hydroponics Cannabis Growing Guide (with diagrams)
- Cannabis Micro Growing: Growing Great Weed in Tiny Spaces
- Growing outdoors
- How to grow autoflowering cannabis
- Cannabis nutrients and pH
- Cannabis troubleshooting: Nutrients
-
Cannabis troubleshooting: Growing
- Cannabis Seed Germination — Troubleshooting Guide
- How to Deal With Pythium (Root Rot) in Cannabis Plants
- Slow Cannabis Plant Growth And What You Can Do About It
- How to Prevent and Fix Stretching in Cannabis Seedlings
- Watering Your Cannabis: How to Fix Overwatering and Underwatering
- Understanding Male, Female, And Hermaphrodite Cannabis
- Identifying and Treating Common Cannabis Ailments
- How To Revive a Sick Cannabis Plant
- How to Avoid Mouldy Weed During Drying and Curing
- How to Prevent and Treat Dry and Crispy Cannabis Leaves
- What Cannabis Leaves Can Tell You
- Causes and Solutions for Yellow Cannabis Leaves
-
Cannabis Strains Grow Report
- HulkBerry Automatic Grow Report
- Blue Cheese Auto Grow Report
- Purple Punch Automatic Grow Report
- Triple G Automatic Grow Report
- Do-Si-Dos Automatic Grow Report
- Green Gelato Automatic Grow Report
- Haze Berry Automatic Grow Report
- Purple Queen Automatic Grow Report
- Cookies Gelato Automatic Grow Report
- Sherbet Queen Automatic Grow Report
- Sweet Skunk Automatic Grow Report
- Medusa F1 Grow Report
- Cannabis plant training
-
Weed growing tips
- The Cannabis Plant Anatomy
- How to preserve seeds
- How Much Sunlight Do Outdoor Cannabis Plants Need To Grow?
- How to Control and Prevent Stretching in Cannabis Plants
- My Cannabis Plants Are Growing Too Tall: What Should I Do?
- Should You Worry About Purple Or Red Cannabis Stems?
- What To Do When Your Indoor Cannabis Won’t Flower
- How To Protect Your Cannabis Plants From Heat Stress
- How To Tell If Your Female Cannabis Plant Has Been Pollinated
- Growing Medical Marijuana
- Bud Washing: How to Clean Your Weed
- Understanding Cannabis Yield per Plant


