Milky Way F1 Grow Report
So, you're considering growing some of the first true cannabis F1 hybrids? Milky Way F1 makes a great choice for growers with little space looking to harvest some of the fastest and strongest buds possible. Check out my week-by-week Milky Way F1 grow report below to get an idea of what to expect when cultivating this variety.
Contents:
- Milky way f1 grow report: equipment list
- Milky way f1 grow report: seedling stage (week 1)
- Milky way f1 grow report: vegetative phase (week 2–4)
- Milky way f1 grow report: flowering stage (week 5–11)
- Milky way f1 grow journal: harvest
- Genetic attributes of milky way f1
- Growing characteristics of milky way f1
- Effects, aroma, and flavours of milky way f1
Milky Way F1 Grow Report: Equipment List
- Box: Secret Jardin DS120W 120 × 60 × 178cm
- Lights: MIGRO 200+
- Ventilation: TT Silent-M 100
- Filter: Primaklima filter PK 100/125
- Fan: Oscillating Koala Fan × 2
- Humidifier: Beurer LB 45
- Soil: BioBizz Light Mix
- Pot: 11l Air-Pot
- Seed: Royal Queen Seeds
- Nutrition: RQS Organic Nutrition
Milky Way F1 Grow Report: Seedling Stage (Week 1)
I've grown a handful of Royal Queen Seeds F1 hybrids already and experienced great results, from their growing speed and potency to impressive uniformity. So, I had high expectations for Milky Way F1.
- Growing medium: Before germinating my Milky Way F1 seeds, I needed to put together a nourishing medium to support my plant through the early stages of its life. To get this done, I added 5l of BioBizz Light Mix to my 11l Air-Pot. Then, I added the following nutrients and beneficial microbes:
- RQS Easy Boost Organic Nutrition: 50g
- RQS Rhizobacter: 10g
- RQS Mycorrhiza Mix: 5g
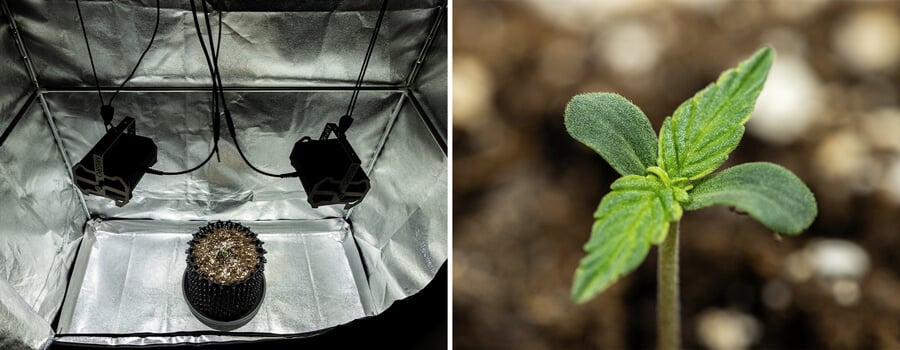
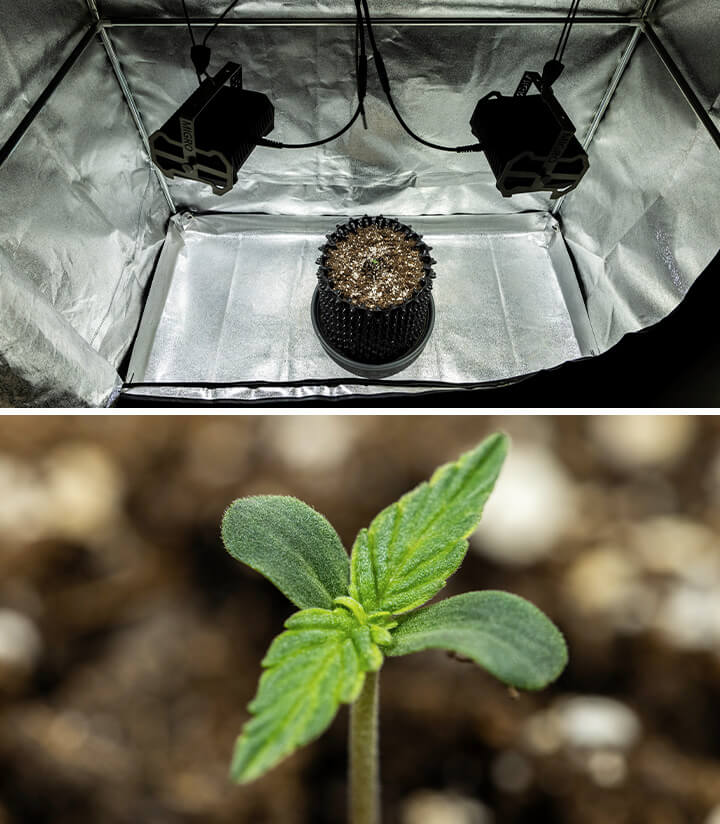
I thoroughly mixed all of these components with my hands. Then, I added another 5l of BioBizz Light Mix and ensured it was evenly incorporated.
- Germination: With my growing medium prepared, I took the next step and germinated my seed. I placed it in a glass of water and let it soak for six hours. Then, I watered the growing medium until it was saturated. Finally, I made a 2cm hole in the middle of the surface and placed my seed inside. I covered it lightly with soil and lightly misted the area, too.
- Lighting: I decided to use my trusty MIGRO 200+ rig during this grow after having success with it when cultivating other F1 hybrids. This set consists of two lamps, so I took some time setting them up correctly, ensuring an even light spread inside my grow box. I used a pair of ratchet straps to hang each lamp roughly 35cm apart, using the grow box's midline as a guide. Then, I adjusted the straps so each lamp hung 35cm vertically from the rim of my Air-Pot. I started running both lamps for 18 hours a day as soon as I noticed the sprout piercing through the soil's surface.
- Plant status: My Milky Way F1 seed germinated rapidly with no issues. By the end of the first week, my seedling stood roughly 3cm tall, had developed a small set of first true leaves, and had a sturdy stem with no signs of stretching.
Milky Way F1 Grow Report: Vegetative Phase (Week 2–4)
My Milky Way F1 zoomed through the seedling phase with no issues and quickly started packing on mass during early veg.
Week 2
My small vegetative plant grew to over double its original height during the first week of veg!
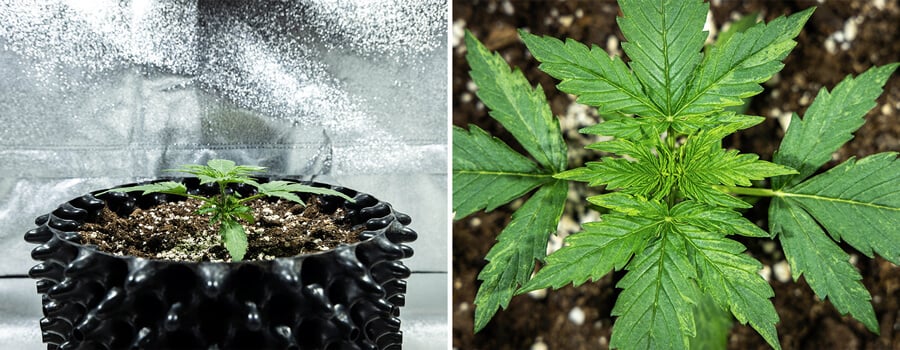
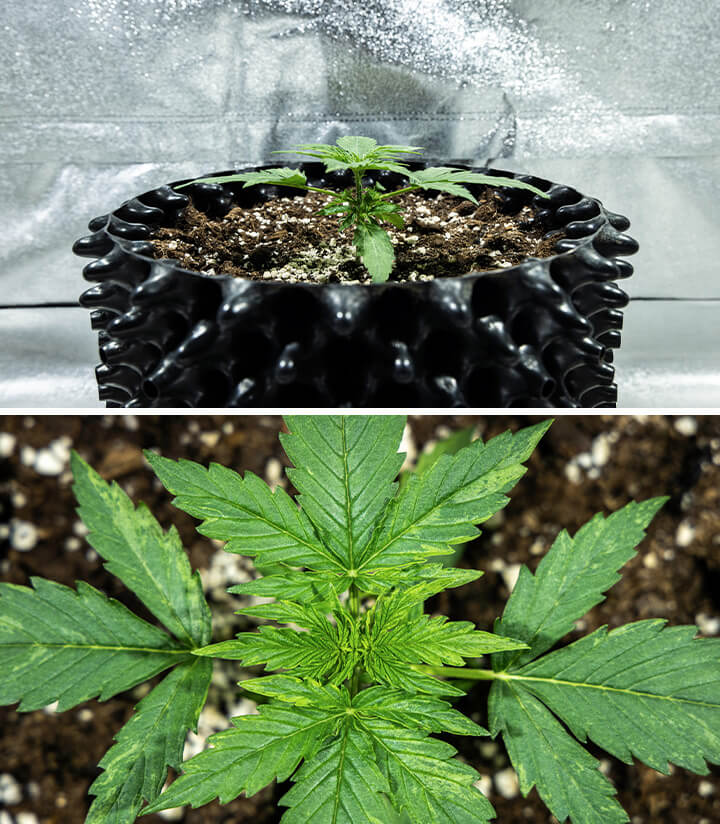
- Lighting: I kept my lamps running for 18 hours a day and repositioned them to hang 35cm from the tip of my plant rather than the rim of the Air-Pot.
- Nutrients: My plant had more than enough nutrients in the growing medium to fuel its growth. I watered my plant with 1.5l of water, adjusting the pH to 6.0 on days one and six of the week.
- Environment: Using my fans and ventilation system, I maintained an average temperature of 25°C and a relative humidity of 50%.
- Plant status: At the end of the first week of veg, my plant had reached a height of 7cm. It had developed several new sets of luscious fan leaves. I noticed some slight discolouration on the foliage. However, my plant seemed healthy overall, so I put this down to possible genetic mutation.
Week 3
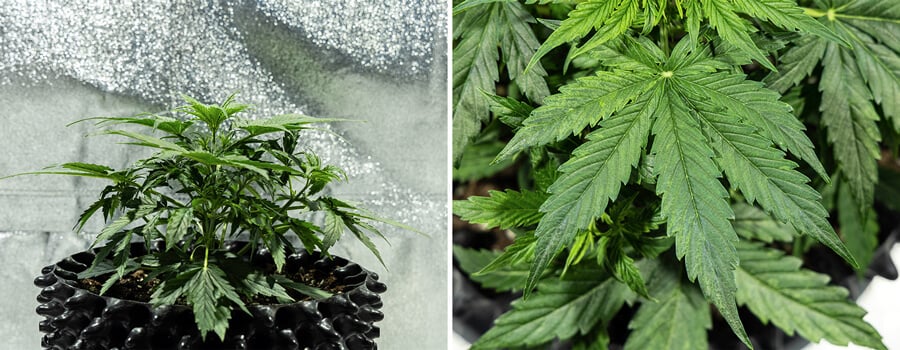
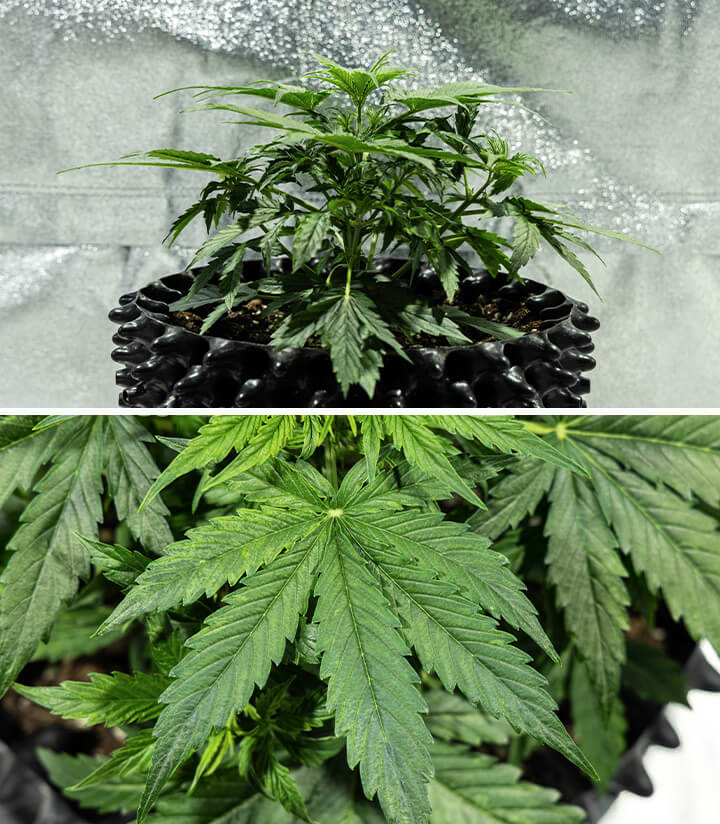
My Milky Way F1 plants continued to thrive during week three. It packed on size seriously fast and had developed a dense canopy by the end of the week.
- Lighting: I continued to run my lamps for 18 hours a day and repositioned them again, this time hanging the lights 35cm from the tip of the canopy.
- Nutrients: Because my plant had grown so quickly, I decided to start feeding it. By now, the nutrients in the original growing medium would have dwindled. I added 2ml of Bigger Flowers from the Bio Flowering Booster Pack to 2l of water and fed my plant on day two of the week. I watered with 1.5l of pH-adjusted water on day six of the week.
- Environment: I recorded an average temperature of 20°C and a relative humidity of 50%.
- Plant status: My Milky Way F1 plant exploded in size and reached 18cm at the end of week three. Her leaves still showed signs of discolouration, but it appeared to be some genetic variegation rather than a sign of disease or deficiency. Overall, my plants seemed healthy and full of vigour.
Week 4
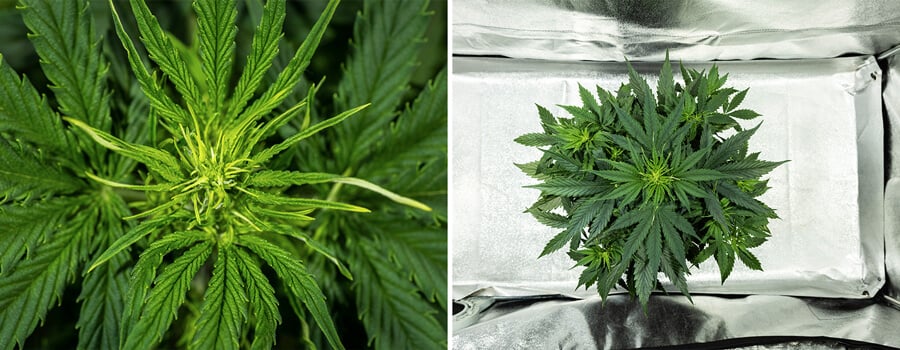
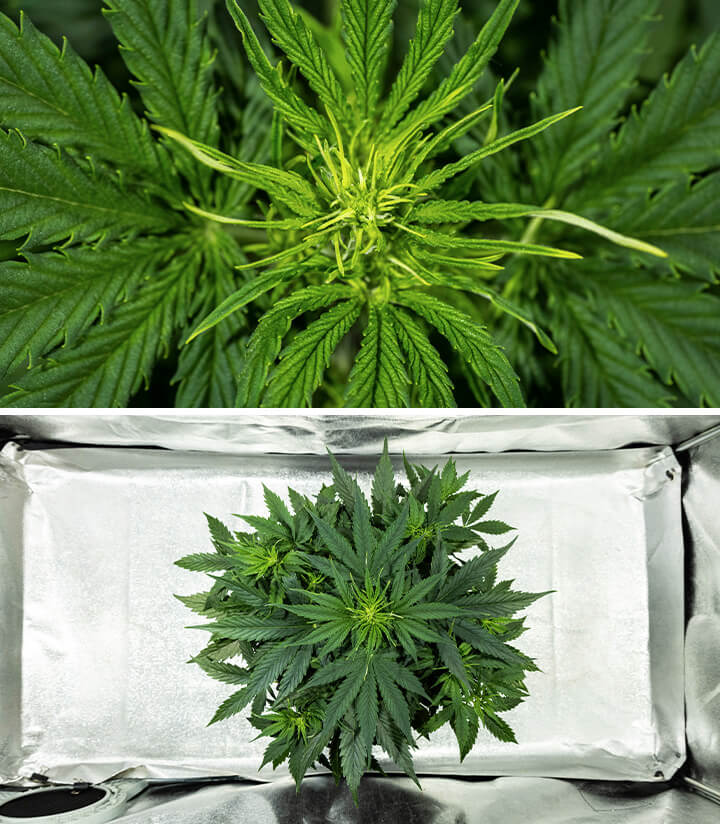
And just like that, the final week of the vegetative phase had already swung around. So far, I have been highly impressed with Milky Way F1. She demonstrated incredible speed and vigorous growth and hadn't run into any pest, disease, or deficiency issues.
- Lighting: I continued running my lamps for 18 hours a day. I kept each lamp hung 35cm above the top of the canopy.
- Nutrients: I gave my plant one more large dose of nitrogen before switching to bloom feeding. I placed half an Easy Grow Booster Tablet into 2,5l of water and applied it to my plant on day two of the week. I then watered with 1.5l of pH-adjusted water on day five of the week.
- Environment: I recorded an average temperature of 26°C and a relative humidity of 50%.
- Plant status: My plant had already moved beyond the pre-flowering stage by the end of the week, with many bright white pistils having already emerged from the nascent bud sites. A subtle aroma was creeping in, so I carried out some light defoliation to expose any overshadowed flowering sites to direct light.
Milky Way F1 Grow Report: Flowering Stage (Week 5–11)
Things started to get very exciting from here on out. My plant quickly developed dense and sticky colas that released a steadily-building aroma.
Week 5
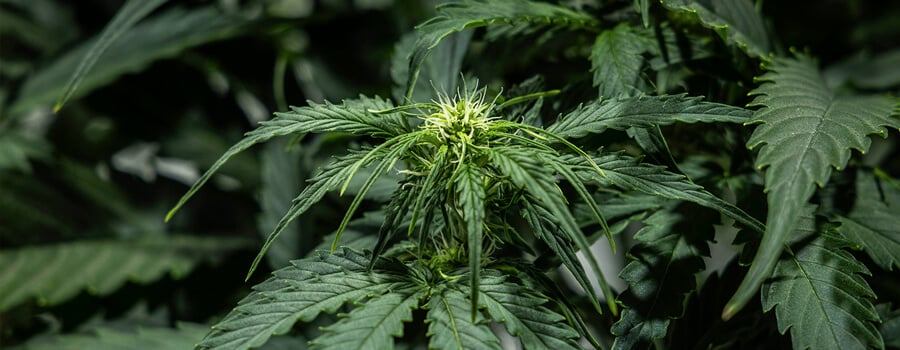
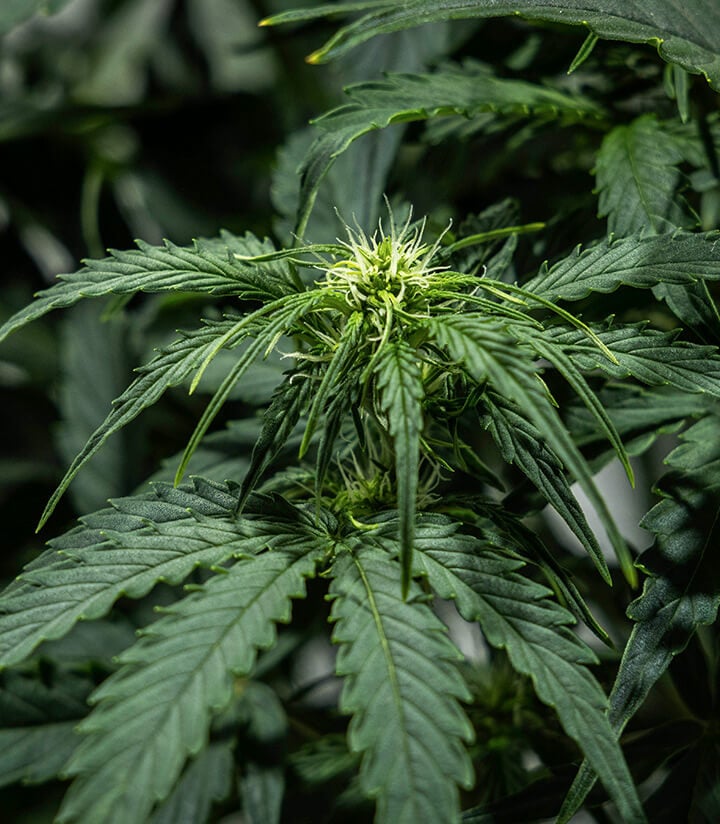
The speed of flower development amazed me during the first week of bloom.
- Lighting: I continued to run my lamps for 18 hours a day and adjusted the ratchet straps again so each hung 35cm from the tip of the canopy.
- Nutrients: I added 2ml of Bigger Flowers and 0.8ml of Thicker Flowers from the Bio Flowering Booster Pack into 2l of pH-adjusted water. I applied this formula on day two of the week. I watered with 2l of water on day six of the week.
- Environment: I recorded an average temperature of 28°C and a relative humidity of 50%.
- Plant status: My plant looked incredibly healthy at the end of week five. Even better, no signs of diseases or deficiency reared their head. The buds started developing quickly, giving off a strong aroma.
Week 6 & 7
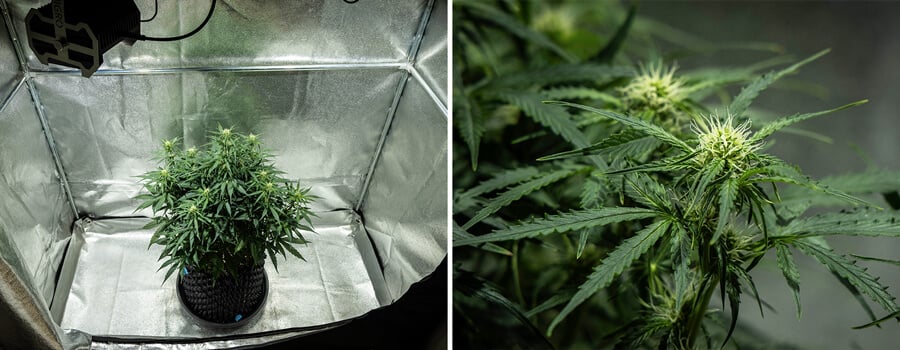
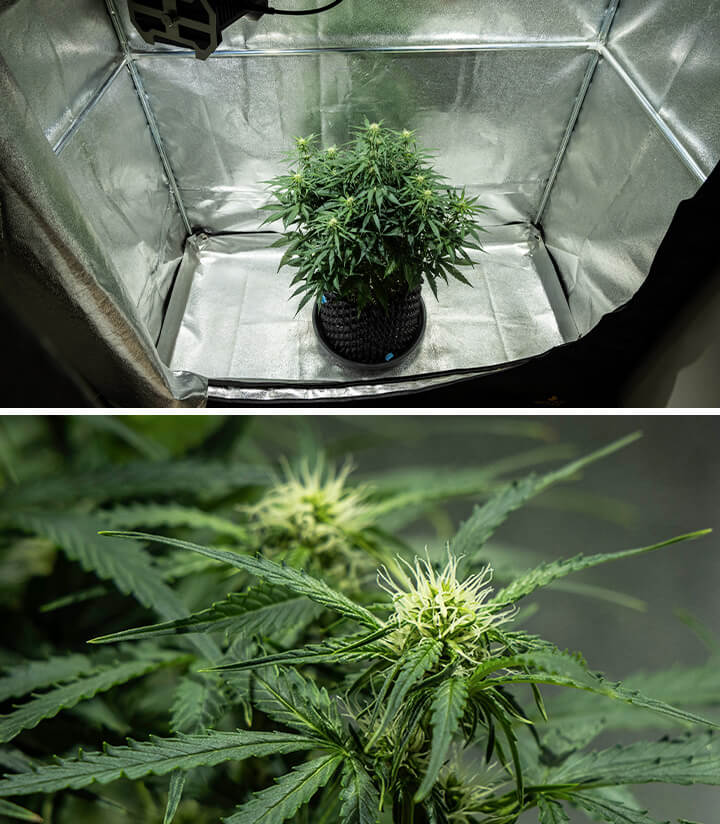
Things continued to cruise along nicely during weeks six and seven. My plant's buds swelled, and she kept packing on size.
- Lighting: You guessed it; I continued running my lamps for 18 hours a day and repositioned them 35cm from the top of the canopy.
- Nutrients: I added half an Easy Bloom Booster Tablet to 2.5l of water and applied it to my plant on day two of the first week. I repeated the same procedure on day two of the second week. On day six of week six, I added 0.8ml of Thicker Flowers, 0.8ml of Bigger Flowers, and 0.8ml of Sweeter Flowers to 2l of water and fed my plant. On day six of week seven, I added 1.2ml of Thicker Flowers, 1.2ml of Bigger Flowers, and 0.8ml of Sweeter Flowers to 2l of water and fed her once again.
- Environment: I recorded an average temperature of 28°C and a relative humidity of 50%.
- Plant status: My plant's flowers were starting to thicken towards the end of week seven, and the smell became very noticeable every time I opened my grow box. During week six, I did some light defoliation to thin out the canopy, improving light penetration and aeration. She stood at 54cm by the end of week seven despite receiving no training.
Week 8
The final week before the flush!
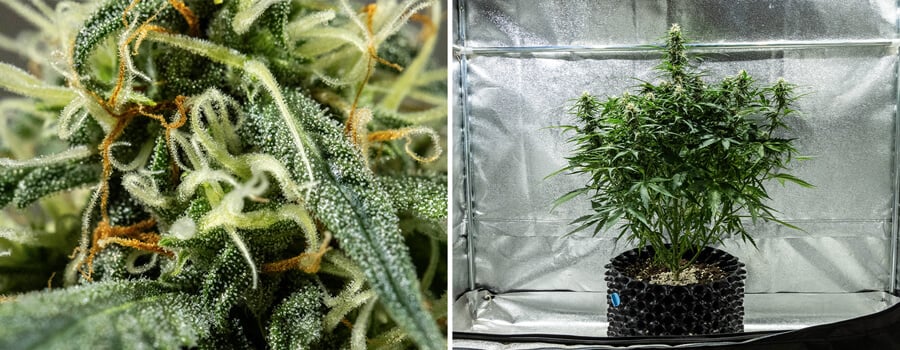
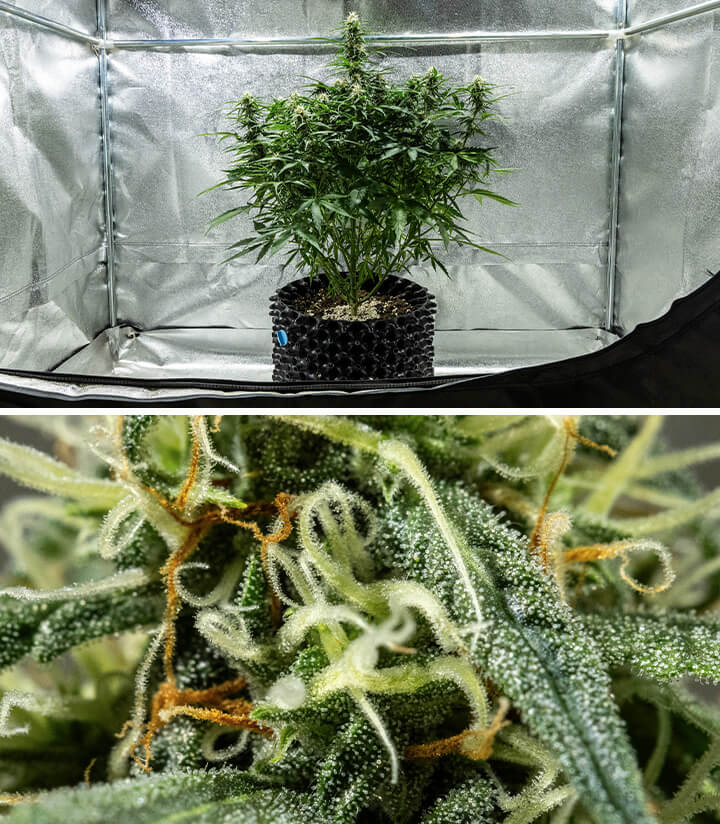
- Lighting: I continued running my lamps for 18 hours a day, keeping a distance of 35cm between the lamps and the top of the canopy.
- Nutrients: On day two of the week, I added 1.6ml of Thicker Flowers, 2ml of Bigger Flowers, and 0.8ml of Sweeter Flowers to 2l of pH-adjusted water and fed my plant. On day six of the week, I added half an Easy Bloom Booster Tablet to 2,5l of water and applied it to my plant.
- Environment: I recorded an average temperature of 28°C and a relative humidity of 45%.
- Plant status: My Milky Way F1 plants were nearing maturity. Many of her previous white pistils had transitioned to a dark brown, and her buds had developed a thicker layer of trichomes and resin.
Week 9, 10, & 11
All feeding had come to an end. It was time to flush my plant for the final three weeks to force her to use up all the stored nutrients. I've found that this strategy ultimately results in smoother and tastier buds.
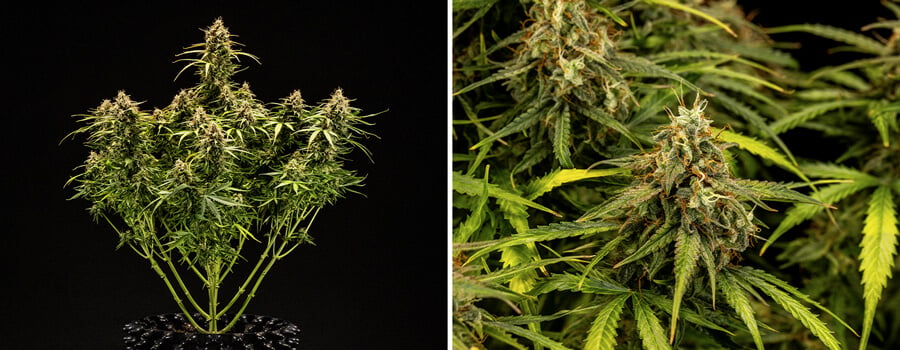
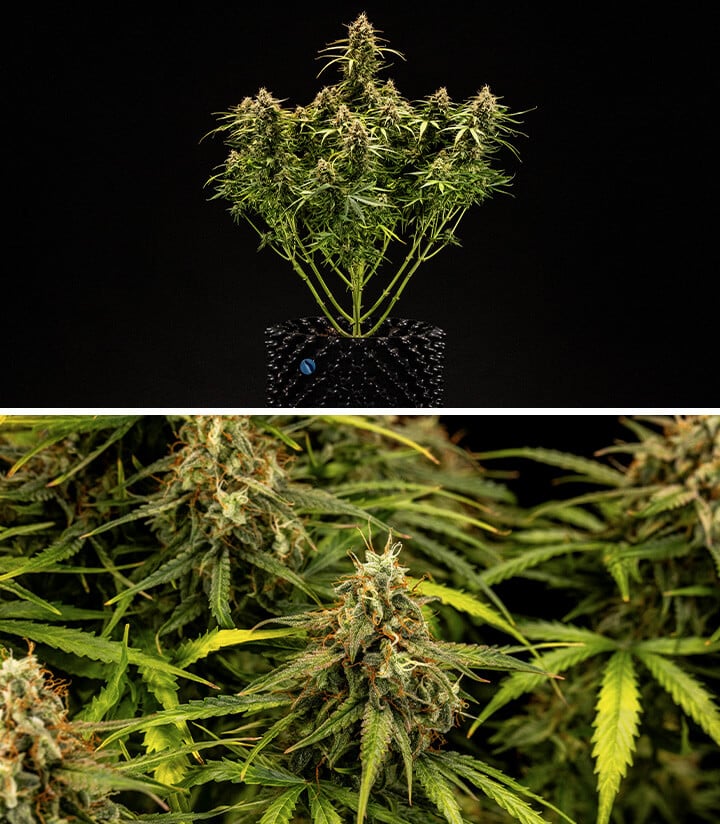
- Lighting: I kept my lamps running for 18 hours a day for the remainder of the growing cycle.
- Nutrients: I withheld all nutrients. I simply applied 2l of pH-adjusted water on days two and six of the remaining weeks.
- Environment: I recorded an average temperature of 29°C and a relative humidity of 45%.
- Plant status: By the end of the flush, my plant looked quite weathered. Her fan leaves turned yellow, and some lower leaves dropped off. However, this was the sign of a successful flush! Her buds looked totally swollen, encased in resin, and ready to harvest!
Milky Way F1 Grow Journal: Harvest
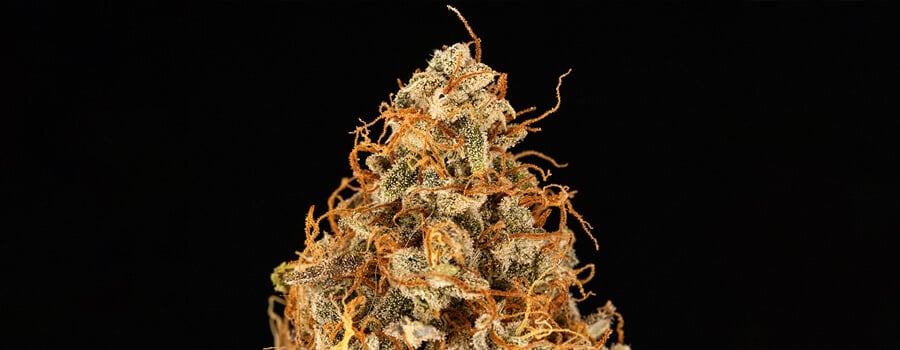
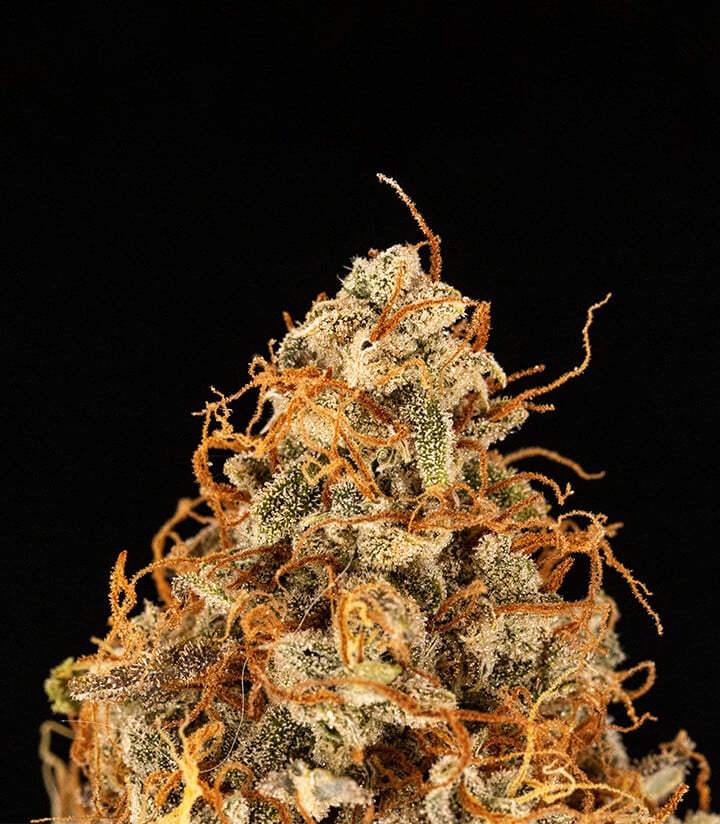
It was time to reap my reward! I cut my plant at the base and hung it upside down from the top of my grow box in the dark (fans still running). I tested the brittleness of the branches to assess for overall dryness. Once they snapped cleanly and felt cracker dry, I started to dry trim my buds. After processing, my harvest weighed in at a rewarding 72g.
Genetic Attributes of Milky Way F1
Milky Way F1 stands among the ranks of the first true F1 cannabis hybrids. Royal Queen Seeds' breeders created this landmark variety by developing highly pure parent lines with Blue Mammoth, Blue Dream, and Sin Tra Bajo Auto genetics. By crossing these lines, they created a progeny with hybrid vigour—a trait that results in superior speed, potency, productivity, and uniformity.
Growing Characteristics of Milky Way F1
Milky Way F1's hybrid vigour gives her incredible resistance against pests, diseases, and adverse weather. She thrives both indoors and outdoors, and her compact size of 55–75cm makes her suitable for growing almost anywhere. She charges through the entire growing cycle in as little as 70 days and rewards growers with excellent yields.
Effects, Aroma, and Flavours of Milky Way F1
Milky Way F1 buds possess high levels of farnesene, myrcene, and pinene. Together, these terpenes generate moreish chocolate, citrus, and skunk flavours. Her sky-high THC levels unleash a creative, euphoric, and physically relaxing experience. Overall, she's the perfect smoke to accompany the longer, lighter evenings and help you unwind.


