Harvest All Parts Of Your Cannabis Plant To Make Hash
You can harvest and collect kief from cannabis leavesto make hash using several different methods.
Contents:
HARVESTING BUDS IS JUST THE BEGINNING
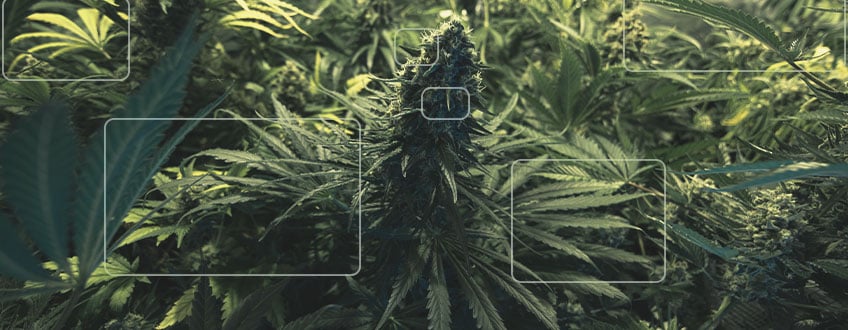
After months of tending to your cannabis plants, you finally have some nice buds raised by your own bare hands. And let’s be honest, what could be better than getting out your clippers and gathering every beautiful, resin-drenched flower? But the fun does not stop there! In addition to the buds, you can harvest other parts of the plant to extract cannabinoids and terpenes. No reason to let anything go to waste!
WHAT IS KIEF?
Kief is a fine powder that consists of resinous cannabis trichomes. Kief contains high concentrations of THC, and can be smoked in a joint or bowl, or pressed into hash. The best part: collecting kief and making hash is easy and efficient.
WHEN TO COLLECT KIEF
Your harvested buds are now neatly stored for drying and the smallest buds may even be dry enough to take for a test smoke. Two weeks down the line, your buds will feel dry on the outside, but inside they are not yet fully dry.
The larger buds will still need a little while longer. Let them all dry slowly in a dark room large enough (or equipped with a ventilator) so the moisture in the buds can escape. Once the small twigs of the buds snap, you can gather them all for curing. Don't worry if your weed still smells a bit green in the first couple weeks; some varieties may need a little longer to develop the typical trademark smell of cannabis. Now, as your buds are curing, this is also the time you can collect kief from the foliage to make hash!
CHOOSING YOUR LEAF MATERIAL
The secret to getting a nice load of kief to make some hash is to save the foliage of your plant! You can keep the leaves and let them dry out just like the buds.
Depending on the strain, you may end up with around the same amount of dry foliage as buds. So if you got 500 grams of dry bud from your plants, you may also have about 500 grams in trim. Obviously, this amount can vary, but you get the idea. Although this foliage will not be as potent as the buds, once concentrated, its potency rises significantly.
WHAT TO LOOK FOR IN YOUR LEAVES
- Check for trichomes
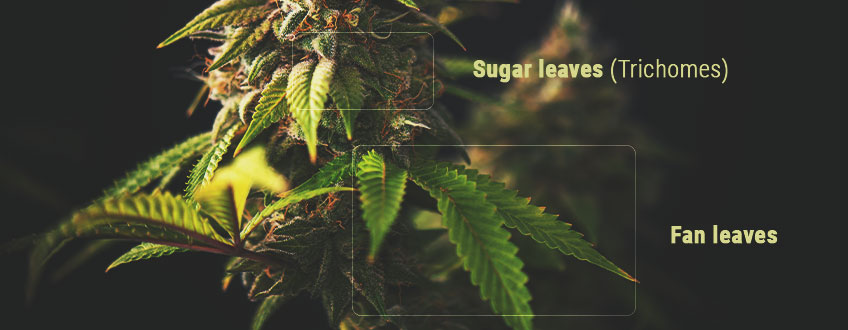
First and foremost, you want to make sure that you gather up all the small sugar leaves. As the name describes, sugar leaves are covered with a dusting of trichomes, and contain the most cannabinoids after the buds. As such, a good pile of sugar leaves can make quite a good deal of hash once rendered. If you’re interested in getting a better view of the trichs, use a loupe to inspect sugar leaves up close. You’ll notice tiny, mushroom-shaped glands with sparkly crystalline “bubbles”. These are your trichomes.
- Separate out fan leaves
You should also keep the larger fan leaves as well. Although they contain far fewer trichomes than buds and sugar leaves, they do still have cannabinoid content, and can be used for other purposes than making hash. Still, in this case, we’re going to separate them away from our sugar leaf pile.
Mixing the leaves from the two piles makes little sense, as this will only increase the amount of material that requires processing to achieve potent hash. The THC-rich sugar leaves already contain somewhat less THC than the buds; we don’t want to cut our hash even more.
- Let your leaf material dry out well
In any case, what’s important is that you let your trim dry fully before making hash. Know that drying the leaves may take longer than the buds! The leaf material should be so dry that it crumbles when you rub it between your thumb and finger.
The drier the better, and the greater yield of hash you can expect from your leaf material. The reason for this is that the THC crystals come off much easier when super dry.
The gold-yellow powder has a slightly different effect when you smoke it pure, and some smokers prefer the sweet high and effects of hash to the more stoned effect of smoking buds.
COLLECT KIEF WITH A 3-PART GRINDER
The easiest way to collect kief over time is with a 3-part grinder. These types of grinders have a special bottom compartment with a screen atop for collecting kief—the kief-catcher. This way, when you’re grinding up your weed, you’re not wasting what most consider to be the best part.
Tip: As you grind your weed, shake and bump the grinder a bit to agitate and collect even more kief.
If you want, you can smoke your collected kief as is from a joint or bowl. You can also sprinkle some of the kief over your bud to give it an extra kick, or mix it with some tobacco.
But there is even more cool stuff you can do with it: You can use it for THC infusions, to make cannabutter, or you can enjoy it in a vaporiser. Just add a little kief to the vaporiser chamber, and you can enjoy vaping on a whole new level. Be warned though, kief is very potent, so you will likely need only a very small amount to get crazy high!
COLLECT KIEF TO MAKE HASH
But the fun with kief really starts when you make hash from it. Let’s go over three easy and potent ways to make hash with your collected kief.
POLLINATOR
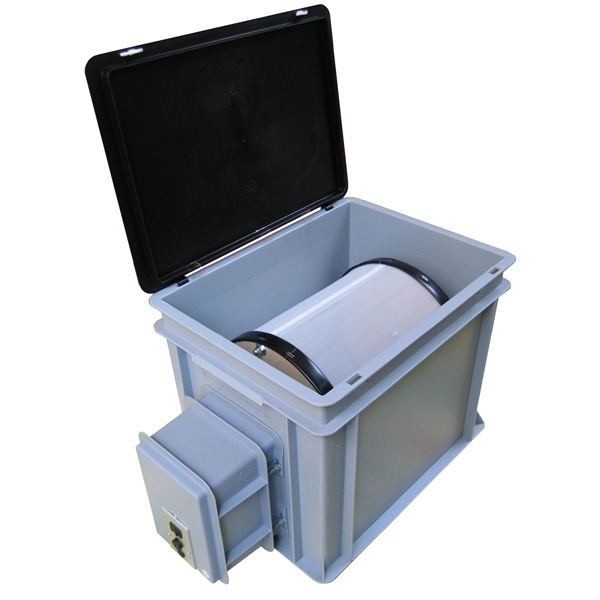
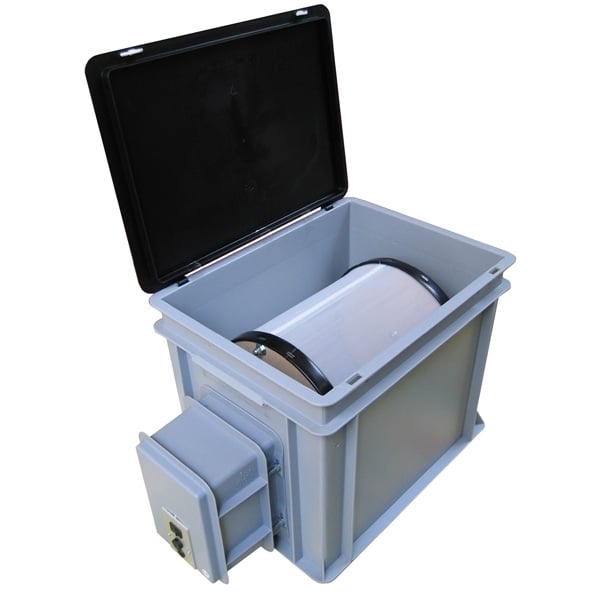
A 3-part grinder may do the job if you want to collect kief from a small amount of leaf material, but if you’re looking to gather a lot more to make hash, you need to go with something more heavy-duty. Enter the Pollinator. This is basically a large rotating drum with a sieve that breaks loose the crystals and catches them below.
Here’s how to use a Pollinator:
- Prepare your leaf material
Since the leaf material needs to be very dry, it can be beneficial to give it a night in the freezer first. This is especially useful when you want to use a Pollinator. The freezing cold makes the THC crystals brittle and break loose more easily. Make sure that you use a tight-sealing container for your kief in the freezer.
Likewise, make sure you break up whatever material you’re planning to use. This ensures that the maximum amount of trichomes from your material can break loose. This will dramatically increase your hash yield. Also ensure that no twigs (or as few as possible) are left, as these can damage the sieve. A sieve can cost quite a bit of money, so you don’t want to damage it with twigs and other large pieces.
- Put your material into the Pollinator
Put your leaf material into the drum and turn it on. A motor will begin to turn and spin your leaves, detaching the trichomes from the material mechanically. After about 30–40 minutes of spinning, you can stop the Pollinator and scrape the hash powder into a pile.
- Press your collected kief into hash
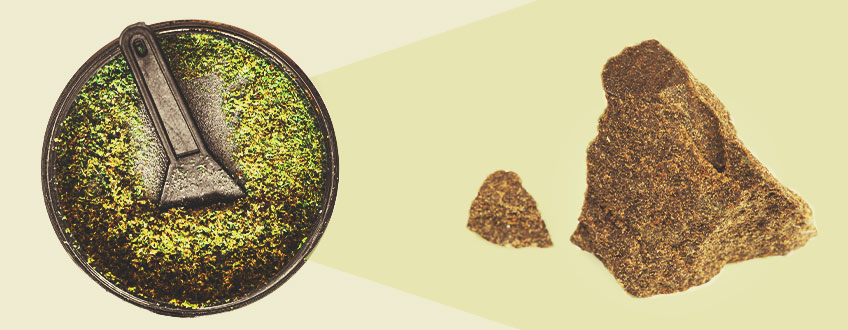
To make some awesome hash, press the powder (the pressed powder is called skuff) and store it for at least one year to ripen. The reason we press the powder is because this improves the taste and smell. It also makes it more easily manageable and transportable. A pressed piece of hash is easier to share with someone than a pile of sticky powder. In any case, the better the quality, the less powerful the press has to be. With poor-quality kief, you need a press that can exert a greater deal of force. This is because the crystals have more plant matter mixed in so they don’t stick together as well.
| Pollinator | |
| PROS | |
| · Can take a good amount of leaf material | |
| · Collects a nice amount of kief | |
| · Very easy to use | |
| CONS |
| · Somewhat expensive |
| · Only worth it if you have enough material |
Pollinator
| PROS |
| · Can take a good amount of leaf material |
| · Collects a nice amount of kief |
|
· Very easy to use |
|
CONS |
| · Somewhat expensive |
| · Only worth it if you have enough material |
BUBBLE HASH
Making bubble hash (water hash) works according to the same principles as the Pollinator, but ice-cold water is used to separate the crystals. Making bubble hash is somewhat more labour-intensive, but the quality you get is something special.
Here’s how to do it:
- Get a large bucket and bubble bags
You need a large bucket with about 20 litre capacity, into which you will be putting special bubble hash sieve bags. Such a set consists of two or more mesh bags with different-sized openings. One sieve lets the crystals through, and the other, finer sieve bags catch and hold the crystals with greater and greater purity. By getting bubble hash kits with a number of filter bags, you can collect different grades of hash. The bag with the biggest mesh openings will contain the most plant matter, while the smallest mesh will contain the purest hash.
- Fill the bucket with ice water
To get things going, fill the bucket with ice water. The colder the better, since this will make the crystals break loose more easily. Extra tip: Before you begin with making your bubble hash, put a bunch of 1–2-litre bottles of water into your freezer compartment. But don’t wait until the water freezes, just until it’s ice-cold. This will be perfect for making quality water hash.
- Place the bubble bags in the bucket
Place the bubble hash bags in the bucket with the ice water, ensuring the lowermost bag has the finest mesh.
- Put a food mixer into the bucket with your material
Put a food mixer in the bucket with the leaf material and have a go at it. As the mixer is running and beating the water, this action will loosen the crystals. Do not use the mixer at full speed, as you do not want to reduce the leaf material to a pulp! This will only make for a poorer-quality end product. As with the Pollinator, you can get the best results if you allow your trim a night in the freezer before you begin. Likewise, it can be good to add ice cubes to the water in the bucket.
The easiest way to make water hash is to have your mixer on a timer so it runs for 20 minutes, then switches off for 5 minutes before doing another 20-minute cycle. Do this for about 1.5hrs.
Important: Make sure the mixer is fixed in place so it cannot break free and wreck the whole operation and your bags. Don’t use a mixer attachment with sharp edges, as you don’t want to make marijuana smoothies! The material should be gently agitated in the ice water. This will be sufficient for the THC crystals to break loose.
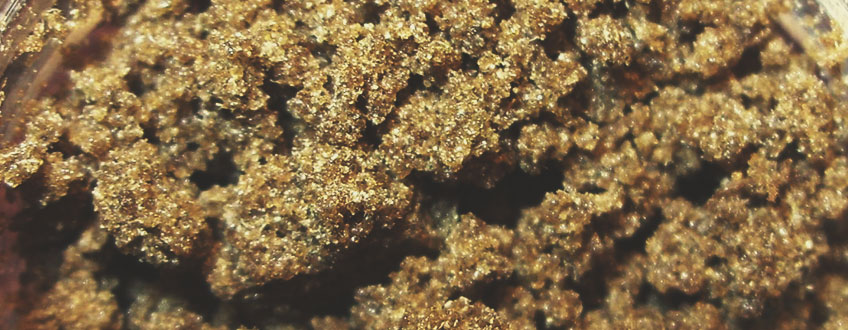
When the water turns a yellow, golden-brown colour, you'll know that it has a decent amount of crystals in it. Since you’re using water extraction for the hash, there is no risk of solvent contamination, which boosts purity and quality. Now is the moment when you can haul your bags out of the bucket. Drain and shake them back and forth before opening, and there will be yellow crystals lying there in a pile!
Pros
- Works best with dry material, but also fresh
- Doesn’t require as much, or as expensive, equipment as a Pollinator
- Uses water as a safe solvent
- Renders a fine quality of hash
Cons
- Not the easiest way to make bash
- Takes some time
- Needs more material than a Pollinator
- Some strains lose their flavour a bit with this method
BUBBLEATOR
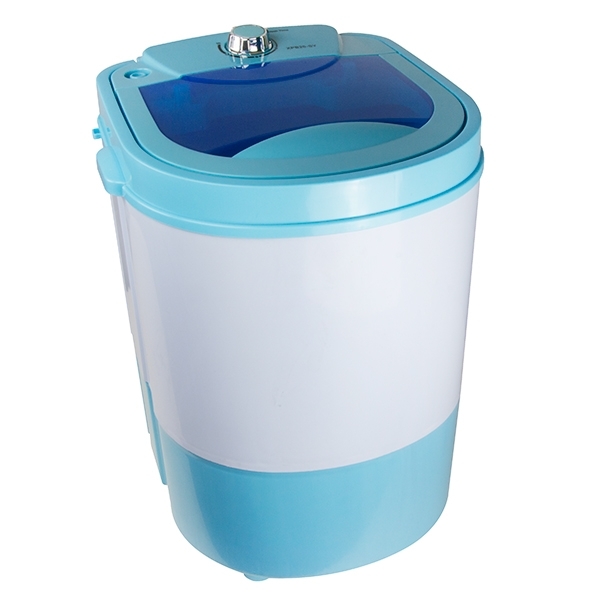
The same company that makes the Pollinator also makes the Bubbleator, a nifty machine that makes bubble hash easy as pie! The machine sort of looks like a small washing machine, and does away with the hassle of using a bucket and mixer. It’s super-easy to operate, and renders great results.
Here’s how to use the Bubbleator to make awesome bubble hash:
- Put your material into the Bubbleator sieve bag
Place your material in the large sieve bag that comes with the Bubbleator. Place the bag into the Bubbleator and fill it up with ice-cold water. You can add some ice cubes as well.
- Turn on the Bubbleator
Press the switch on the Bubbleator, and the device will make your hash in a super-fast 15 minutes! Just let the Bubbleator do its thing and you will have your desired crystal pile in no time. It’s convenient since you don’t need to look for a suitable mixer, and there is no long hour-long stirring required to make your hash! The Bubbleator comes with filter bags, a thermometer, and a cleaner bag.
| Bubbleator | |
| PROS | |
| · Quick | |
| · Convenient | |
| · Easy to operate | |
| CONS |
| · More expensive |
| · Creates one grade of hash |
Bubbleator
| PROS |
| · Quick |
| · Convenient |
| · Easy to operate |
|
CONS |
| · More expensive |
| · Creates one grade of hash |
PRO TIPS FOR MAKING HASH WITH KIEF
No matter if you’re using the Pollinator, the Bubbleator, or are making bubble hash the old-fashioned way, you can, in theory, enjoy your hash right away. But the real hash connoisseurs will allow their stash to ripen for at least one year. This may sound like a nuisance at first; after all, who wants to wait to enjoy some awesome hash? But, if you’re growing cannabis and making hash every year, you will soon build up an endless supply of quality hash!
BEYOND CANNABIS BUDS
Juicy cannabis buds and THC-rich sugar leaves are just the beginning. Yes, it’s true, there is even more you can do with your cannabis plants so not a single part goes to waste! Heck, you can even use the stems to make tea or marijuana liquor. Check out our blog How To Reuse Cannabis Stems for more info! And, of course, there is plenty more you can do with the trichome-rich sugar leaves, including making edibles and vaporising them along with your bud.


