.
Discover the iGrowCan: The Easiest Way to Start Your First Cannabis Grow
The iGrowCan contains everything you need to grow great weed from seed to harvest! All you need to do is open it up, plant the seed, and then add water. Here's how to use it for the best results.
Contents:
Growing cannabis at home can seem intimidating, especially for beginners. But with the iGrowCan, the process is simplified into a compact, all-in-one system that takes the guesswork out of cultivation. Whether you're new to growing or simply want an easy, mess-free solution, the iGrowCan provides everything you need—from seed to harvest.
In this article, we’re providing a comprehensive guide about how to use our iGrowCan, meaning you’ll get the very best out of it!
What Is the iGrowCan?
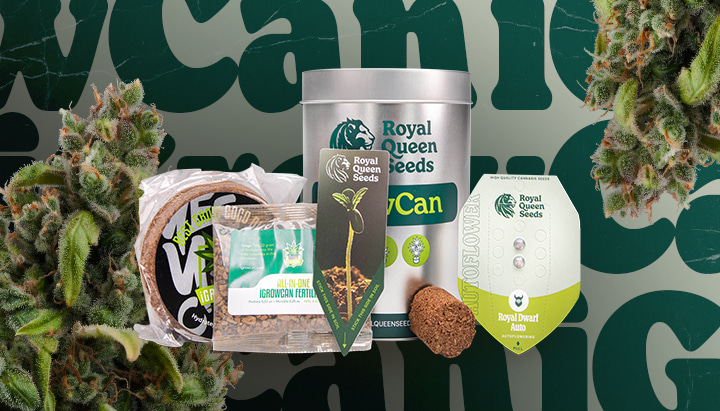
The iGrowCan is a self-contained, can-shaped growing system designed to make cannabis cultivation easy, discreet, and foolproof. It is the perfect choice for total beginners who want to try growing cannabis at home but lack experience and aren’t confident about starting everything from scratch. Alternatively, it’s also suitable for more experienced growers who just want a simple, hassle-free growing experience.
Designed to be compact and self-sufficient, it is ideal for small spaces like windowsills or balconies. It includes everything needed for a successful grow, from seeds to nutrients. In terms of the plants that grow inside them, each iGrowCan comes with high-quality autoflowering cannabis seeds from Royal Queen Seeds, meaning it will grow some of the best weed in the world!
What’s in the iGrowCan?
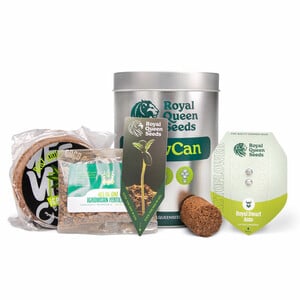
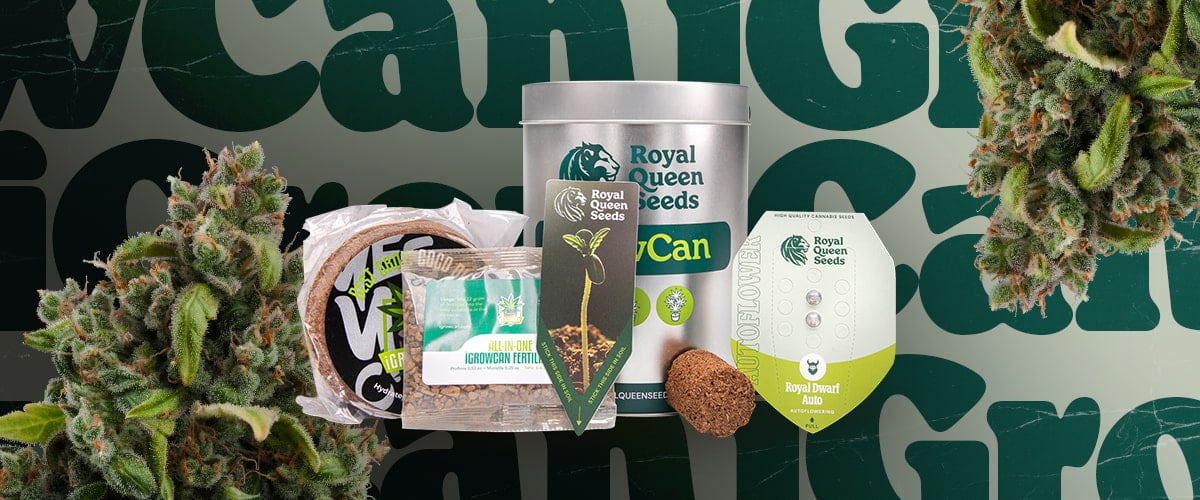
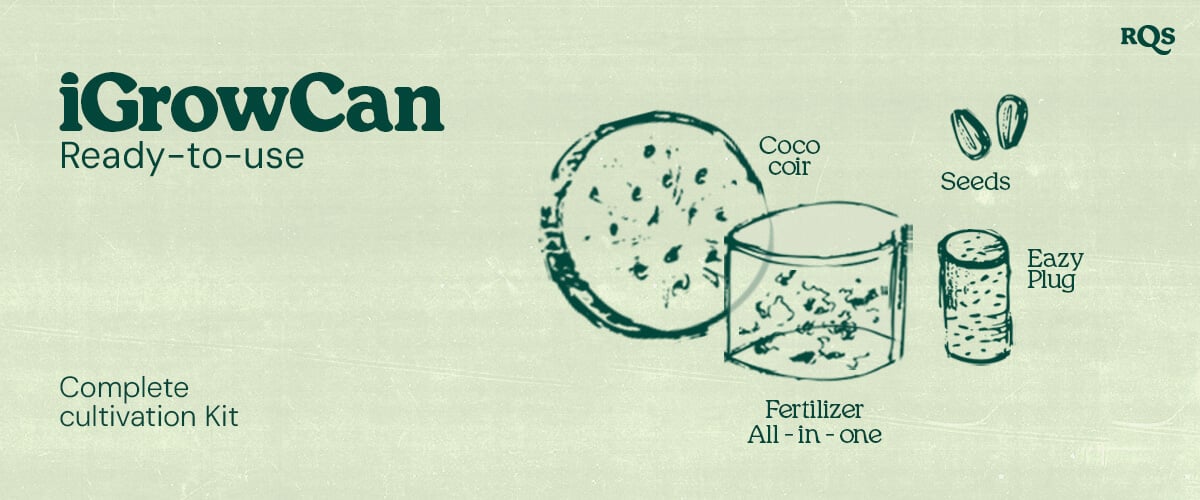
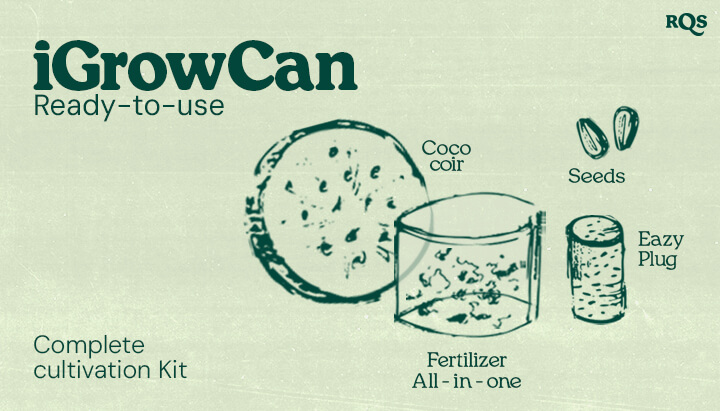
The iGrowCan is a complete cultivation kit, providing all the essentials in a ready-to-use format:
- 2 premium autoflowering cannabis seeds: Carefully selected for rapid, easy growth.
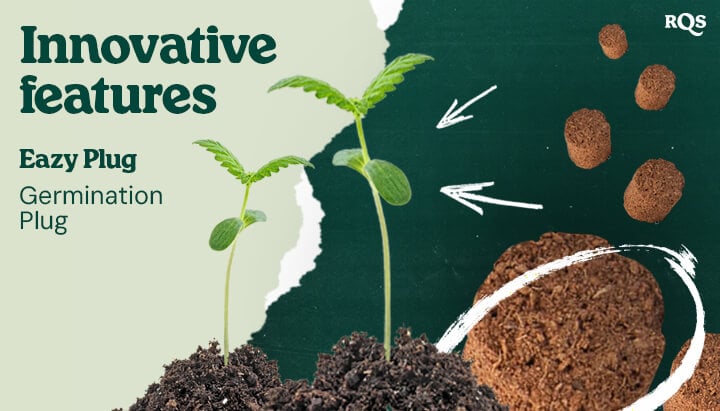
- 1 Eazy Plug germination plug: Ensures successful germination and healthy root development.
- 1.7 l coco coir mix: Expands when watered, providing a light, aerated medium for optimal growth.
- All-in-one organic fertiliser: Pre-measured to support plant health throughout its life cycle.
Innovative Features
The can itself functions as the growing container, eliminating the need for pots or transplanting. This means that, aside from water, you have absolutely everything you need for the whole grow, from the moment you open the box!
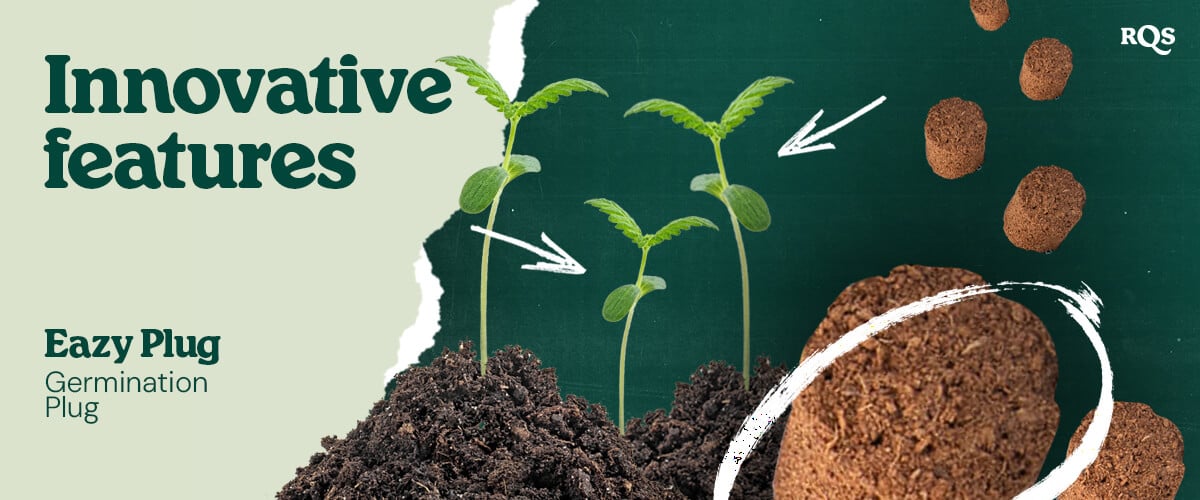
The Eazy Plug technology provides a stable, nutrient-rich environment for seedlings, helping to ensure healthy and robust germination. And once the plant is growing, the pre-measured organic nutrients ensure proper feeding with minimal effort.
iGrowCan Instructions: Step-by-Step Assembly & Planting Guide
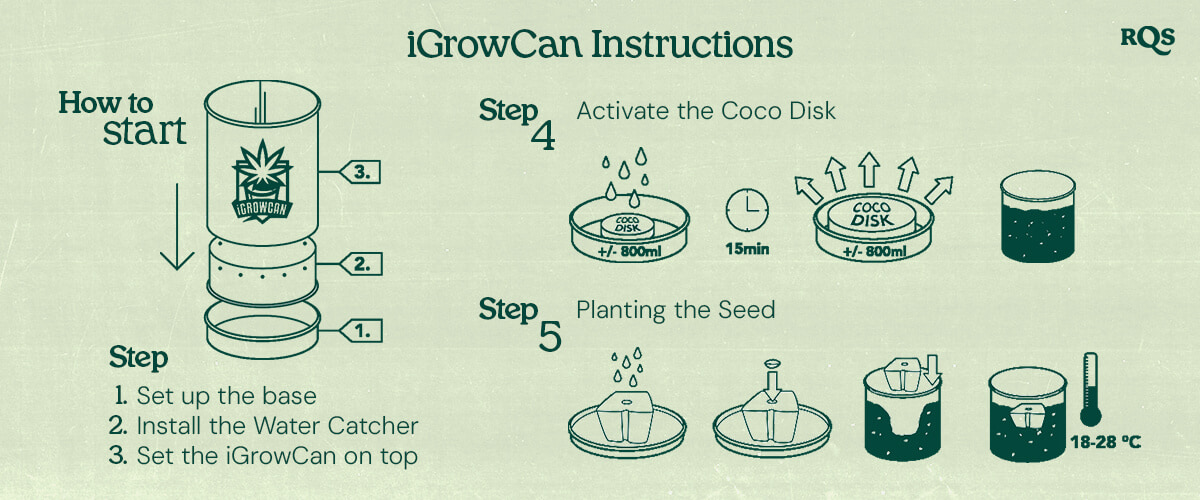
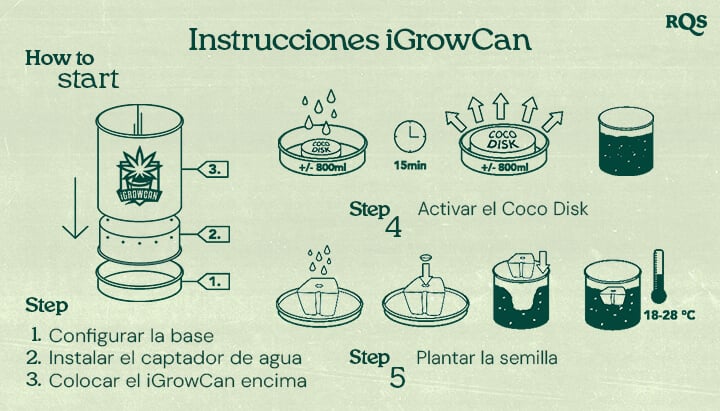
Setting up the iGrowCan is fairly straightforward but should be carried out correctly for best results! Here’s how to do it.
1. Set Up the Base
First, you want to set up the base. For this, simply pop off the lid and repurpose it as the baseplate! Place it flat on your surface to create a sturdy foundation from which everything else will thrive.
2. Install the Water Catcher
Next, position the spacer on top of the lid. It has holes in the top that help to regulate excess water and ensure proper drainage. Cannabis, while loving moisture, does not like to sit in waterlogged soil, so good drainage is essential to healthy growth.
3. Position the iGrowCan Unit
Set the iGrowCan on top of the water catcher. This is it! Your iGrowCan setup is now complete and you’re ready to start growing!
4. Optional: External Germination (Pre-Sprouting Your Seed)
If you’d like, you can germinate your seed outside of the included plug and then plant it once the taproot has emerged. However, we’d strongly suggest not doing this, especially if you are a beginner. The iGrowCan is designed specifically to aid germination.
If you do wish to germinate your seed externally, follow these steps:
- Wrap the seed in a damp paper towel.
- Store it in a plastic bag to maintain humidity.
- Wait for 2–6 days until a small root (around 1 cm) emerges.
- Plant the sprouted seed into the starter plug, ensuring the root faces downward.
5. Activate the Coco Disk
Once your iGrowCan is assembled, you’ll need to rehydrate the coco disk, which will form the substrate. To do this, place the compact coco disk in a jar with 900 ml of lukewarm water and then let it soak for 15 minutes until fully expanded.
6. Mix the Nutrients
Once you’ve rehydrated the coco disk, combine the expanded coco coir with the pre-measured organic fertiliser to create a nutrient-rich growing medium that is perfect for cannabis plant growth.
7. Fill the iGrowCan
Now, transfer the prepared coir mixture into the can, ensuring even distribution.
8. Planting the Seed
It’s finally time to plant your seed! To do this, insert the seed 0.5 cm deep into the starter plug and place the plug into the coco coir, keeping the top exposed.
9. Watering the Starter Plug
Once planted, moisten the plug lightly—but avoid overwatering!
10. Optimal Positioning for Growth
For best results, you’ll need to position the can appropriately. Keep the iGrowCan in a warm, well-lit spot (20–28°C) and ensure it has good light exposure—at least eight hours per day of natural sunlight or grow lights is ideal. If it isn’t well lit, you will see limited results.
iGrowCan Review: Real-World Performance & User Feedback
The iGrowCan offers a genuinely easy growing experience. Not only this, but it yields respectable results with minimal effort. The autoflowering seeds contained within grow very quickly, reaching harvest in no more than 10 weeks. They also remain small, growing no taller than 60 cm.
That being said, some users have reported larger plants when transplanted to bigger pots later in their life cycle. However, we wouldn’t recommend this for beginners.
Thanks to the well-balanced nutrient mix and the perfect moisture retention of the growing substrate, the plants have a perfect environment to thrive in, and offer buds accordingly!
User Reviews & Experiences
But don’t take our word for it—here’s what real users have to say about their iGrowCan experience:
"I had multiple strains, and all but one turned out to be incredible plants. The coco coir and nutrients worked great, and the plug was better than others I’ve used. It’s essentially a plug-and-play grow system—perfect for beginners!"
"Tried the Green Gelato iGrowCan, and it was super easy to set up. The only thing I’d suggest is adding a little extra fertiliser towards the end. Overall, a great experience for first-time growers!"
"So easy to prepare—within days, my plant had sprouted! Perfect for windowsills or as a fun gift for friends. I’m curious to see how big she’ll get with some light training."
iGrow Can Maintenance, Watering Tips & Troubleshooting Guide
The iGrow Can is designed for low-maintenance growing, but a few simple steps can help you achieve the best results.
1. Cleaning & Upkeep
While cannabis is hardy, it can still succumb to bacterial and fungal infections. To avoid this, good hygiene is called for! Rinse the water catcher and base regularly to prevent the buildup of potential pathogens, and avoid leaving stagnant water, which can cause root issues.
2. Periodic Inspections
You should check up on the plant and the substrate from time to time to ensure all is going to plan. Keep an eye on the coco coir's condition—it should remain light and airy. You should also monitor plant color and leaf condition for signs of stress, infection, and feeding or watering problems.
3. Watering Best Practices
You should only water your weed once the soil has begun to dry out. To know if this is the case, you can either:
- Use the “finger test”: If the top layer of soil (around 5 cm) feels dry, it’s time to water.
- Check pot weight: Lighter weight means the plant needs hydration.
4. Avoid Overwatering or Underwatering
Watering cannabis isn’t difficult, but many beginners have a tendency to overwater, which is much more damaging than underwatering. To avoid both of these issues, follow the steps above. And if you need to identify whether your plant is suffering from either of these problems, here are the relevant symptoms:
- Signs of overwatering: Yellowing leaves, drooping, starting from the bottom up, stalled growth.
- Signs of underwatering: Dry, crispy leaves, slow development.
5. Troubleshooting Common Issues and Solutions
Here are common problems associated with growing cannabis, and their solutions:
- Overfeeding: This shouldn’t be a problem with the iGrowCan, as all the feed is self-contained. However, if you supplement this, you might run into problems. Symptoms of overfeeding will show themselves with discoloration and slowed growth. To remedy the problem, flush the substrate with several litres of pure water to remove stored nutrients. Then continue as normal.
- Light issues: If you’re growing on a windowsill or somewhere with inadequate light, you’ll see poor performance. There’s no trick here—you just need to give your plants more light. Either move it somewhere with plenty of direct sunlight or invest in artificial grow lights.
- Yellowing leaves during flowering: This is not a problem! As the plant directs its energy towards flower production, the fan leaves will begin to yellow and die off from the bottom upwards. You can either leave them or prune them to help the plant use its energy to the best of its abilities.
Final Thoughts: Is the iGrowCan the Easiest Way to Grow Weed at Home?
The iGrowCan is an excellent starter kit for those interested in cannabis cultivation who either lack experience or want a very easy grow. It’s compact and comes with everything you need, including two premium autoflowering seeds, meaning that the simplicity does not come at the cost of quality!
If you’re looking for a fun, easy, and rewarding way to grow cannabis, the iGrowCan is a great starting point. Whether for personal use or as a unique gift, this kit makes growing effortless and enjoyable.


