.

All About No-Till and No-Dig Gardening for Growing Weed
No-till and no-dig gardens offer a deviation from standard gardening that at once protects the soil ecosystem and makes your life as a cannabis grower much easier. Find out to create a no-till garden below.
Soil quality all over the Earth is degrading, to everyone’s detriment. Meanwhile, for domestic gardeners and cannabis growers, weeds are a pervasive problem that we tend to deal with using herbicides and/or digging up the soil every season to kill off the year’s growth. Practices such as this are some of the reasons that global soil quality is becoming worse.
Fortunately, for gardeners at least, there’s a simple solution that solves all of the above-listed problems: no-till gardening. This method protects soil, reduces weeds, and generally takes much of the labor out of gardening. Find out more below.
Contents:
- What is no-till gardening?
- What are the benefits of the no-till method for cannabis cultivation?
- How to: no-till gardening
- How long does a no-till garden take to work?
- How to maintain no-till gardening soils
- Do no-dig gardens require nutrients?
- No-till and no-dig gardening: a very simple way to save the soil
What Is No-Till Gardening?
No-till gardening is a method of gardening that keeps soil intact, healthy, and prevents weeds from growing over into your garden. The best part is that it requires less labor than tilling or digging, and simultaneously covers the work of stopping weeds from growing.
If you’re into organic growing, or even just laid-back growing, then no-till gardening might be just what you’ve been looking for. With cardboard, compost, and mulch, you can cover the soil beds in your garden, thereby preventing weeds from growing up through them, all the while protecting the ecosystem in the soil beneath. At the same time, this new bed you’ve created is perfect for growing crops in.
When we till or dig soil each season, as well as tearing up weeds, we disrupt the delicate habitat that is the soil. Earthworms, beneficial fungi, and other organisms that have spent a year making a home out of the soil find it rapidly destroyed. It’s thought that it takes about a year for one of these ecosystems to establish itself. So if you dig it up every year, you can do quite a lot of damage.
By using a no-till method, you avoid this damage and protect the soil.
No-Till Gardening vs No-Dig Gardening
No-till and no-dig gardening are the same thing, and you may well find the terms used interchangeably. While digging and tilling are slightly different, they serve the same purpose when it comes to turning soil over and weeding, and they do the same damage too.
Therefore, no-till and no-dig both refer to a practice that seeks to protect the soil from seasonal disruption.
What Are the Benefits of the No-Till Method for Cannabis Cultivation?
The benefits of cultivating cannabis with a no-till or no-dig method are numerous, and if you grow outdoors in the ground, we’d really suggest trying it out to see if it works for you. Benefits include:
- Organic method that protects soil
- Helps to retain carbon in the soil
- Less labor intensive than digging/tilling
- Can result in higher yields
- Naturally keeps a garden free from weeds
- Worm castings are naturally retained, improving nutrients in the soil
- Better water retention
- Less fertiliser needed
- Reduced soil erosion (which is a very big problem)
- Avoids herbicides
How To: No-Till Gardening
If you’re thinking that this growing method might be for you, then the following sections will outline how to do it. You don’t need much to get started, and the initial effort is minimal compared to digging and tilling, and much less than constantly keeping on top of weeds.
What You’ll Need
- Cardboard (enough to fully cover your beds)
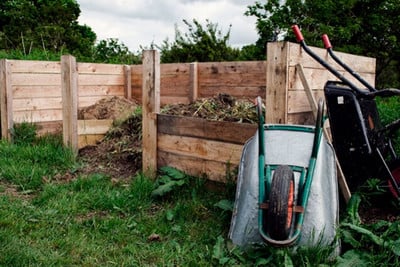
- Compost/manure
- Mulch
- Plastic sheeting
- A spade or a tiller (for the 2-week version)
- Trowel
- Bricks (or something heavy)
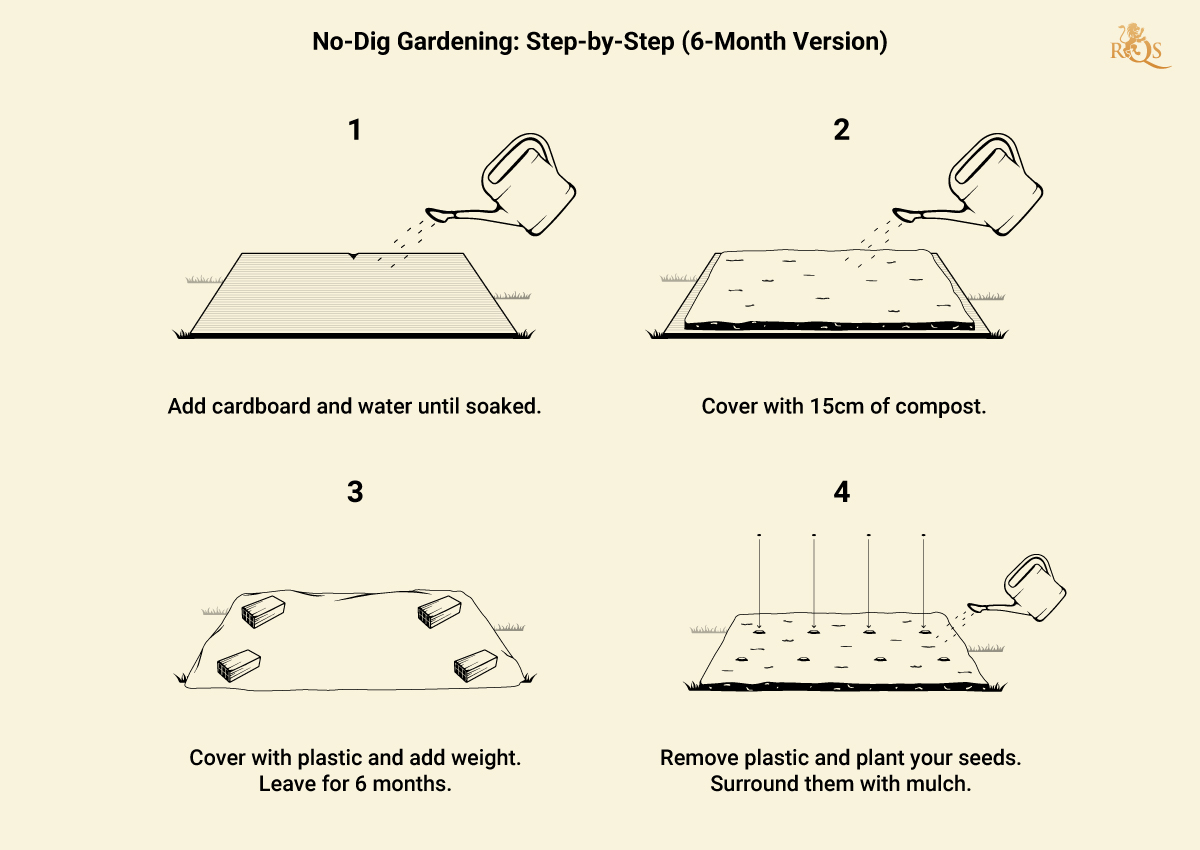
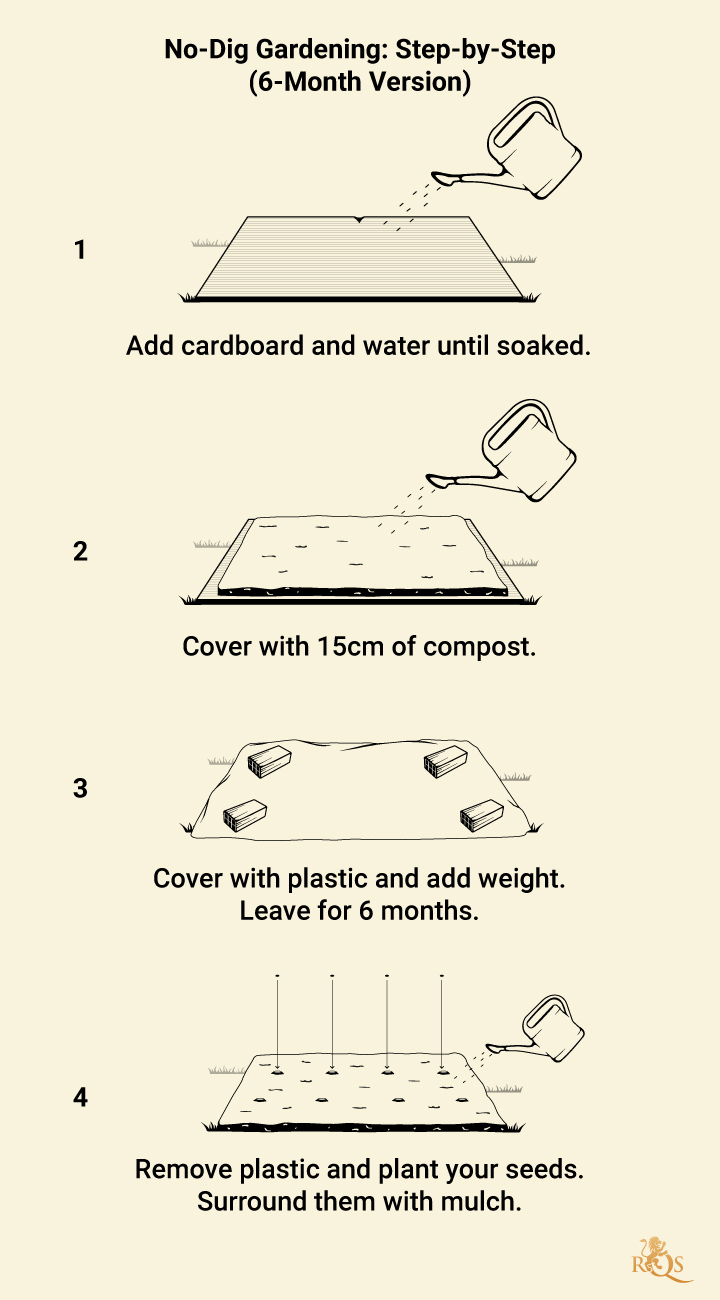
No-Dig Gardening: Step-by-Step (6-Month Version)
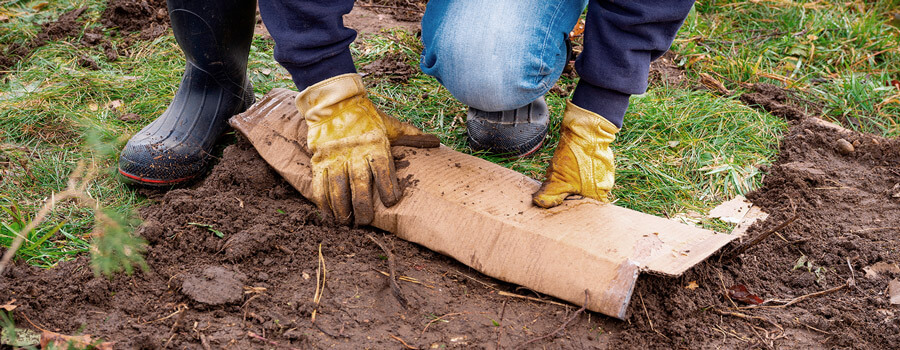
- Lay down cardboard over the entire area you’d like to plant. Water until soaked.
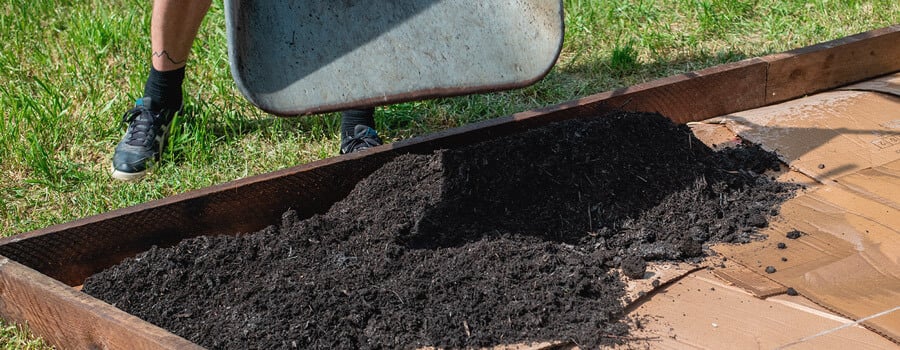
- Cover the cardboard with about 15cm of compost. Water until soaked.
- Cover with plastic sheeting and weigh this down. Leave for six months. This will stop weeds from growing.
- After six months, the cardboard layer will have broken down.
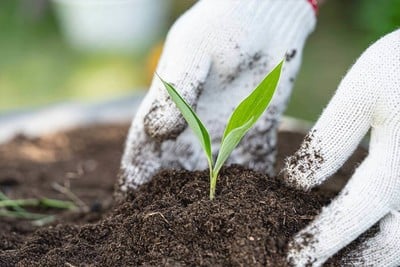
- Remove the plastic. Plant your seeds or seedlings.
- Surround seedlings with mulch, and water well.
- Let them grow, treating them as normal (see later section for feeding tips).
No-Till Gardening: Step-by-Step (2-Week Version)
If you’ve only come across this method just before it’s time to plant, then you needn’t wait until the next growing season to use it. Ideally, laying everything down six months before you plant is best, but you can follow this method instead.
- Using the spade or tiller, dig or till the ground that you intend to plant in (this will be the last and only time you have to do this).
- Cover the area in cardboard. Cover this in compost.
- Water heavily over two weeks to speed up the degradation of the cardboard. Cover with plastic between watering.
- Poke through the compost layer with a trowel to see if the cardboard has degraded. If it hasn’t, then poke holes through wherever you hope to plant seeds or seedlings; this will allow their roots to break through into the soil below. Mark where these holes are.
- Plant seeds or seedlings above the holes in the compost. Surround them with mulch.
- Treat them as usual.
How Long Does a No-Till Garden Take to Work?
As you can see from the two methods outlined, no-till gardening can be effective almost immediately. However, if you can plan in advance and prepare the ground during the winter, then this is better.
How to Maintain No-Till Gardening Soils
During the growing season, the mulch should help to keep weeds at bay. However, once you’ve harvested your crop, you’ll need to cover the area with the plastic sheeting again to stop weeds from growing through during the winter.
Even if some weeds appear while you’re growing, the dark plastic covering over winter should kill them off, and you’ll be back to square one come spring. And every following year, all you’ll need to do is lift off a sheet of plastic, plant your plants, and lay down a layer of mulch. It's almost too easy!
Do No-Dig Gardens Require Nutrients?
Due to the improved nature of the soil, and the addition of compost and mulch, no-till gardens require very little in the way of added nutrients. This method creates nutrient rich, self-sustaining soils—much like natural soils. So you shouldn't need to supplement with feed throughout the growing season.
Rather, as each new season begins, you should lay down a new layer of nutrient-rich mulch, which will gradually break down, releasing nutrients into the soil.
No-Till and No-Dig Gardening: A Very Simple Way to Save the Soil
As you can see, this method is really brilliant. Whether your primary interest is to take the effort out of gardening or to preserve the health of our precious soil, no-till gardening offers simple and effective results.
Put a little effort in during the first season, and you can protect your garden from weeds, and the soil from disruption, for many years to come. Maintenance is minimal and the results are very impressive. If you grow outdoors in the ground, you should seriously consider this method.


