 Weed Grow Guide by Royal Queen Seeds
- Growing weed step by step
- Marijuana growing basics
- Choosing your seeds
- How to germinate seeds
- The marijuana vegetative stage
- The marijuana flowering stage
- Harvesting marijuana
- Trimming, drying, and curing
- Choosing pots and soil
-
Growing indoors
- A Complete Overview Of Growing Cannabis Indoors
- Cannabis Cultivation Tips: How To Set Up Indoor Grow Lights
- How Many Cannabis Plants Can You Grow Per Square Metre?
- Indoor Cannabis Growing: Relative Humidity and Temperatures
- Hydroponics Cannabis Growing Guide (with diagrams)
- Cannabis Micro Growing: Growing Great Weed in Tiny Spaces
- Growing outdoors
- How to grow autoflowering marijuana
- Marijuana nutrients and pH
- Marijuana troubleshooting: Nutrients
-
Marijuana troubleshooting: Growing
- Cannabis Seed Germination — Troubleshooting Guide
- How to Deal With Pythium (Root Rot) in Cannabis Plants
- Slow Cannabis Plant Growth And What You Can Do About It
- How to Prevent and Fix Stretching in Cannabis Seedlings
- Watering Your Cannabis: How to Fix Overwatering and Underwatering
- Understanding Male, Female, And Hermaphrodite Cannabis
- Identifying and Treating Common Cannabis Ailments
- How To Revive a Sick Cannabis Plant
- How to Avoid Moldy Marijuana During Drying and Curing
- How to Prevent and Treat Dry and Crispy Cannabis Leaves
- What Cannabis Leaves Can Tell You
- Causes and Solutions for Yellow Cannabis Leaves
-
Marijuana Strains Grow Report
- HulkBerry Automatic Grow Report
- Blue Cheese Auto Grow Report
- Purple Punch Automatic Grow Report
- Triple G Automatic Grow Report
- Do-Si-Dos Automatic Grow Report
- Green Gelato Automatic Grow Report
- Haze Berry Automatic Grow Report
- Purple Queen Automatic Grow Report
- Cookies Gelato Automatic Grow Report
- Sherbet Queen Automatic Grow Report
- Sweet Skunk Automatic Grow Report
- Medusa F1 Grow Report
- Marijuana plant training
-
Marijuana growing tips
- The Cannabis Plant Anatomy
- How to preserve seeds
- How Much Sunlight Do Outdoor Cannabis Plants Need To Grow?
- How to Control and Prevent Stretching in Cannabis Plants
- My Cannabis Plants Are Growing Too Tall: What Should I Do?
- Should You Worry About Purple Or Red Cannabis Stems?
- What To Do When Your Indoor Cannabis Won’t Flower
- How To Protect Your Cannabis Plants From Heat Stress
- How To Tell If Your Female Cannabis Plant Has Been Pollinated
- Growing Medical Marijuana
- Bud Washing: How to Clean Your Weed
- Understanding Cannabis Yield per Plant
Triple G Automatic Grow Report
Contents:
Are you looking for a speedy, potent, and productive autoflowering cannabis strain? If so, check out my Triple G Automatic grow report below. I detail every step along the way, from nutrients and lighting to temperature and humidity. Instead of going into your grow blind and hoping for the best, use this Triple G Automatic week-by-week grow guide for the best results.
Triple G Automatic Grow Report: Equipment List
Choosing the right equipment is essential to maintaining plant health and achieving superior yields. I used the following when growing Triple G Automatic:
|
|
Triple G Automatic Grow Report: Seedling Stage (Week 1)
Every grower feels excitement at the start of a grow! Check out the steps I took to ensure success during this first period of the growing cycle.
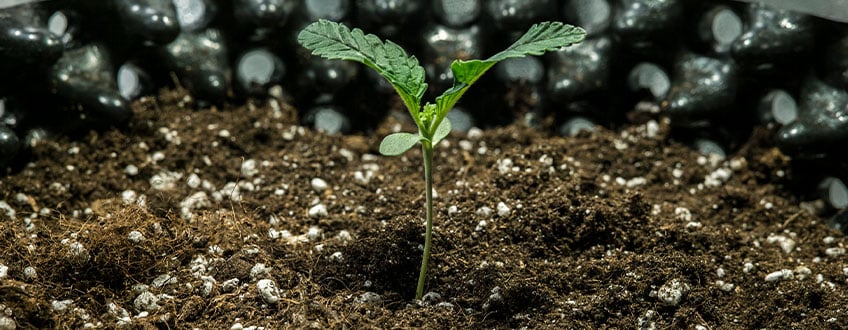
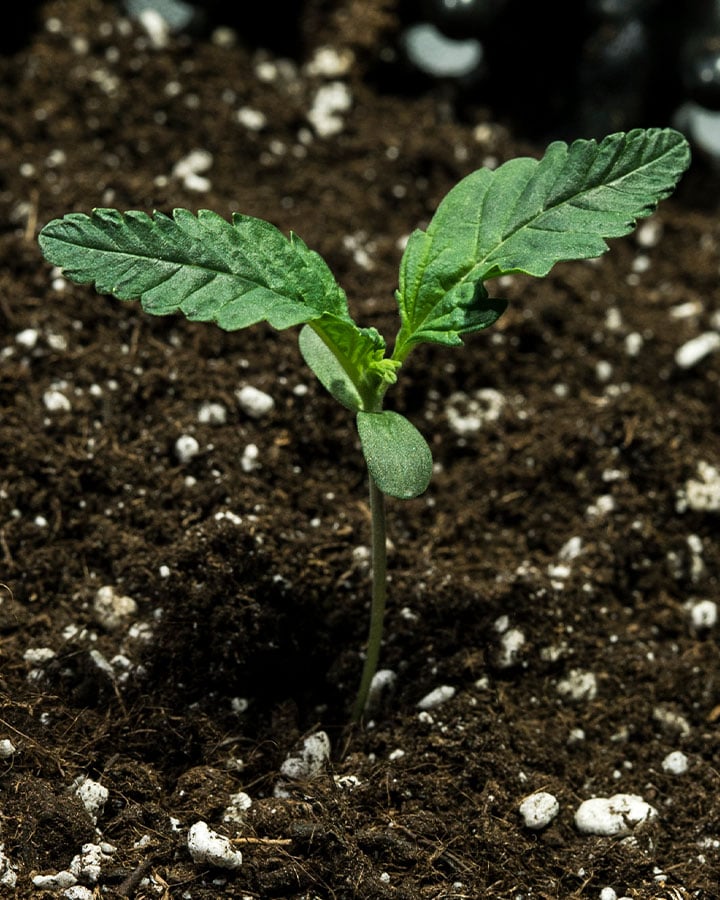
- Germination: I took a simple approach with Triple G Automatic and decided to sow seeds directly into their final containers. While this can result in reduced germination rates, it saves time and effort if successful.
- Lighting: I suspended my MIGRO 200+ light from the ceiling of the grow box. I adjusted the hanging wires to create a distance of 13.7 inches between the rim of the container and the light. I kept the light running for 24 hours each day after the shoot first appeared.
- Growing medium: I filled my 11l Air-Pot halfway with 5l of Biobizz Light Mix. Then, I added the following nutrients and biologicals to maximise mineral uptake and reduce the chances of soil pathogens taking hold:
- RQS Easy Boost Organic Nutrition: 1.8 oz
- RQS Bat Guano: 2.5 oz
- RQS Rhizobacter: 0.4 oz
- RQS Mycorrhiza Mix: 0.2 oz
After adding the amendments, I thoroughly mixed them into the growing medium. I then added a further 4l of soil into the container and mixed it again. Finally, I added the final 1l of soil onto the surface without mixing to avoid seedling nutrient burn. I then watered the growing medium to the point of saturation, created a 1.2 inches hole in the center of the surface, and inserted my Triple G Auto seed before lightly covering it up. - Environment: During germination, I recorded a consistent temperature of 23°C and a humidity of 60%.
- Plant status: By the end of week 1, my seedling looked strong and healthy, and showed no signs of damping off or legginess. It stood around 2.3 inches tall and had developed its first set of true leaves.
Triple G Automatic Grow Report: Vegetative Stage (Weeks 2–4)
My seedling looked healthy, vibrant, and ready to take on the veg stage. Over the next three weeks, my plant packed on some serious size and appeared to get healthier by the day. Check out my strategy for raising such a vigorous specimen below.
Week 2
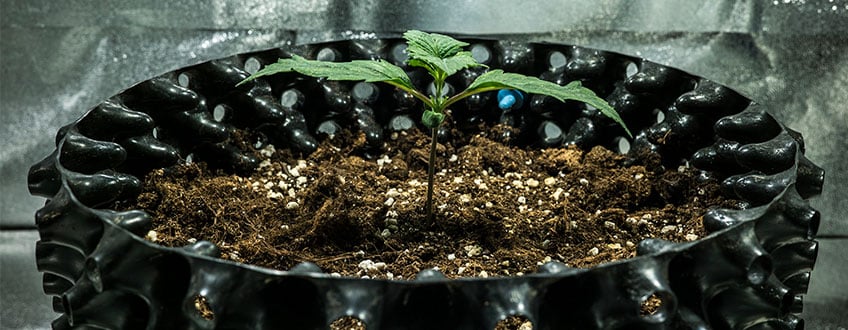
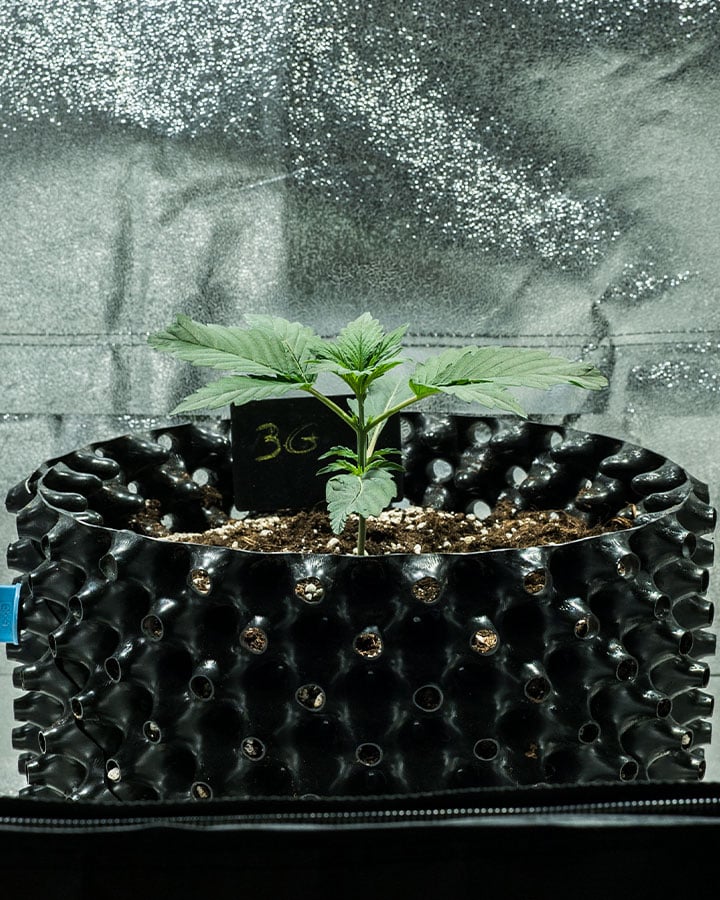
The initial growing medium had enough nutrients and soil biology to see my plant through the entire vegetative phase. However, I decided to supplement this foundation with additional organic nutrients to drive growth even further.
- Lighting: I kept the lights running for 24 hours each day to drive photosynthesis as much as possible. I maintained a distance of 13.7 inches from the light and the top of the young plant.
- Nutrients: I kept things very simple here. I used RQS Easy Grow Booster Tablets to make a batch of fertiliser. I added half a tablet (1.0.2 oz) into 1.5 litres of water regulated to a pH of 6.0, and applied it on the fourth day of week 2.
- Environment: I managed to maintain an average temperature of 24°C and relative humidity of 55%.
- Plant status: By the end of week 2, my plant had reached a height of 11.2 inches and developed multiple sets of luscious, thick-fingered fan leaves.
Week 3
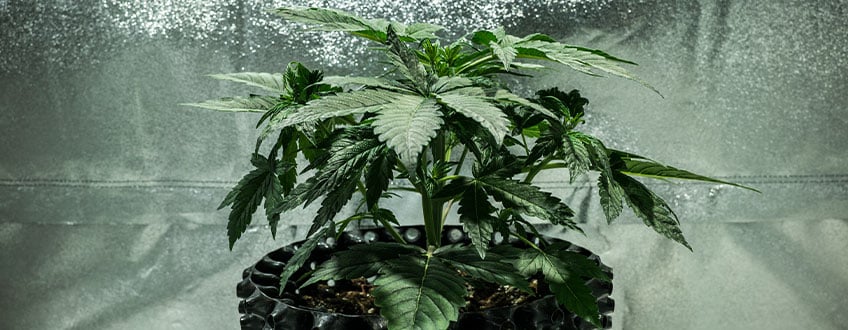
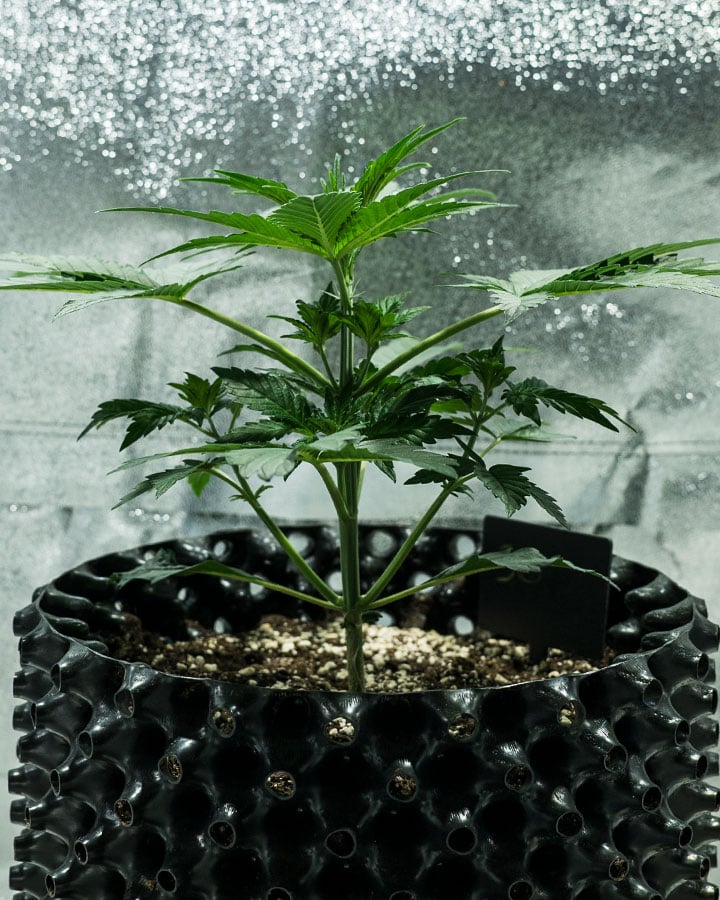
Week three came around fast. My plant started to grow even faster and developed a healthy dark-green color and solid turgor.
- Lighting: I continued a lighting schedule of 24 hours on each day, as my plant responded so well to this regimen in the previous week. I readjusted the position of my lights to maintain a 13.7 inches distance from the top of the canopy.
- Nutrients: I repeated the same feeding regimen as last week. I administered the same formula on the same day of the week.
- Environment: Average temperature hung around 24°C, whereas humidity dipped slightly to 50%.
- Plant status: By the end of week 3, my plant reached a height of 9.4 inches and put out numerous new sets of true leaves. I decided to top my plant to promote lateral growth and more uniform bud sites. I sterilised a pair of Curved Trimming Scissors and topped just below the fifth node (the point at which the branches meet the main stem).
Week 4
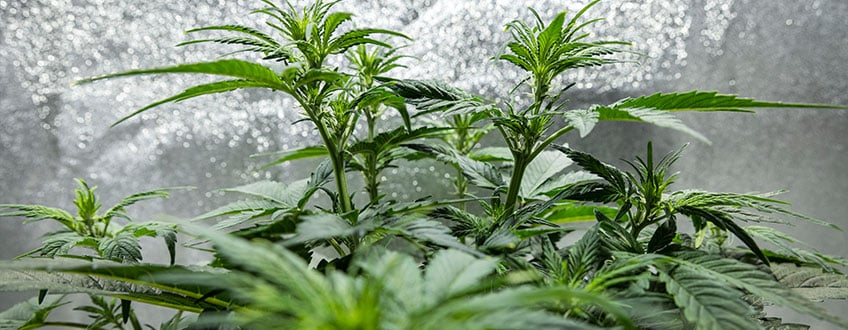
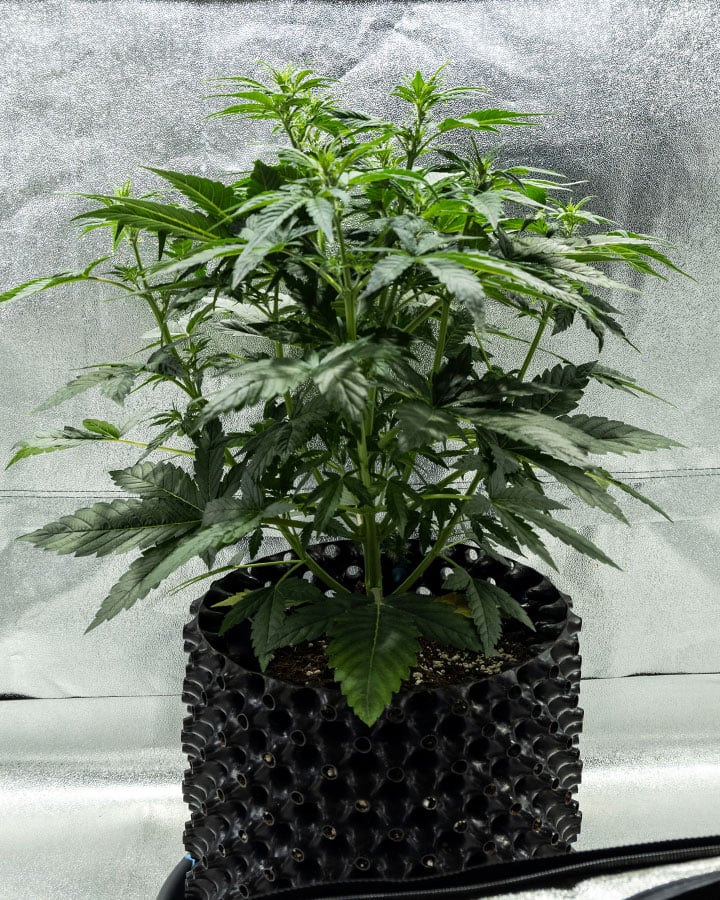
Things continued to cruise along just fine. With no signs of nutrient deficiencies or disease, I was already confident that I’d receive a great yield from this grow.
- Lighting: I continued to keep the lights on for 24 hours each day.
- Nutrients: I discontinued any nutrients this week. My plant seemed extremely healthy and I didn’t want to risk inducing symptoms of toxicity. I simply applied 1.5l of pH-regulated water on day four of the week.
- Environment: Temperatures remained at 25°C and humidity hovered around 45%.
- Plant status: By the end of week 4, my plant stood at 15.6 inches. At this point, I performed some light defoliation to increase aeration in the canopy and free up energy for the approaching flowering phase.
Triple G Automatic Grow Report: Flowering Stage (Weeks 5–11)
Things started to get even more exciting as the flowering phase started. I noticed the first signs of pre-flowers, and it didn’t take long for the buds to swell up and for my plant to stretch.
Week 5
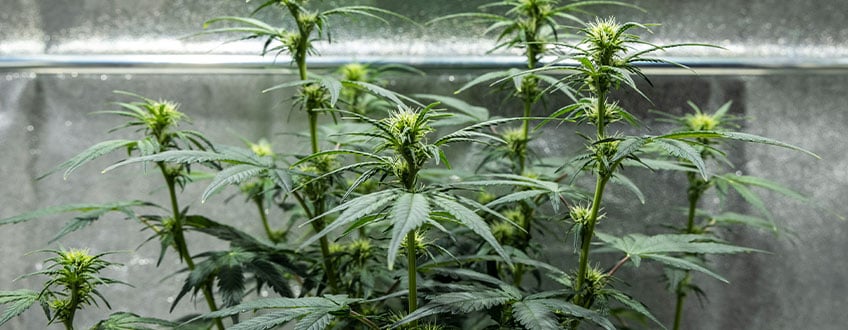

My plant started to shoot up in size during the first week of flowering. To accommodate this energy expenditure, I switched up her nutrient regimen for optimal results.
- Lighting: I reduced the light cycle to 18 hours on and 6 hours off. I repositioned the light to remain at 13.7 inches above the canopy.
- Nutrients: I started to apply RQS Easy Bloom Booster Tablets to facilitate flowering. I added 1 tablet into 5l of water and applied it on days 2 and 6 of week 5. I also administered RQS Easy Plus Micronutrients on day 5, adding 1 tablet into 5l of water.
- Environment: Temperature remained steady at 25°C. I opted to drop the humidity to 40% to reduce the risk of mold formation of new buds.
- Plant status: After her big flowering stretch, my plant reached a height of 30.4 inches by the end of week 5. All of her leaves and young buds seemed healthy.
Weeks 6 & 7
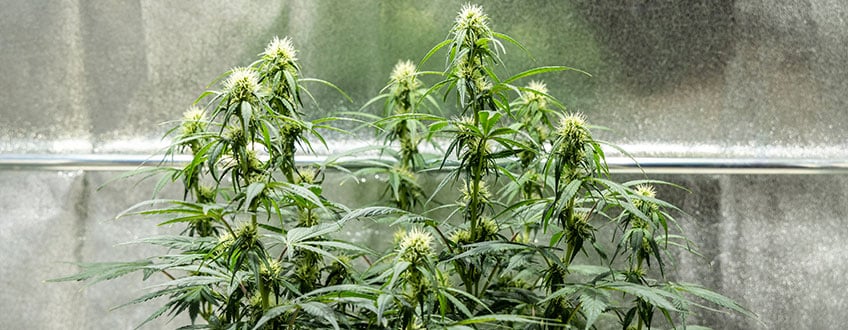

My plant seemed vigorous and vibrant at this stage. She continued to grow rapidly in size, both laterally and vertically.
- Lighting: I maintained a light schedule of 18 hours on and 6 hours off.
- Nutrients: I applied RQS Bio Flowering Booster to ensure healthy flower development. I used the following formulas:
- Thicker Flowers: 0.2ml/l every day during week 6, and 0.3ml/l every day during week 7
- Bigger Flowers: 1ml/l on day 2 of week 6, and 0.8ml/l during week 7
- Environment: Temperature stayed steady at 26°C and humidity at 40%.
- Plant status: By the end of week 7, my plant seemed healthy, and I could see buds starting to really develop. She stood at a height of 37.1 inches.
Week 8
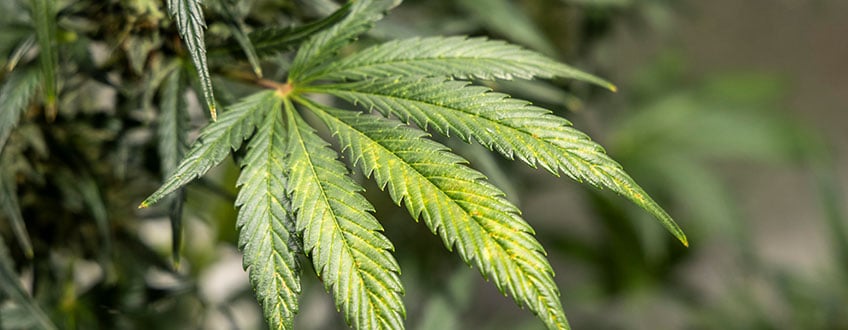
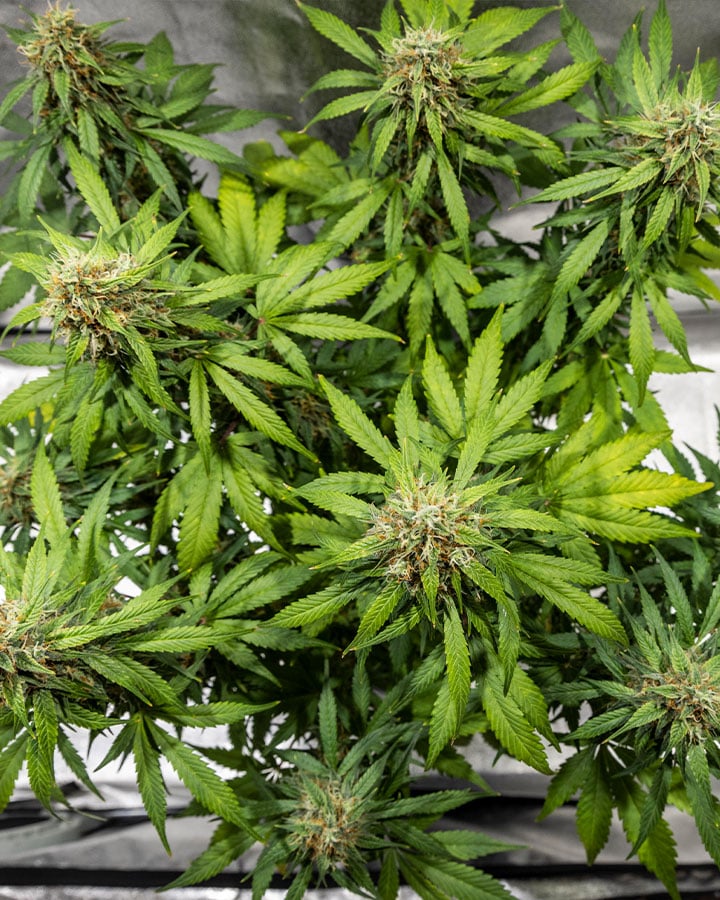
During week 8, my plant stopped stretching. However, her buds appeared to get bigger and more resinous by the day.
- Lighting: 18 hours on and 6 hours off.
- Nutrients: I kept applying RQS Bio Flowering Booster every day using the following quantities:
- Thicker Flowers: 0.4ml/l
- Bigger Flowers: 1ml/l
- Environment: Temperature stayed at 26°C and humidity reduced further to 38%.
- Plant status: She maintained a size of 37.1 inches. Lower fan leaves started to yellow, while buds increased in size.
Weeks 9, 10 & 11
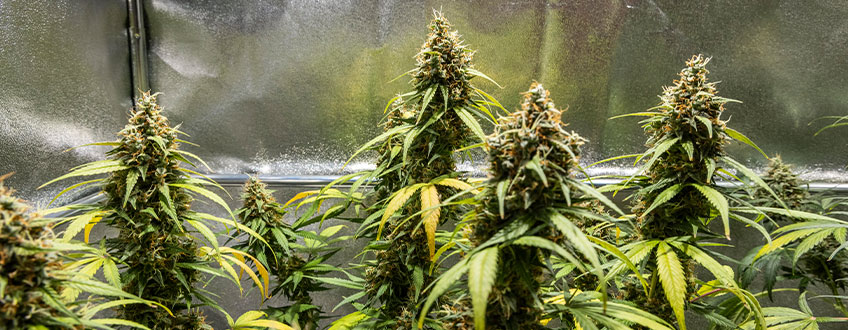
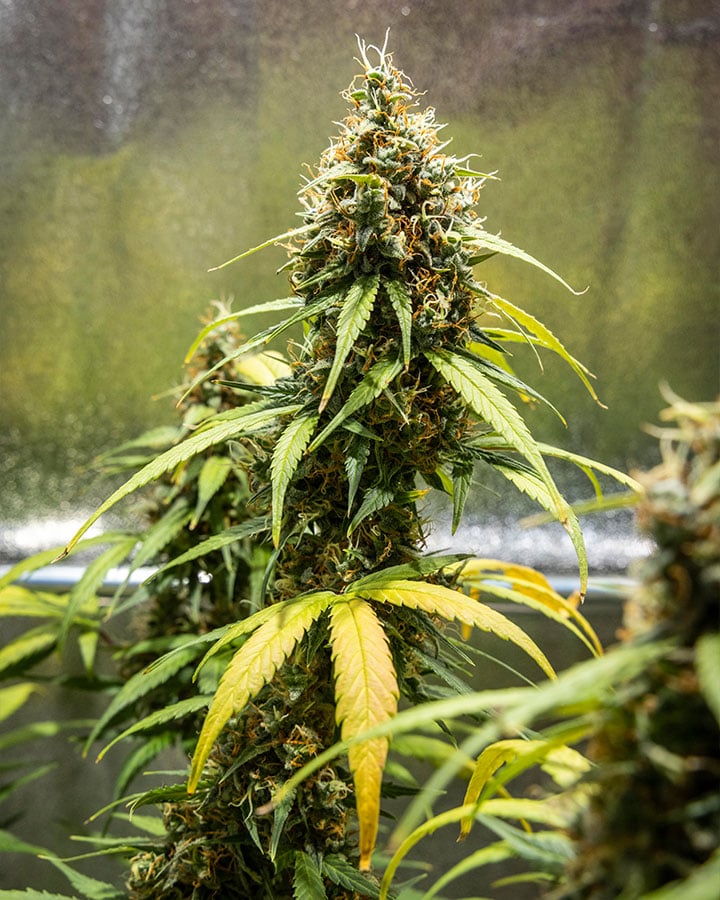
I decided to start flushing three weeks prior to harvest. I provided my plant with a solid nutrient regimen during the entire growing cycle and wanted to remove as many residual compounds as possible before harvest to improve the taste of my buds.
- Lighting: Remained at 18 hours on and 6 hours off for the rest of the flowering stage.
- Nutrients: I restricted all nutrients and instead applied 2l of water regulated to a pH of 6.0 on days 2 and 6 of the remaining weeks.
- Environment: Temperature remained at 26°C and humidity at 38%.
- Plant status: My plant appeared healthy and strong. I defoliated much of the lower canopy during week 10 to direct more energy to the ripening buds. The fan leaves continued to yellow during the lengthy flush.
Harvest (Week 12)
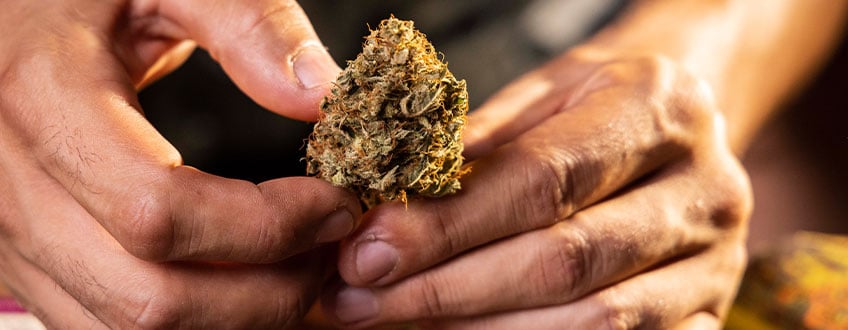
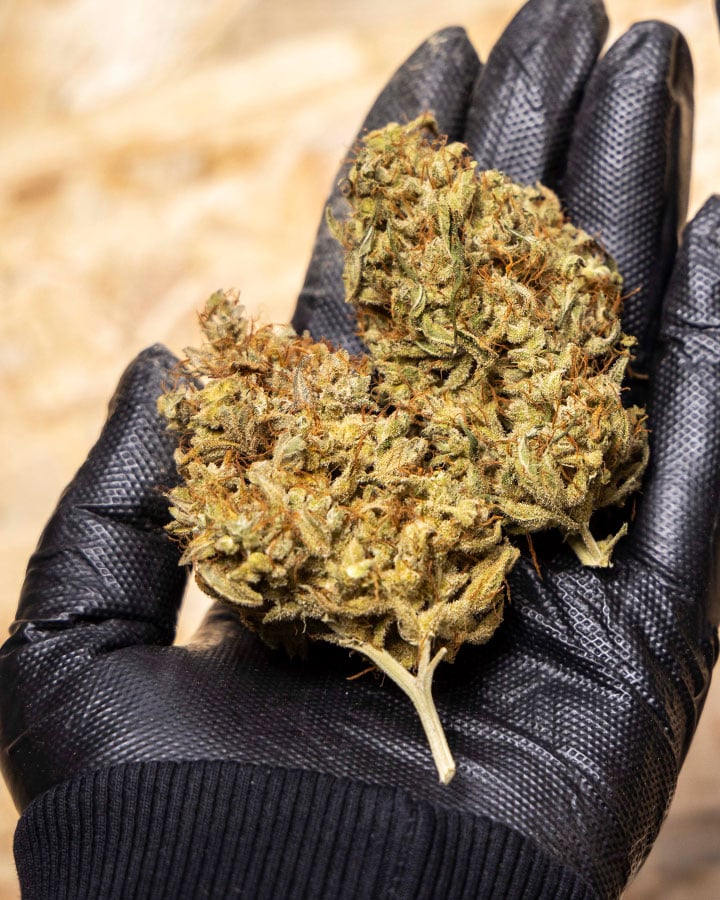
All the hard work paid off! On week 12, I harvested a total of 4.3 oz of dried flowers. I cut my plant at the base and hung it upside down in the grow box with good air circulation. As soon as the stems felt cracker dry, I removed the buds and trimmed off the sugar leaves. Then, I transferred them to curing jars for 6 weeks.
Triple G Auto Characteristics
- 🧬 Genetic Attributes of Triple G Automatic
- Hopefully, my Triple G Automatic grow journal will help you produce top-tier specimens in your very own grow-op. This speedy cultivar boasts an impressive array of attributes, including high levels of THC, scrumptiously sweet terpenes, and a compact and stealthy structure. The skilled breeders at RQS developed this strain by crossing the much-loved Triple G with Big Skunk Auto. The result? An indica-dominant auto with 80% indica genetics, 15% sativa, and 5% ruderalis. Whether you’re new to growing and want to start out with an easy strain, or you’re a veteran cultivator looking for a quick and abundant yield, Triple G Automatic has your back! Enjoy dense, resinous buds in a matter of weeks after sowing seeds.
- 🌱 Growing Characteristics of Triple G Automatic
- Are you low on space? Perhaps you’re worried about nosey neighbours? If you’re seeking stealth, then you need to get some Triple G Automatic seeds in the soil. Indoors, this plant grows to 60–120cm. If you want to keep her as small as possible, grow her in small containers and use techniques such as LST to promote lateral growth, as opposed to vertical. Prepare to harvest up to 500g/m² in as little as 10 weeks from seeing shoots emerge through the soil. Outdoors, Triple G Auto peaks at a height of 140cm. Make sure you have enough stash jars to cure and store up to 140g/plant.
- 🌈 Effects and Flavour of Triple G Automatic
- So, what can you expect when you take that first hit of Triple G Automatic? Initially, you’ll feel her complex terpene profile dance over your taste buds; get ready to savour notes of candy, chocolate, earth, and skunk. Shortly afterward, you’ll begin to feel her THC content of 20% take hold. Despite her indica-dominant genetics, Triple G Automatic imparts a clear and motivating head high that makes her perfect for any time of day.
Triple G Auto
|
|
Triple G x Big Skunk Auto |
|
|
16 to 19 oz/m² |
|
|
2 to 4 feet |
|
|
8 - 9 weeks |
|
|
THC: 20% |
|
|
Sativa 15% Indica 80% Ruderalis 5% |
|
|
3 to 5 oz/plant |
|
|
3 to 5 feet |
|
|
10 - 12 weeks after sprouting |
|
|
Clear, Fast Thinking, Motivating |
 Grow Guide Topic Finder
- Growing weed step by step
- Marijuana growing basics
- Choosing your seeds
- How to germinate seeds
- The marijuana vegetative stage
- The marijuana flowering stage
- Harvesting marijuana
- Trimming, drying, and curing
- Choosing pots and soil
-
Growing indoors
- A Complete Overview Of Growing Cannabis Indoors
- Cannabis Cultivation Tips: How To Set Up Indoor Grow Lights
- How Many Cannabis Plants Can You Grow Per Square Metre?
- Indoor Cannabis Growing: Relative Humidity and Temperatures
- Hydroponics Cannabis Growing Guide (with diagrams)
- Cannabis Micro Growing: Growing Great Weed in Tiny Spaces
- Growing outdoors
- How to grow autoflowering marijuana
- Marijuana nutrients and pH
- Marijuana troubleshooting: Nutrients
-
Marijuana troubleshooting: Growing
- Cannabis Seed Germination — Troubleshooting Guide
- How to Deal With Pythium (Root Rot) in Cannabis Plants
- Slow Cannabis Plant Growth And What You Can Do About It
- How to Prevent and Fix Stretching in Cannabis Seedlings
- Watering Your Cannabis: How to Fix Overwatering and Underwatering
- Understanding Male, Female, And Hermaphrodite Cannabis
- Identifying and Treating Common Cannabis Ailments
- How To Revive a Sick Cannabis Plant
- How to Avoid Moldy Marijuana During Drying and Curing
- How to Prevent and Treat Dry and Crispy Cannabis Leaves
- What Cannabis Leaves Can Tell You
- Causes and Solutions for Yellow Cannabis Leaves
-
Marijuana Strains Grow Report
- HulkBerry Automatic Grow Report
- Blue Cheese Auto Grow Report
- Purple Punch Automatic Grow Report
- Triple G Automatic Grow Report
- Do-Si-Dos Automatic Grow Report
- Green Gelato Automatic Grow Report
- Haze Berry Automatic Grow Report
- Purple Queen Automatic Grow Report
- Cookies Gelato Automatic Grow Report
- Sherbet Queen Automatic Grow Report
- Sweet Skunk Automatic Grow Report
- Medusa F1 Grow Report
- Marijuana plant training
-
Marijuana growing tips
- The Cannabis Plant Anatomy
- How to preserve seeds
- How Much Sunlight Do Outdoor Cannabis Plants Need To Grow?
- How to Control and Prevent Stretching in Cannabis Plants
- My Cannabis Plants Are Growing Too Tall: What Should I Do?
- Should You Worry About Purple Or Red Cannabis Stems?
- What To Do When Your Indoor Cannabis Won’t Flower
- How To Protect Your Cannabis Plants From Heat Stress
- How To Tell If Your Female Cannabis Plant Has Been Pollinated
- Growing Medical Marijuana
- Bud Washing: How to Clean Your Weed
- Understanding Cannabis Yield per Plant


