Titan F1 Grow Report
Are you thinking about growing Titan F1? Why not check out my grow report below to get a taste of what awaits? During my week-by-week account, you’ll discover everything I did to achieve a great yield, from germination all the way to harvest.
Titan F1 Grow Report: Equipment List
- Box: Secret Jardin DS120W 120 × 60 × 178
- Lights: MIGRO 200+
- Ventilation: TT Silent-M 100
- Filter: Primaklima filter PK 100/125
- Fan: Oscillating Koala Fan × 2
- Humidifier: Beurer LB 45
- Soil: Biobizz Light Mix
- Pot: 11l Air-Pot
- Nutrition: RQS Organic Nutrition
Titan F1 Grow Report: Seedling Stage (Week 1)
Before starting this project, I’d already grown a couple of Royal Queen Seeds’ F1 hybrids. Based on their speed, uniformity, and high resistance to pests and disease, I knew from the get-go that I was in for an easy ride. Let’s get started!
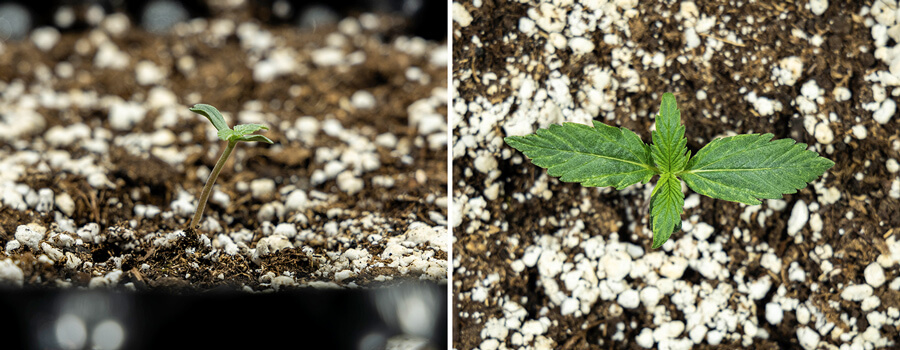
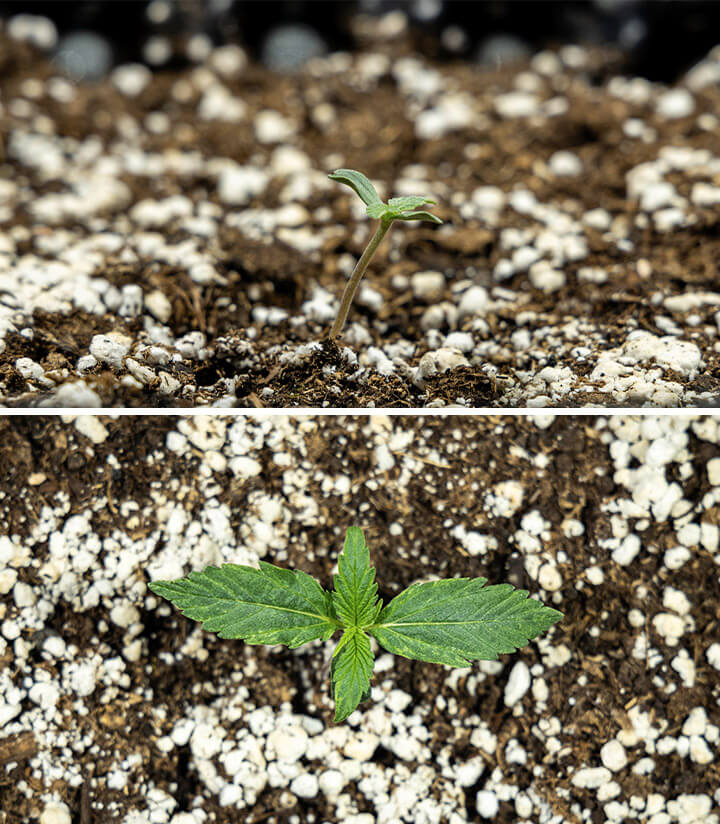
- Growing medium: Before I could germinate my Titan F1 seed, I had to put together a suitable growing medium that would help my plant thrive during the early stages of the growing cycle. I grabbed my 11l Air-Pot and started out by filling it with 5l of Biobizz Light Mix. I decided not only to add some organic nutrients to keep my plant fed, but also to add bioinoculants that help to make nutrients more available and stave off root pathogens. I added 50g of RQS Easy Boost Organic Nutrition into the pot, followed by 10g of RQS Rhizobacter and 5g of Mycorrhiza Mix. I mixed these components thoroughly, added another 5l of the Biobizz Mix into the pot, and mixed it again. Finally, I watered my pot enough to saturate the growing medium.
- Germination: I placed my seed in a glass of non-chlorinated water and let it soak for 12 hours. Then, I made a 2cm-deep hole in the middle of the surface of the growing medium and dropped in my seed. I sprinkled another pinch of both Rhizobacter and Mycorrhiza Mix over the seed to ensure that the taproot would contact these inoculants as soon as it emerged from the seed casing. I lightly covered the seed with growing medium and misted the area thoroughly.
- Lighting: Next up, I had to get my lighting in order. The MIGRO 200+ rig is made up of two separate lamps. To achieve an even spread within my Secret Jardin grow box, I hung each lamp 35cm from the midline of the grow box—one on either side. I adjusted the ratchet straps and set them at a height of 35cm from the rim of the pot. I set them to run for 18 hours per day as soon as the shoot of my Titan F1 plant emerged from the soil.
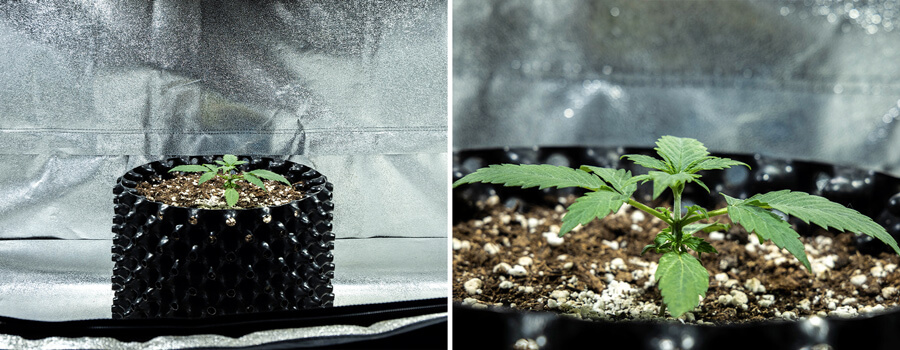
- Plant status: My seed germinated quickly and stood at a height of around 4cm at the end of the first week, with its small first set of true leaves perched between both cotyledons. I also placed a hygrometer in my grow box to help keep track of temperature and humidity going forward.
Titan F1 Grow Report: Vegetative Phase (Week 2–4)
Welcome to the start of the vegetative phase of my Titan F1 week-by-week growing journal! The quick-growing nature of this hybrid meant this phase flew by. Check out how I went about keeping my plant fed and watered below.
Week 2
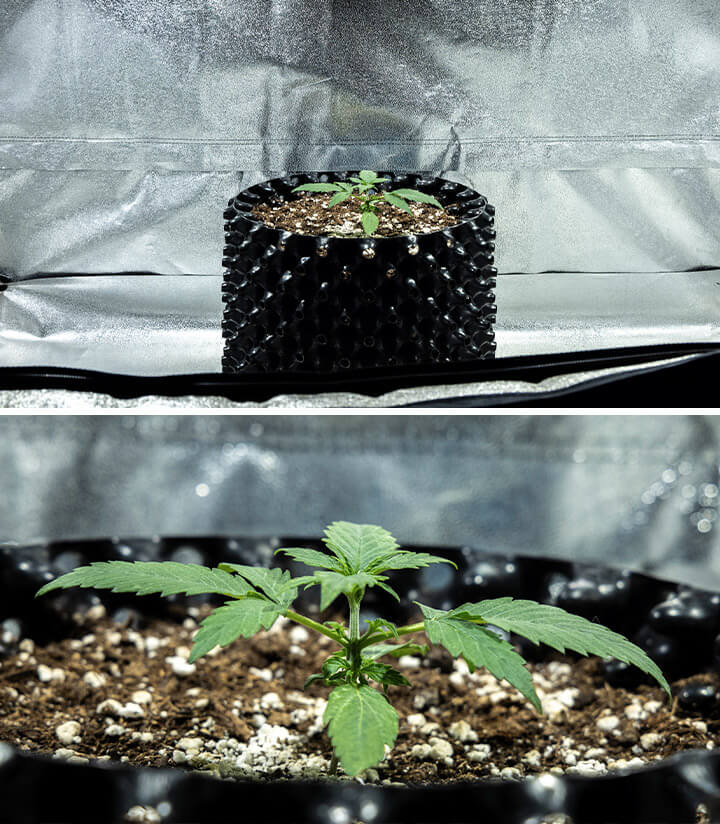
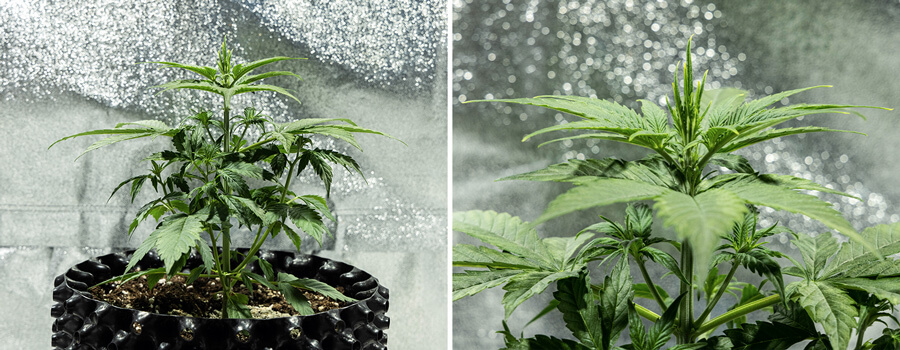
My Titan F1 plant got off to a great start. It put out several new sets of true leaves and took on a healthy dark green appearance.
- Lighting: I repositioned my lights to hang 35cm above the tip of my plant and kept them running for 18 hours per day.
- Nutrients: I refrained from applying any additional nutrients during this week, as my plant had access to the dose of RQS Easy Boost Organic Nutrition that I included in the initial growing medium. I watered with 1.5l of water, adjusted to a pH of 6.0, on days 1 and 5 of the week.
- Environment: I measured an average temperature of 25°C and a relative humidity of 50%.
- Plant status: By the end of week 2, my plant had reached a height of 6.5cm. It seemed healthy overall with a sturdy stem, luscious leaves, and no signs of stretching.
Week 3
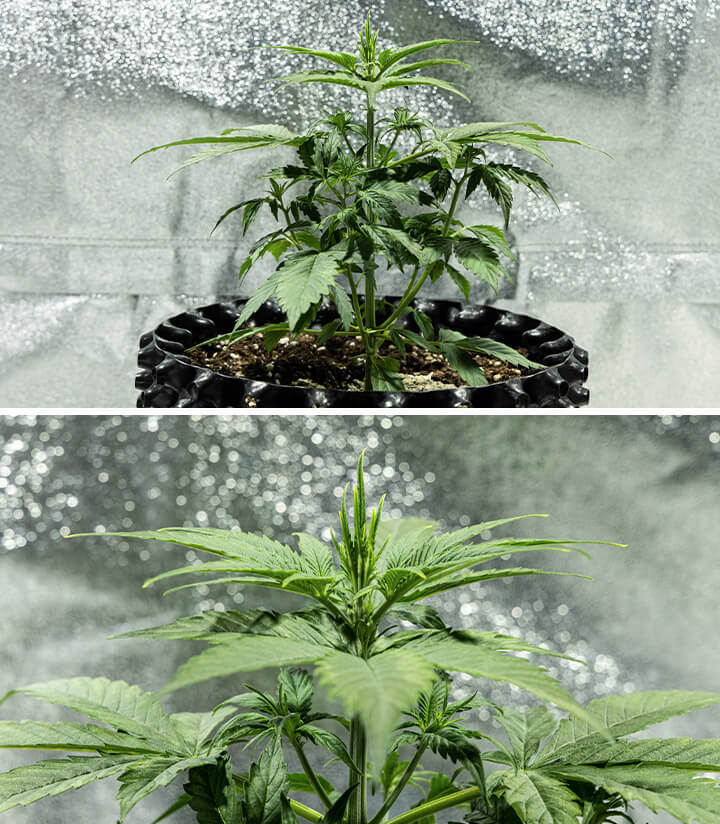
My Titan F1 plant really started to take shape during week 3. It developed a stout and compact stature, stunning symmetry, and more broad and turgid fan leaves.
- Lighting: I raised both lamps again to hang 35cm from the tip of my plant and maintained a cycle of 18 hours on and 6 hours off.
- Nutrients: I started feeding my plant again to keep up with its nutrient demands as it started to get bigger. I chose to use the Bigger Flowers formula from the Bio Flowering Booster pack, which contains a host of vitamins, growth stimulants, and fulvic and humic acid. I added 1ml to 2l of pH-adjusted water and applied it on day 1 of the week. I gave my plant another 2l of water alone on day 5.
- Environment: I recorded an average temperature of 25°C and a relative humidity of 50%.
- Plant status: My plant had surged to a height of 24cm at the end of week three. All seemed well, apart from some slight yellowing and curling at the tips of the leaves. Considering my plant had received a good amount of nutrients up to this point, I put this down to slight light burn. However, the overall health of my plant seemed fine, so it didn’t worry me too much.
Week 4
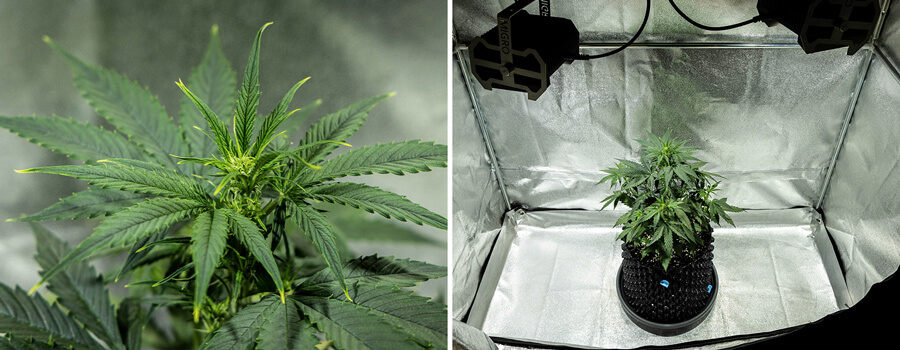
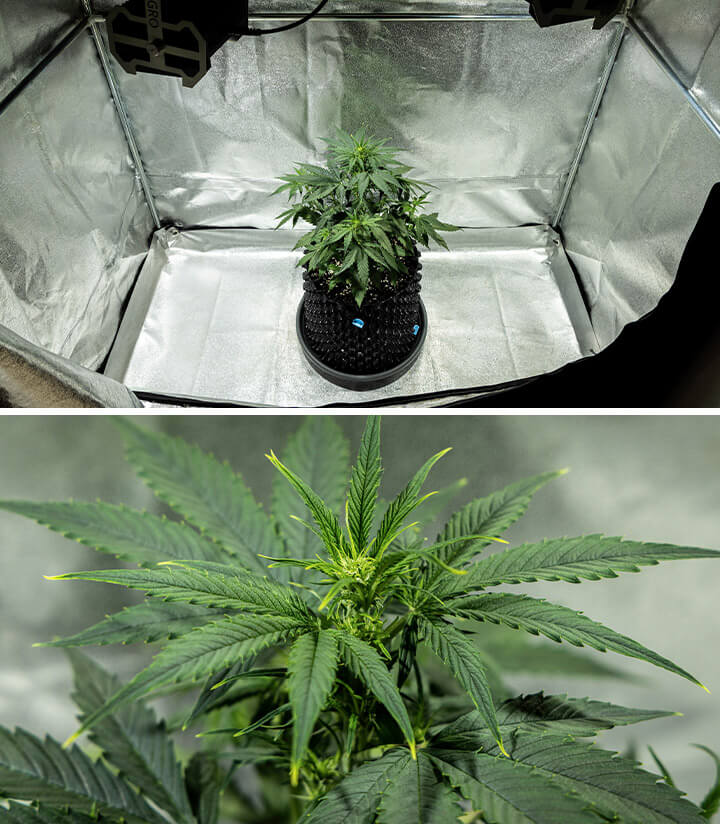
And just like that, the end of the vegetative phase and the start of the flowering phase swung around. Find out how I kept my plant healthy as it started to transition into bloom.
- Lighting: Not too deterred from the slight light burn on my plant, I again repositioned the lamps to hang 35cm from the tip of the canopy. I continued to run them for 18 hours each day.
- Nutrients: I fed my plant on day 1 of the week using Easy Grow Booster Tablets to give it a final large dose of nitrogen before going into bloom. I broke a tablet in half, placed it into 2l of pH-adjusted water, and applied it to my plant.
- Environment: I recorded an average temperature of 26°C and a relative humidity of 50%.
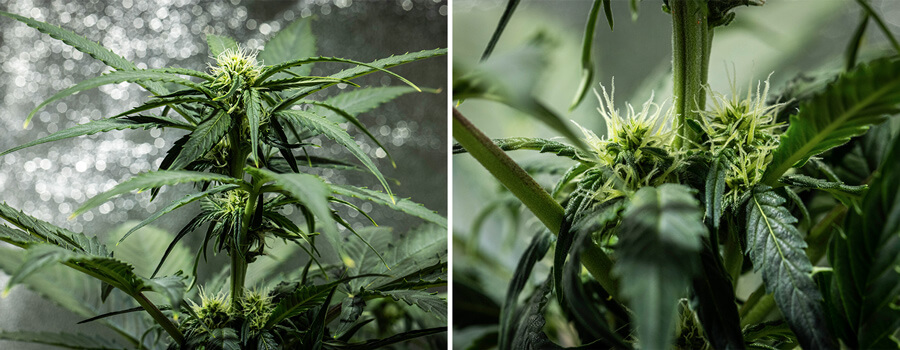
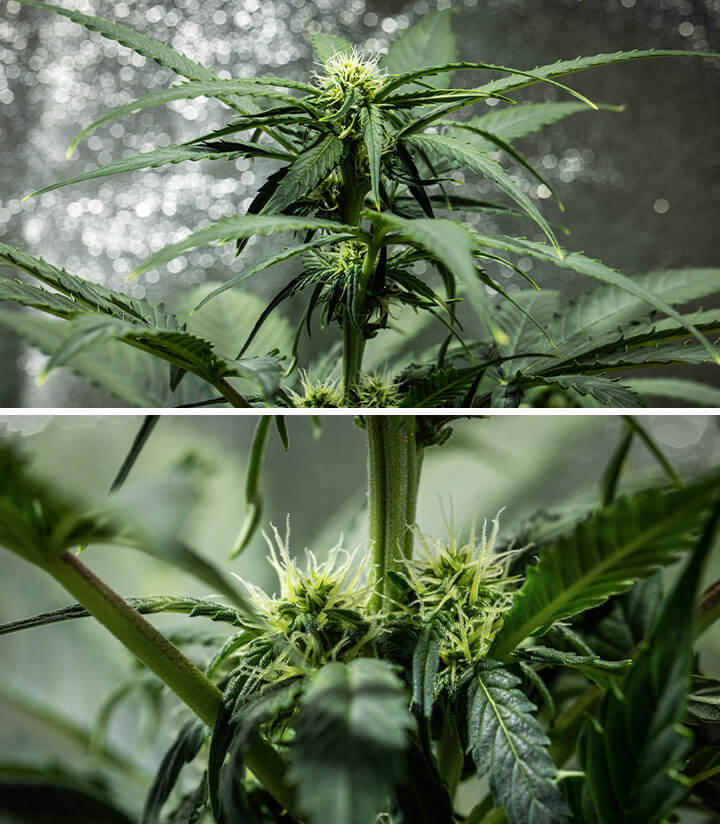
- Plant status: I noticed single pistillate flowers starting to form at the nodes—the area where branches intersect with the main stem. My plant stood at 36cm, and I performed some light defoliation to increase airflow and light penetration in the canopy.
Titan F1 Grow Report: Flowering Stage (Week 5–10)
And just like that, my Titan F1 plant had already started to bloom. Check out how things unfolded during the flowering phase below.
Week 5
The buds of my Titan F1 plant started to develop rapidly during the first week of bloom. Check out how I kept her happy and healthy.
- Lighting: I maintained the same routine by raising my lights to hang 35cm above the tip of the canopy, and kept them running for 18 hours per day.
- Nutrients: I added 1.6ml of Thicker Flowers and 2ml of Bigger Flowers from the Bio Flowering Booster pack to 2l of water to feed my plant on day 1 of the week. These formulas contain high levels of phosphorus and potassium—two macronutrients that play an important role in bud formation. I then applied 2l of pH-adjusted water on day 5 of the week.
- Environment: I recorded an average temperature of 28°C and a relative humidity of 50%.
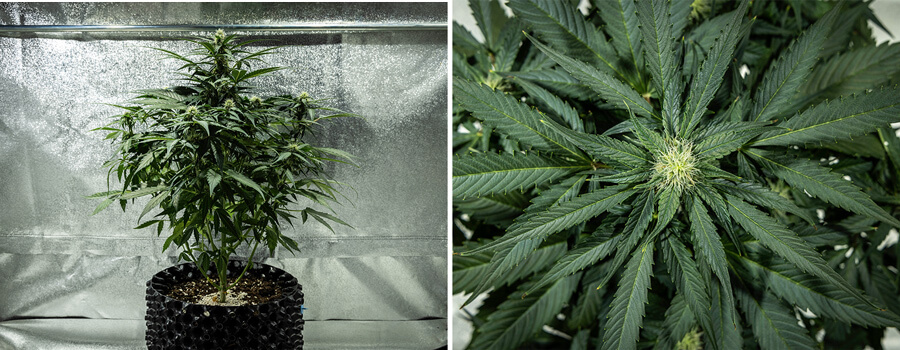
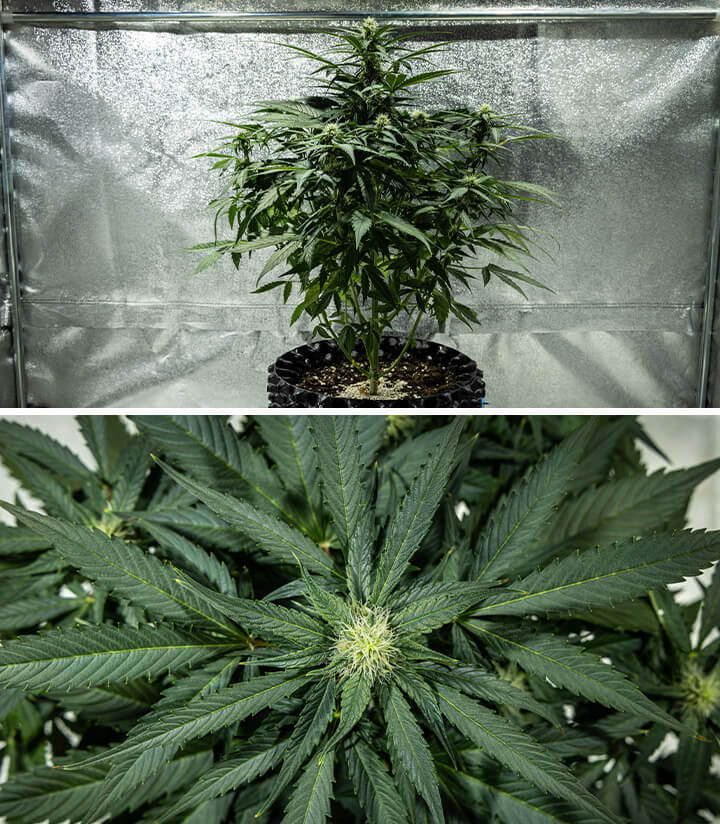
- Plant status: My plant reached a height of 48cm by the end of the first week of flowering. In the space of one week, her small and lonely pistillate flowers quickly developed into large masses of stigmas and bracts. The light burn I noticed during the veg phase didn’t worsen, and my plant looked truly vibrant.
Week 6
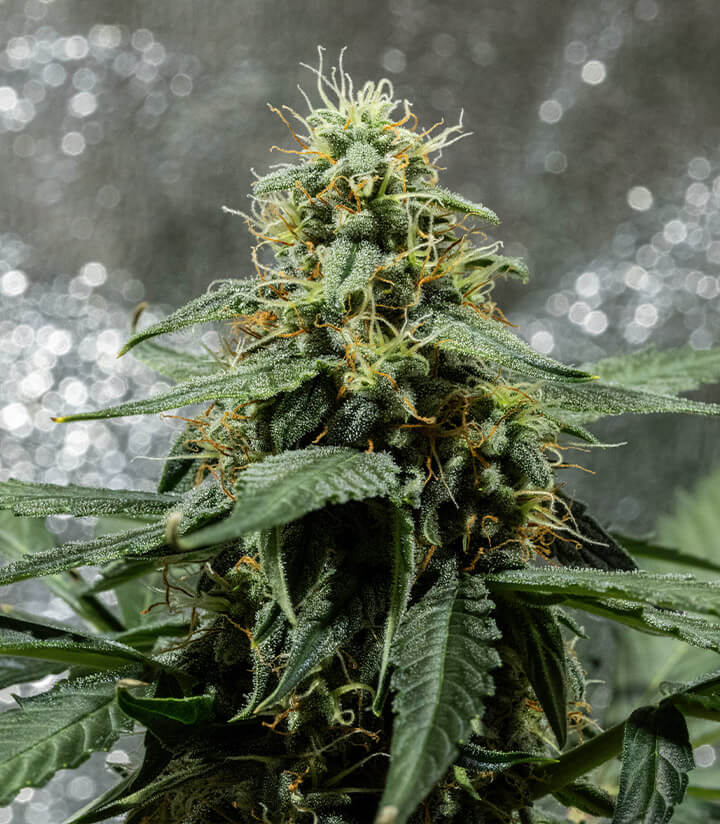
Titan F1’s colas started to swell incredibly fast, and a layer of trichomes started to appear over her buds and sugar leaves.
- Lighting: I maintained a distance of 35cm from the tip of the canopy to my lamps, and left them running for 18 hours each day.
- Nutrients: I upped my plant nutrition during week 6 to ensure she received all of the macronutrients necessary for optimal bud development. On day 1 of the week, I added half of an Easy Bloom Booster Tablet to 2.5l of water and fed my plant. On day 5 of the week, I fed my plant by adding 2ml of Thicker Flowers, 1ml of Bigger Flowers, and 1.4ml of Sweeter Flowers to 2l of water.
- Environment: I tracked an average temperature of 28°C and a relative humidity of 50%.
- Plant status: My plant had grown to a slightly taller height of 52cm. Her buds became thick and frosty, and a weak but noticeable smell greeted me every time I entered the growing tent.

Week 7
My Titan F1 plant started to edge towards maturity during week 7. Check out how I fed my plant as harvest time loomed.
- Lighting: Again, I positioned my lights to hang 35cm from the top of the canopy, and left them running for 18 hours each day.
- Nutrients: One day 1 of the week, I added 3ml of Thicker Flowers, 2.5ml of Bigger Flowers, and 2ml of Sweeter Flowers to 2.5l of water and fed my plant. On day 5 of the week, I added half an Easy Bloom Booster Tablet to the same quantity of water.
- Environment: I recorded an average temperature of 28°C and a relative humidity of 45%.
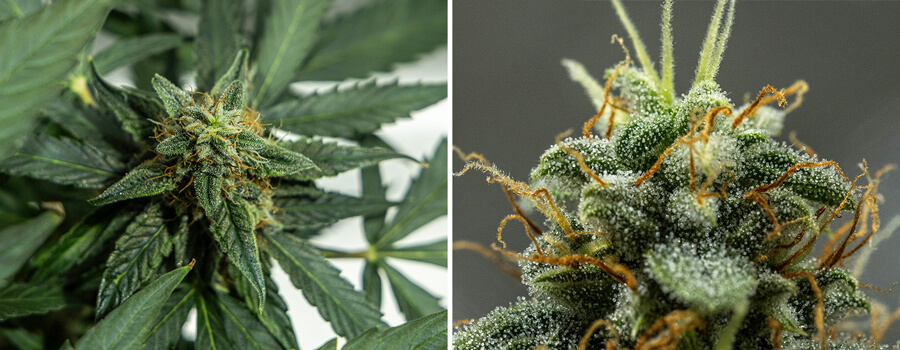
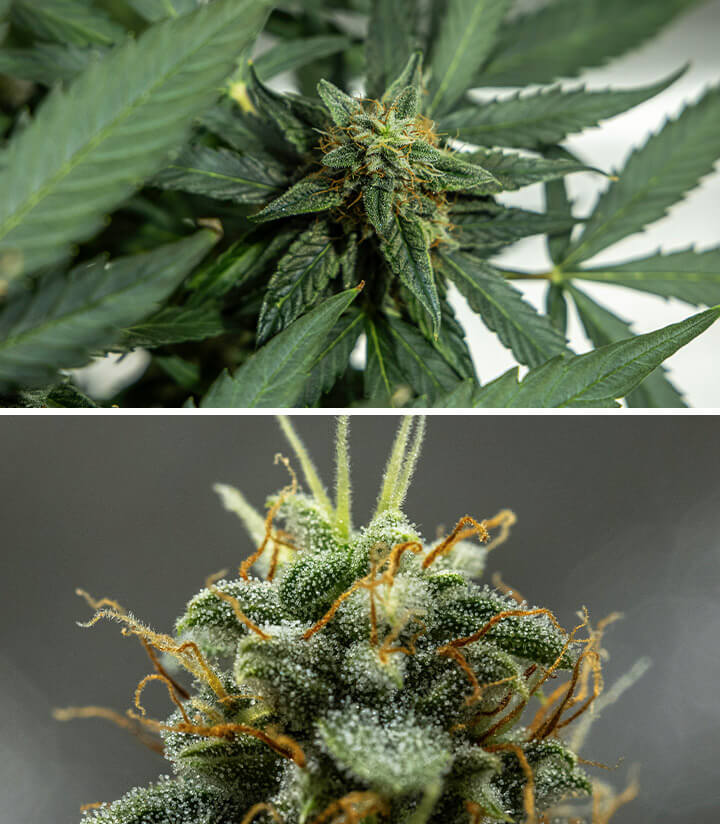
- Plant status: My plant’s flowers became thicker and I noticed a more potent smell start to develop. More trichomes started to pop up over her buds and sugar leaves, and some of her pistils started to turn from white to orange.
Week 8
Welcome to the final week of feeding before the flush! Find out what I fed my plant before restricting all nutrients heading into harvest.
- Lighting: I followed the same lighting strategy that I’d implemented up to this point in the growing cycle.
- Nutrients: On day 1, I added 2.5ml of Thicker Flowers, 2ml of Bigger Flowers, and 2ml of Sweeter Flowers to 2.5l of water and fed my plant. On day 5, I added half an Easy Bloom Booster Tablet to 2.5l of water.
- Environment: I record an average temperature of 28°C and a relative humidity of 45%.
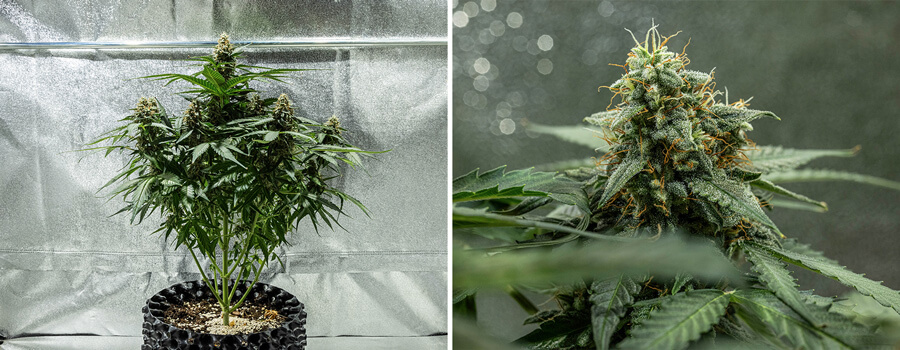
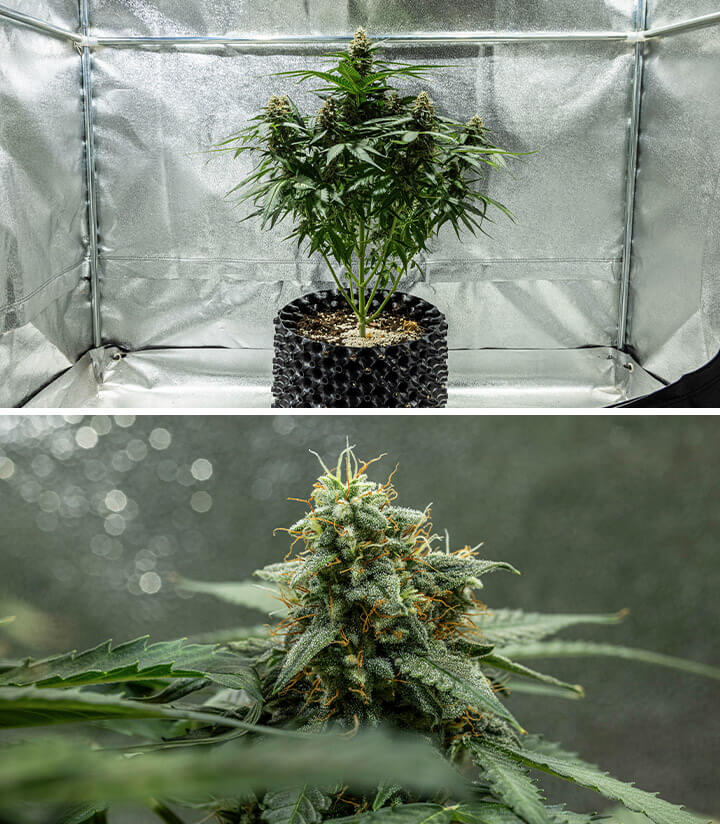
- Plant status: At this point, most of the pistils on my plant’s colas had turned from white to orange. Her smell became much more pungent, but her fan leaves maintained their luscious green appearance.
Week 9 & 10
I withheld nutrients from the start of week 9 all the way up until harvest to flush my plant. The idea here is that plants start to metabolise the nutrients stored within their tissues, resulting in improved flavors and sweetness. Find out how I did it.
- Lighting: Because my plant didn’t exceed 52cm, I left both lamps in their positions and kept them running for 18 hours each day.
- Nutrients: I withheld all nutrients and instead applied 2l of pH-adjusted water on days 1 and 5 of both weeks.
- Environment: I recorded an average temperature of 29°C and a relative humidity of 45%.
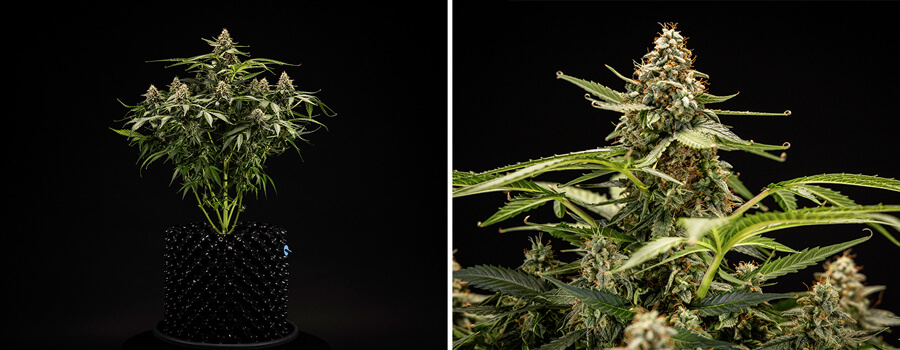
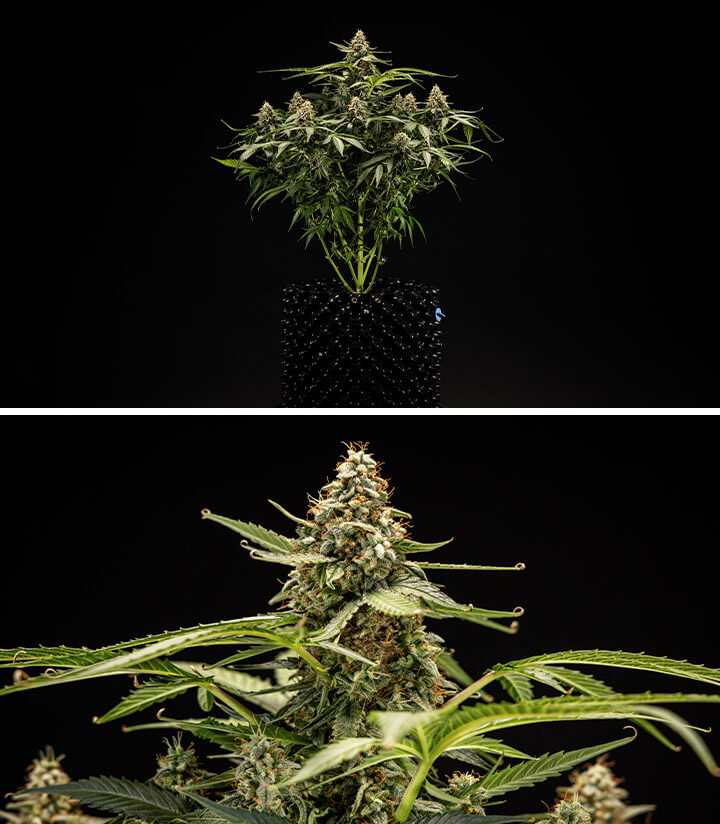
- Plant status: My plant had reached full maturity and ripeness at the end of week 10. Her trichomes appeared milkier, and all of her pistils were dark orange.
Titan F1 Grow Journal: Harvest
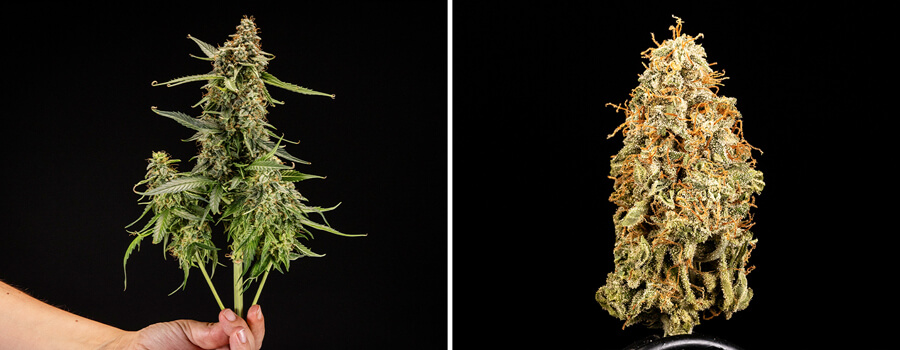
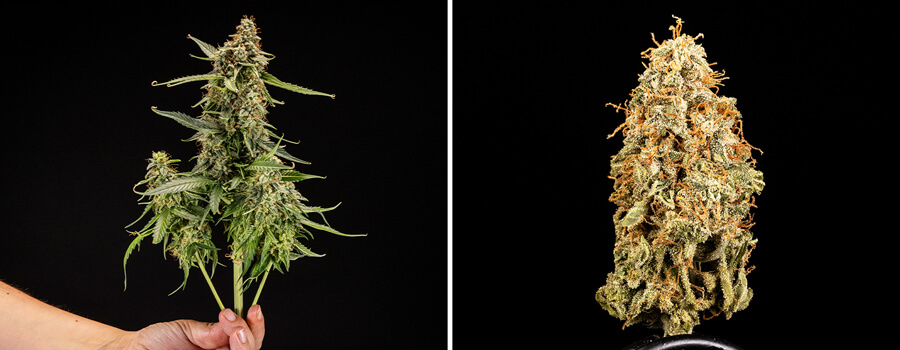
The time had come to harvest the fruits of my labor! I cut my plant at the base and hung it upside down from the top of my grow box, in the dark with the fans running, until the stems became cracker-dry. Unfortunately, some of the flowers became moldy post-harvest because I failed to keep the humidity low enough. After drying, I harvested a total of 65g, though discarded 17g due to mold. Overall, Titan F1 provided a good result, and I found her incredibly easy to grow.
Genetic Attributes of Titan F1
Titan F1 is part of the first wave of true F1 hybrids. These varieties are the result of a long breeding process that culminates in crossing two highly pure inbred lines. This strategy gives the progeny hybrid vigour, which makes them more uniform, flavorful, potent, and resistant to disease. Titan F1 received her genetics from Blue Dream, Sugar Magnolia, and Amnesia lines.
Growing Characteristics of Titan F1
Titan F1 grows fast and maintains a stout size and structure. Plants peak at 75cm but grow as small as 50cm if trained appropriately. Overall, this variety charges from shoot to harvest in as little as 70 days, making it ideal for growers looking to achieve a quick yield while remaining stealthy in the process.
Effects, Aroma, and Flavor of Titan F1
Titan F1’s ultra-high THC content means she produces a long-lasting high that uplifts the mind but relaxes the body. She ranks as one of the strongest autoflowering varieties available, and high levels of caryophyllene, farnesene, myrcene, and ocimene also contribute to her effect. Expect strong notes of candy, diesel, herbs, pine, and vanilla with every hit.


