 Weed Grow Guide by Royal Queen Seeds
- Growing weed step by step
- Marijuana growing basics
- Choosing your seeds
- How to germinate seeds
- The marijuana vegetative stage
- The marijuana flowering stage
- Harvesting marijuana
- Trimming, drying, and curing
- Choosing pots and soil
-
Growing indoors
- A Complete Overview Of Growing Cannabis Indoors
- Cannabis Cultivation Tips: How To Set Up Indoor Grow Lights
- How Many Cannabis Plants Can You Grow Per Square Metre?
- Indoor Cannabis Growing: Relative Humidity and Temperatures
- Hydroponics Cannabis Growing Guide (with diagrams)
- Cannabis Micro Growing: Growing Great Weed in Tiny Spaces
- Growing outdoors
- How to grow autoflowering marijuana
- Marijuana nutrients and pH
- Marijuana troubleshooting: Nutrients
-
Marijuana troubleshooting: Growing
- Cannabis Seed Germination — Troubleshooting Guide
- How to Deal With Pythium (Root Rot) in Cannabis Plants
- Slow Cannabis Plant Growth And What You Can Do About It
- How to Deal With Leggy Cannabis Seedlings
- Watering Your Cannabis: How to Fix Overwatering and Underwatering
- Understanding Male, Female, And Hermaphrodite Cannabis
- Identifying and Treating Common Cannabis Ailments
- How To Revive a Sick Cannabis Plant
- How to Avoid Moldy Marijuana During Drying and Curing
- How to Prevent and Treat Dry and Crispy Cannabis Leaves
- What Cannabis Leaves Can Tell You
- Causes and Solutions for Yellow Cannabis Leaves
-
Marijuana Strains Grow Report
- HulkBerry Automatic Grow Report
- Blue Cheese Auto Grow Report
- Purple Punch Automatic Strain Grow Report
- Triple G Automatic Grow Report
- Do-Si-Dos Automatic Grow Report
- Green Gelato Automatic Grow Report
- Haze Berry Automatic Grow Report
- Purple Queen Automatic Grow Report
- Cookies Gelato Automatic Grow Report
- Sherbet Queen Automatic Grow Report
- Sweet Skunk Automatic Grow Report
- Medusa F1 Grow Report
- Marijuana plant training
-
Marijuana growing tips
- The Cannabis Plant Anatomy
- How to preserve seeds - RQS USA
- How Much Sunlight Do Outdoor Cannabis Plants Need To Grow?
- How to Control and Prevent Stretching in Cannabis Plants
- My Cannabis Plants Are Growing Too Tall: What Should I Do?
- Should You Worry About Purple Or Red Cannabis Stems?
- What To Do When Your Indoor Cannabis Won’t Flower
- How To Protect Your Cannabis Plants From Heat Stress
- How To Tell If Your Female Cannabis Plant Has Been Pollinated
- Growing Medical Marijuana
- Bud Washing: How to Clean Your Weed
- Understanding Cannabis Yield per Plant
Harvesting Cannabis: Find The Right Time
Contents:
- When to harvest cannabis
- Preparing for cannabis harvest
- Gather the necessary tools you need to harvest marijuana
- How to harvest marijuana: step by step
- Harvesting different strains
- Try a progressive harvest when lower buds aren't fully ripe
- It’s time to trim your flowers
- Dry your buds
- Cure your cannabis for smoothness
Knowing how to harvest cannabis properly is crucial to making the most of your crop. After months of growing, with painstaking care, attention, and even devotion given to your plants, getting this (almost) final stage of the process right is the least they, and you, deserve. It may seem that all is done when the time comes to harvest, but there’s still plenty to do, and plenty that can go wrong.
After months of dedicated care, ensuring you harvest your cannabis at just the right time is crucial to maximising potency and flavor. Watch our video "Do You Know When Is The Best Time To Harvest?" to discover the key signs of readiness, such as trichome and pistil changes.
When to Harvest Cannabis
The first thing we have to master when it comes to properly harvesting cannabis is knowing when to harvest. If we harvest too early, then the THC won’t be fully developed. If we harvest too late, then it will have begun to degrade into CBN. For the maximum amount of THC and the most potent highs, we need to harvest at the right time!
The following sections detail the different ways you can tell if your buds are ready to harvest.
Seed Datasheet
First off, when you buy a cannabis seed, it should come with some indication of when plants are ready to be harvested. This will be expressed as either an amount of days or weeks indoors (e.g. 55–60 days; 8–9 weeks) or as a specific month or time of month outdoors (e.g. the end of September).
These stats do not tell you exactly when harvest time is. Rather, they should be taken as a guide. Don’t just harvest 9 weeks after flowering starts just because the seed packet says so. Some plants take longer while others are quicker. Still, these stats should keep you on track and help you to determine if everything is going as it should.
Leaves Turning Yellow
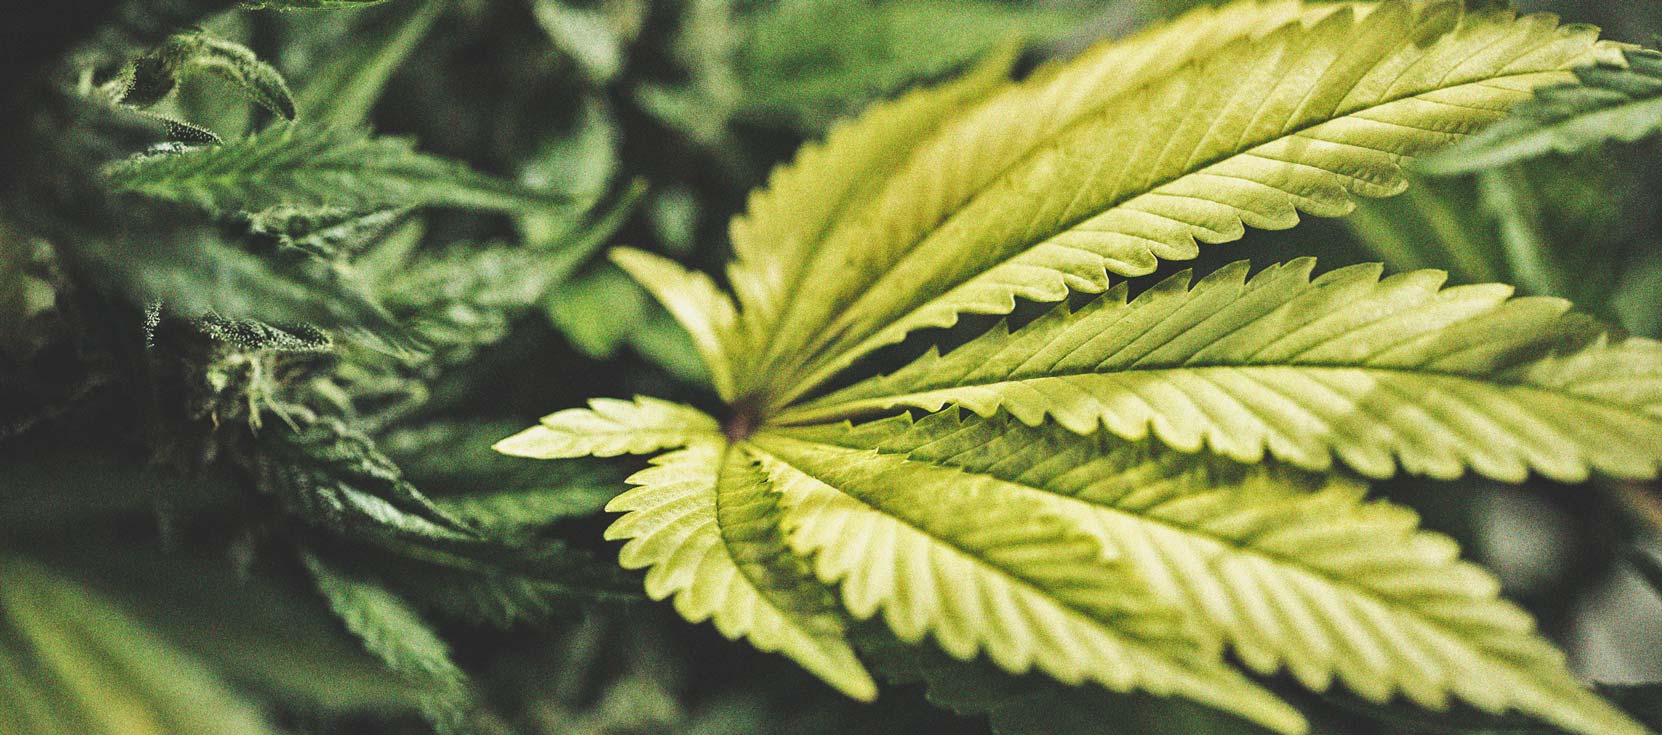
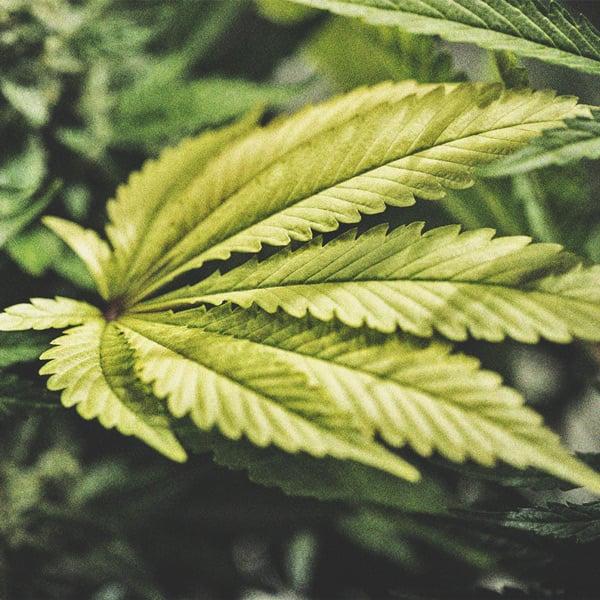
Fan leaves will turn yellow throughout a grow. However, when a plant’s life cycle draws to its natural end, more and more leaves will begin to turn yellow as the plant stops producing chlorophyll and ultimately prepares to die.
Again, this trait will not tell you exactly when to harvest, but rather can be taken as a sign that harvest time is close (or passed).
Pistils
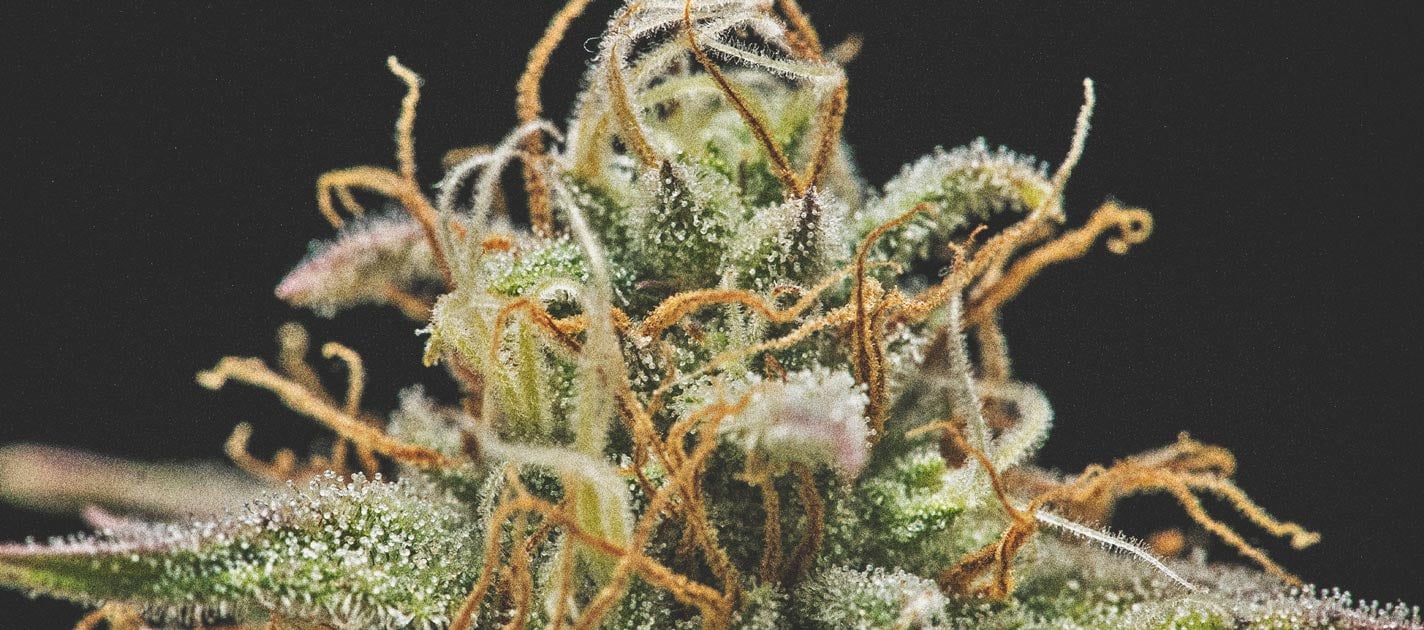
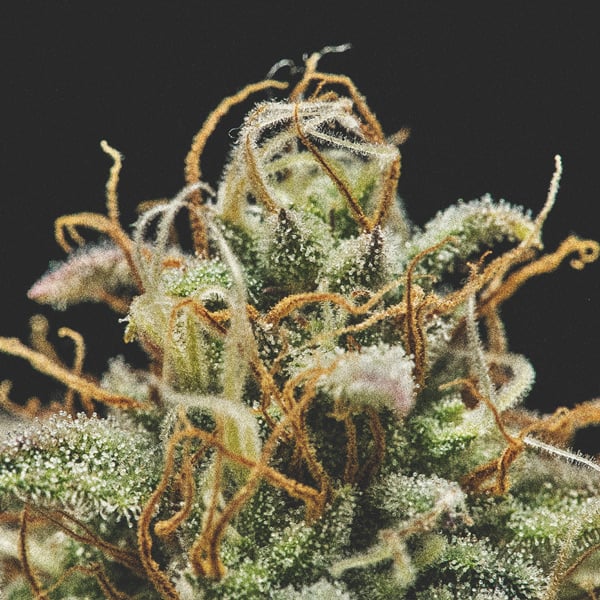
The pistils are a more reliable way to tell that your plant is ripe for harvest. These little pollen-catching hairs begin life as white/translucent. As they mature, they turn opaque and take on a dark red-brown colouration. Generally, once around 90% of pistils have turned this color, the plant is ready for harvest.
In lieu of any better option, this is a viable way to figure out when to harvest. However, it is not the best way. Other factors can cause plants to continually produce immature pistils, even if the rest of the plant is mature, which can lead growers to think that it is never ready.
Trichomes
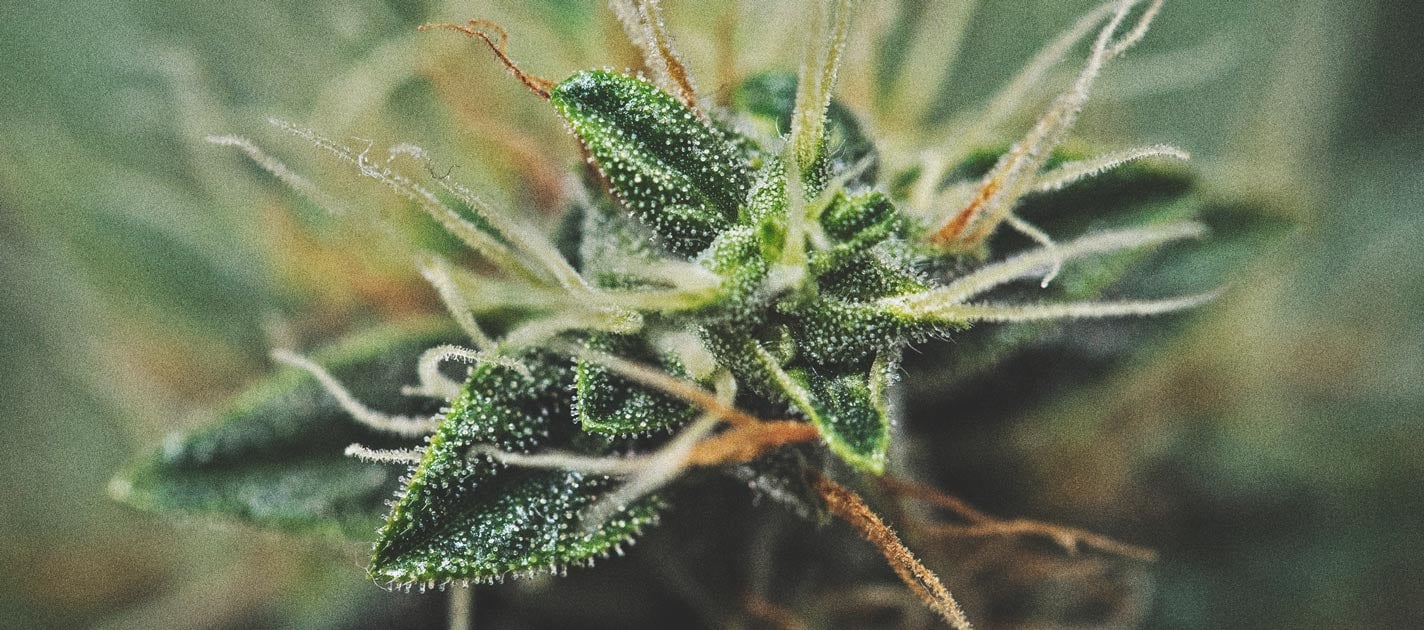
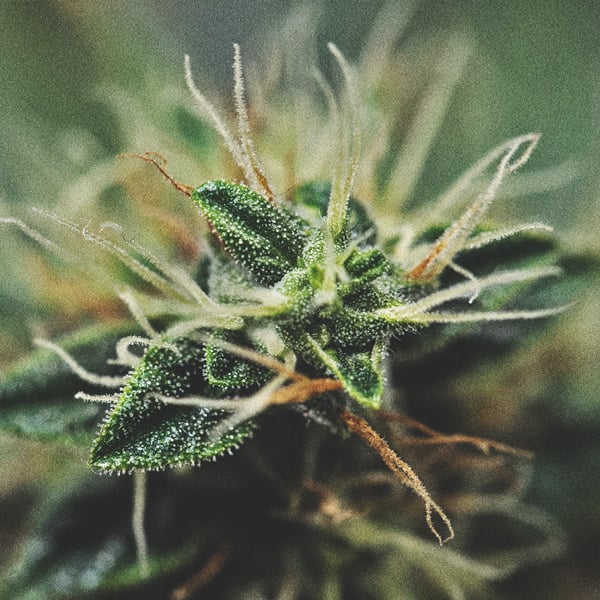
Taking your cues from the trichomes themselves is the best way to know when to harvest cannabis. After all, it’s within the trichomes that THC is produced. To see them clearly, you’ll need a very cheap pocket microscope.
The ideal ratio for harvesting is:
- 70% white
- 15% amber
- 15% clear
This method is failsafe, as the trichomes cannot lie.
Want to make the most of your first grow? Download our beginner’s guide for essential harvesting tips.
Free Pro
Harvest Guide!

Preparing for Cannabis Harvest
As best as you can, it helps to transition your grow space into a harvest/post-harvest space. For this, you’ll want the temperature to be around 20°C and the humidity at about 50%.
The best time to start the harvesting process itself is early in the day, on a dry day. If you’re growing outside, you have less control over environmental variables. So check the weather forecast, and pick the most opportune moment.
Gather the Necessary Tools You Need to Harvest Marijuana
To harvest cannabis, you don’t need much in the way of equipment. But there are a few essential pieces you require for everything to go smoothly:
- Magnifying lens: A pocket microscope, magnifying glass, or smartphone camera will do the trick. These are used to inspect the trichomes.
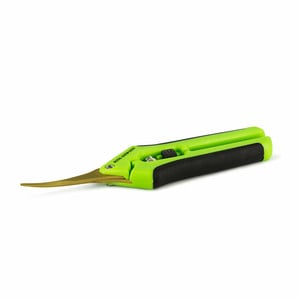
- Trimming shears: A sharp and robust pair of shears or scissors is necessary to cut the plant up. Mature plants are tough and woody, so a proper pair of secateurs is best.
- Gloves: Gardening gloves can help when handling the resinous branches.
- Collection tray: You need somewhere to place your branches as you harvest. A large tray or box should suffice.
- Work surface/area: A clear and clean work surface will help you progress through the stages of a harvest.
- Fan: A simple oscillating fan helps to circulate air when drying weed.
- Hangers: These allow you to hang the cannabis branches for proper drying.
- Herb dryer (optional): This can take care of drying your weed, rather than hanging it.
- Jars: You’ll want to use glass, airtight jars, such as Mason jars, to securely cure your harvest.
How to Harvest Marijuana: Step by Step
In this following section, we will explain exactly how to harvest your cannabis plant. Depending on the size and amount of plants you have, it can be quite an involved process. So prepare to put some work in.
1. Cut the Branches

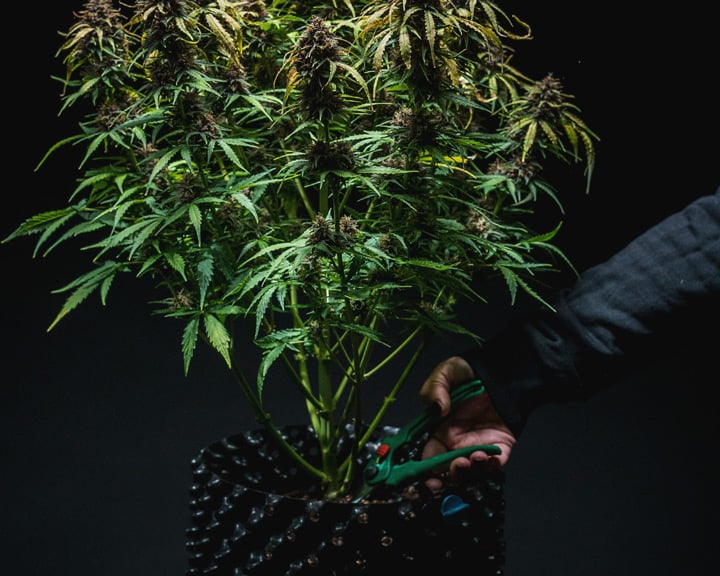
Cut each bud-laden branch off near the nodes (where the branch meets the main stem). There’s no need to take branches that don’t have buds. Lay branches delicately in the collection tray, as you don’t want to damage the flowers.
Or Cut the Whole Plant
Depending on the size of your plant, you might go straight for the branches, or you might cut the whole plant down first. If plants are fairly small, it can be convenient to cut the entire thing down and then take the branches off.
If you’ve got a very big plant, however, it is much easier to just take the branches off while the plant is still standing.
To take a whole plant down, cut it about 4.7 inches above the soil line, at a 45-degree angle.
2. Trim the Fan Leaves
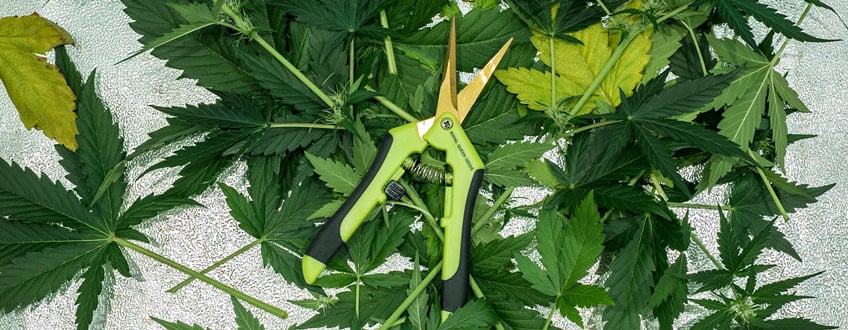
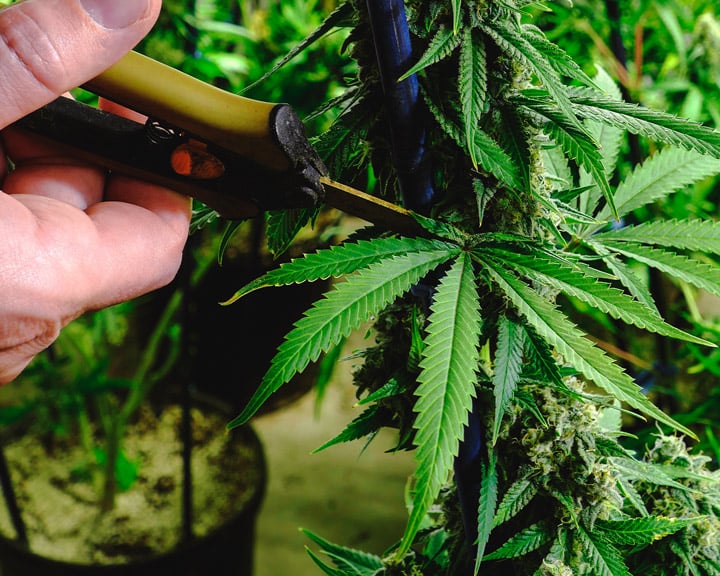
The fan leaves are the large leaves that grow all over the plant. Cut them off and save them along with all the other trim to make tea or cannabutter.
3. Trim Sugar Leaves
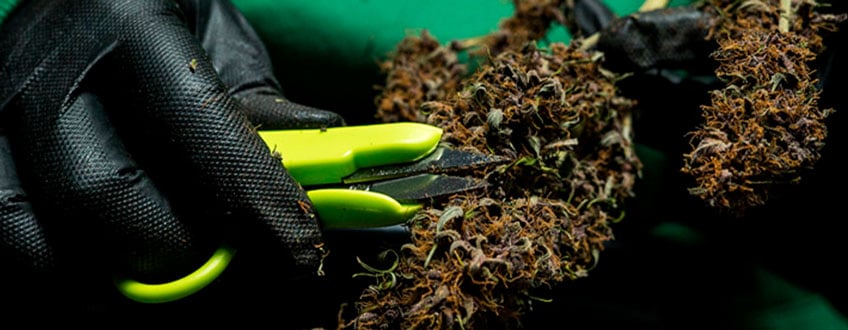
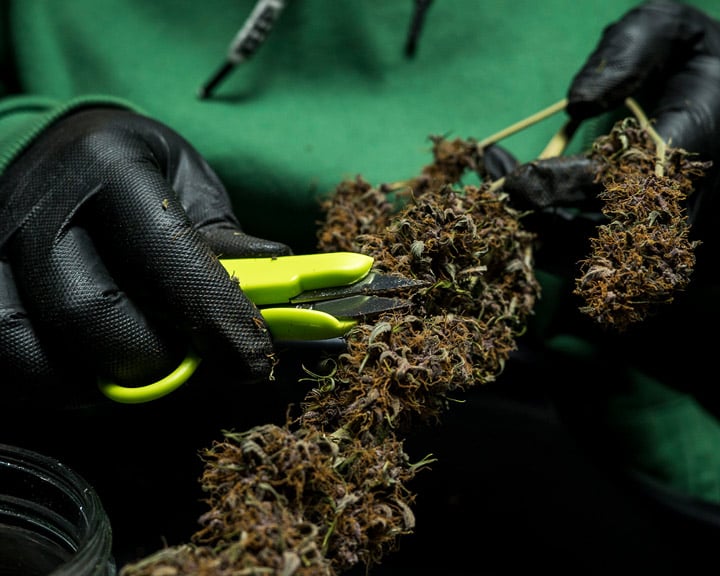
Now, before hanging, you need to trim the sugar leaves to reduce the chances of bud rot spoiling your harvest. Sugar leaves got their name from their dense covering of trichomes—so use them for something!
Cut the sugar leaves close to the bud, but be careful not to cut into the bud itself. Trimming is an art, in a way. Primarily, it affects the way that buds dry and cure, which influences their final quality. On top of this, though, a good trim can give buds that premium, top-shelf look. Some growers don’t care so much about this, while others take it very seriously.
4. Hang the Branches
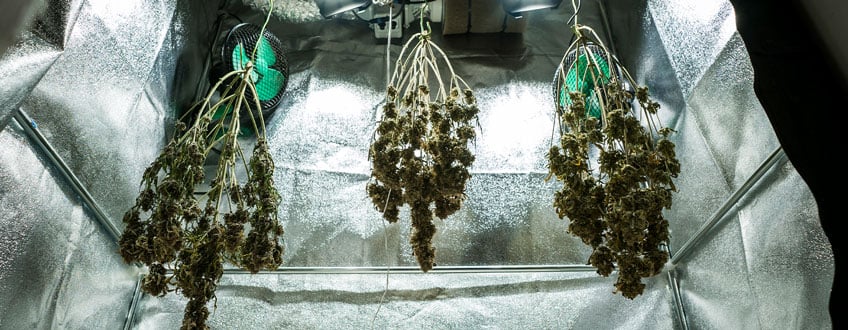
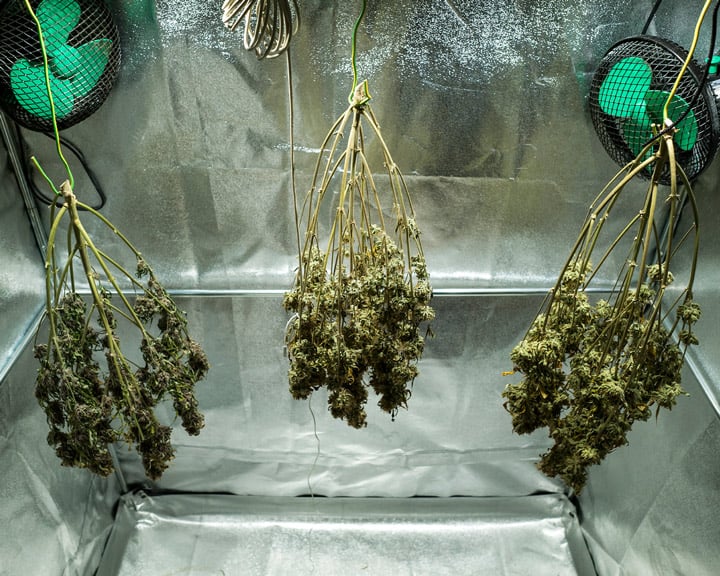
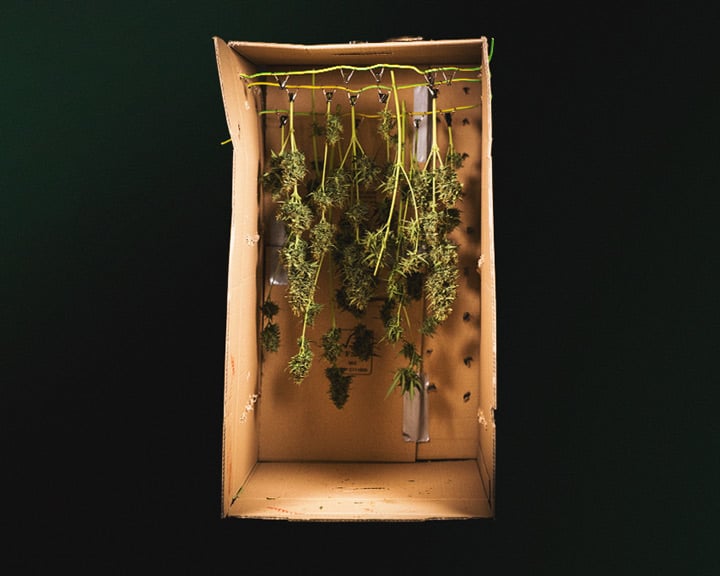
Finally, you need to hang your branches. Hang them upside down with sufficient space between each branch. The environment should be at 20°C, 50% RH, and dark, as light can damage THC. Use the oscillating fan to keep airflow going around the room, as this will reduce the chances of bud rot.
Do your best to ensure that the space is free of pests and contaminants.
5. Collect Leftovers
Wherever you’ve laid branches, such as the trays and work surfaces, there will probably be fallen trichomes. Collect these up and use them to make cannabutter, or mix them into an existing stash of kief. Waste not want not!
Harvesting Different Strains
If you grow weed, you need to learn to tell when the plants are ready for harvest. All strains mature at different rates, so guesswork won’t cut it. For instance, the fastest autos can be ready within 7 weeks from germination, whereas the slowest sativas might take 15 weeks to reach harvest after they’ve begun flowering! Understanding your individual plants, and their cues, is a must for good cultivation practice!
Try A Progressive Harvest When Lower Buds Aren't Fully Ripe
If the flowers near the canopy have a significant number of cloudy and amber trichomes indicating they are ripe and ready for harvest, but crystals on the lower buds are still perfectly clear and far from ready, you can use a technique called progressive harvesting to ensure every bit of weed you chop is perfectly mature.
Also called a partial harvest or staggered harvest, this method is so simple, you'll be surprised that you didn't think of it on your own. Simply clip off the individual buds that are ready, trim back the remaining branches and leaves as needed to expose less mature flowers to more light, and watch for signs that they're ready to pick.
Most indoor plants only require two cycles of progressive harvesting set about two weeks apart, but larger ones may need more.
Note that most plants mature from the top down because the canopy gets the most light, and more lumens usually equals faster ripening. However, every plant is an individual, and you may find a peculiar phenotype that matures from the bottom up. And, some plants mature evenly from top to bottom, so they're not candidates for progressive harvesting.
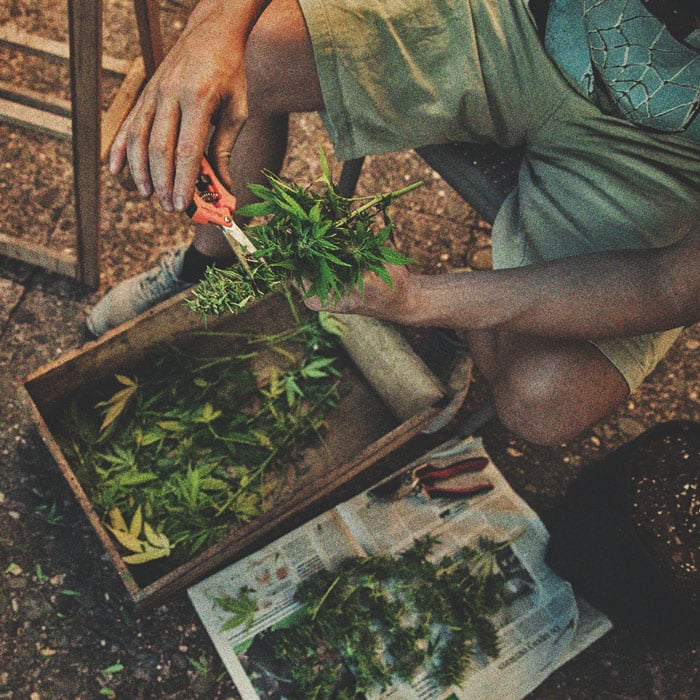
It’s Time To Trim Your Flowers
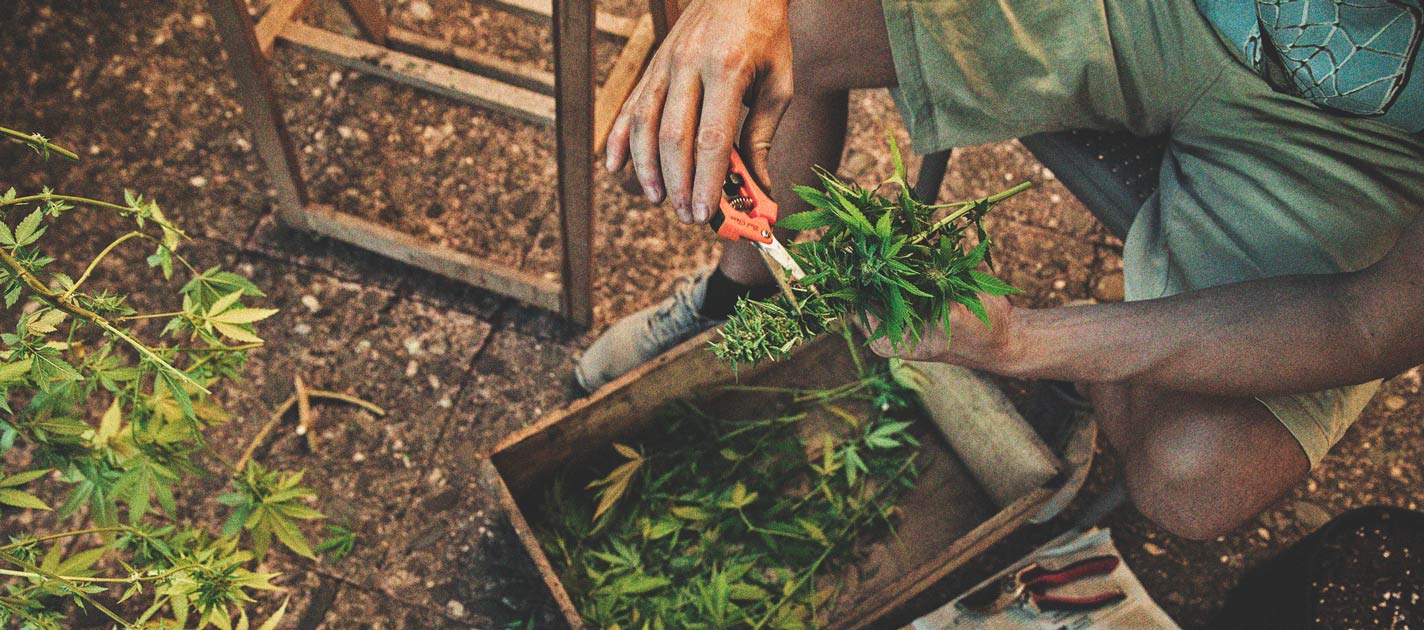
Trimming, or manicuring, is the next step. It’s a necessary process to neaten buds up and to prevent sugar leaves from overrunning your stash jars. All you need for this task is a worktop, a tray, some latex gloves, and a pair of scissors. There are two ways to trim your harvest: wet trimming and dry trimming.
Wet trimming refers to manicuring your flowers immediately after harvest when the moisture content is still high. This decreases the chance of mold formation because all of the sugar leaves are removed before drying, preventing moisture from becoming trapped. The downside is that it’s a very sticky process. Gloves are a must. But there’s a silver lining; you can make scissor hash out of the resin that glues itself to your trimming tool.
Dry trimming involves manicuring your flowers after they’ve been dried. This method is better for when you’re dealing with a low humidity environment and less chance of mold. Dry trimming also results in buds being more tight and compact, an aesthetic that many growers value.
Regardless of what method you opt for, the task is still the same. You have the choice of trimming off sugar leaves whilst buds are still attached to branches, or you can remove individual buds and clean them up separately. Be sure to keep your sugar leaves, as they can be used to make hash and other extracts.

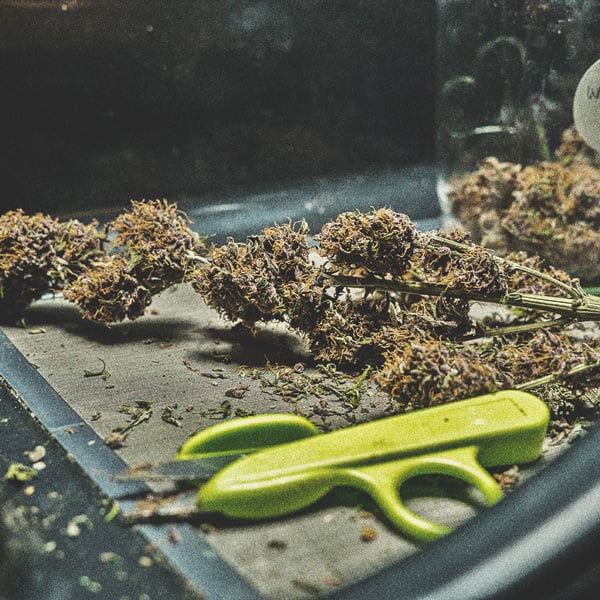
Dry Your Buds
The next port of call is to get your bounty into the drying room. Drying cannabis is essential to removing moisture from the exterior of buds to prevent mold formation. Plus, smoking wet weed isn’t pleasant. Before you begin drying, dedicate a space to your operation. This can be a spare room or even the grow tent you used to cultivate. If you’ve left your flowers on branches, then you’ll need to set up a washing line to hang them from. Otherwise, simply place your buds on a drying rack.
For optimal results, cannabis should be dried slowly. It might seem easier to blast your buds in the oven, but this will only reduce the taste. Terpenes, the chemicals that give cannabis its flavor, are volatile and degrade at high temperatures. To initiate drying, you’ll need to achieve a room temperature of approximately 21°C and a relative humidity of 50%. Place a hygrometer in your drying space to measure both of these factors. If your readings are too high, use fans, air conditioning, and a dehumidifier. If they’re too low, install a heater and humidifier.
Drying usually takes between 2–7 days. Monitor your flowers closely each day and touch them to judge moisture levels. Eventually, stems and flowers should snap under force instead of bend. When this occurs, it’s time for the next step.
To ensure the quality of your harvest, proper drying is essential. Watch our video, "How to Dry Cannabis" to gain expert tips on drying methods, ideal conditions, and perfect timing to prevent mold and achieve optimal buds.
Cure Your Cannabis For Smoothness
Have you ever smoked some dank-looking weed only to find it tears your throat apart? This is the result of uncured cannabis. Curing adds significant time to the end of the growing process, but it adds so much value to a harvest. It’s a prolonged drying process that removes moisture from the interior of flowers, something that drying alone cannot achieve.
Curing will enhance the flavor of your harvest and gift it with a smooth, pleasant smoke. It does this by breaking down molecules like chlorophyll that irritate the respiratory tract.
Curing will also increase the potency of your harvest. Before buds are heated during smoking, vaporization, and cooking, THC exists as THCA. This cannabinoid acid is broken down (decarboxylated) into THC under high temperatures, or with time. Curing encourages this process and slowly increases THC levels.
It’s pretty much a set-and-forget process. All you need are a few mason jars—enough to contain your entire harvest.
Watch our video, "Curing and Storing Your Cannabis Buds" to understand the process and learn techniques to preserve freshness and boost potency.
Load up each jar loosely to around 75% capacity, seal them closed, and store them in a cool, dark place. At first, the remaining moisture will move out from the inside of the buds, making your stash appear rehydrated. By opening the jars for a few minutes several times a day—a process known as burping—you’ll release this moisture and allow for fresh air exchange. Repeat this process during the first week.
During weeks two and three, you’ll only have to open your jars once a day for a few minutes as the moisture content decreases. After three weeks, your flowers will be sufficiently cured and will provide a smooth smoking experience. Some growers with considerable patience opt to increase the curing period for up to eight weeks to maximise flavor and potency. If you’re planning on long-term storage, know that you can cure your cannabis for over six months without harming your stash.

 Grow Guide Topic Finder
- Growing weed step by step
- Marijuana growing basics
- Choosing your seeds
- How to germinate seeds
- The marijuana vegetative stage
- The marijuana flowering stage
- Harvesting marijuana
- Trimming, drying, and curing
- Choosing pots and soil
-
Growing indoors
- A Complete Overview Of Growing Cannabis Indoors
- Cannabis Cultivation Tips: How To Set Up Indoor Grow Lights
- How Many Cannabis Plants Can You Grow Per Square Metre?
- Indoor Cannabis Growing: Relative Humidity and Temperatures
- Hydroponics Cannabis Growing Guide (with diagrams)
- Cannabis Micro Growing: Growing Great Weed in Tiny Spaces
- Growing outdoors
- How to grow autoflowering marijuana
- Marijuana nutrients and pH
- Marijuana troubleshooting: Nutrients
-
Marijuana troubleshooting: Growing
- Cannabis Seed Germination — Troubleshooting Guide
- How to Deal With Pythium (Root Rot) in Cannabis Plants
- Slow Cannabis Plant Growth And What You Can Do About It
- How to Deal With Leggy Cannabis Seedlings
- Watering Your Cannabis: How to Fix Overwatering and Underwatering
- Understanding Male, Female, And Hermaphrodite Cannabis
- Identifying and Treating Common Cannabis Ailments
- How To Revive a Sick Cannabis Plant
- How to Avoid Moldy Marijuana During Drying and Curing
- How to Prevent and Treat Dry and Crispy Cannabis Leaves
- What Cannabis Leaves Can Tell You
- Causes and Solutions for Yellow Cannabis Leaves
-
Marijuana Strains Grow Report
- HulkBerry Automatic Grow Report
- Blue Cheese Auto Grow Report
- Purple Punch Automatic Strain Grow Report
- Triple G Automatic Grow Report
- Do-Si-Dos Automatic Grow Report
- Green Gelato Automatic Grow Report
- Haze Berry Automatic Grow Report
- Purple Queen Automatic Grow Report
- Cookies Gelato Automatic Grow Report
- Sherbet Queen Automatic Grow Report
- Sweet Skunk Automatic Grow Report
- Medusa F1 Grow Report
- Marijuana plant training
-
Marijuana growing tips
- The Cannabis Plant Anatomy
- How to preserve seeds - RQS USA
- How Much Sunlight Do Outdoor Cannabis Plants Need To Grow?
- How to Control and Prevent Stretching in Cannabis Plants
- My Cannabis Plants Are Growing Too Tall: What Should I Do?
- Should You Worry About Purple Or Red Cannabis Stems?
- What To Do When Your Indoor Cannabis Won’t Flower
- How To Protect Your Cannabis Plants From Heat Stress
- How To Tell If Your Female Cannabis Plant Has Been Pollinated
- Growing Medical Marijuana
- Bud Washing: How to Clean Your Weed
- Understanding Cannabis Yield per Plant
Categories
Grow Cannabis With RQS




.jpg)
